Many people keep old furniture at home or in their summer cottages. More often than not, this is not expensive antique furniture from Tsarist times, but rather ordinary cabinets, chests of drawers, tables, and chairs. At first glance, it may seem that most of these things should have been thrown away a long time ago, but take a closer look – they are often solid wood or even wrought iron, which can serve for many more years if beautifully restored. In this article, we will tell you about ways to decorate tables – kitchen, dining, coffee, and work tables – of various sizes and shapes.
However, many of the presented options are equally suitable for other interior items. Perhaps these examples will inspire you to turn an unremarkable worn-out piece of furniture into a true work of art, as it is so nice to contemplate the beauty made with your own hands!
12 ways to give new life to an old table
Painting
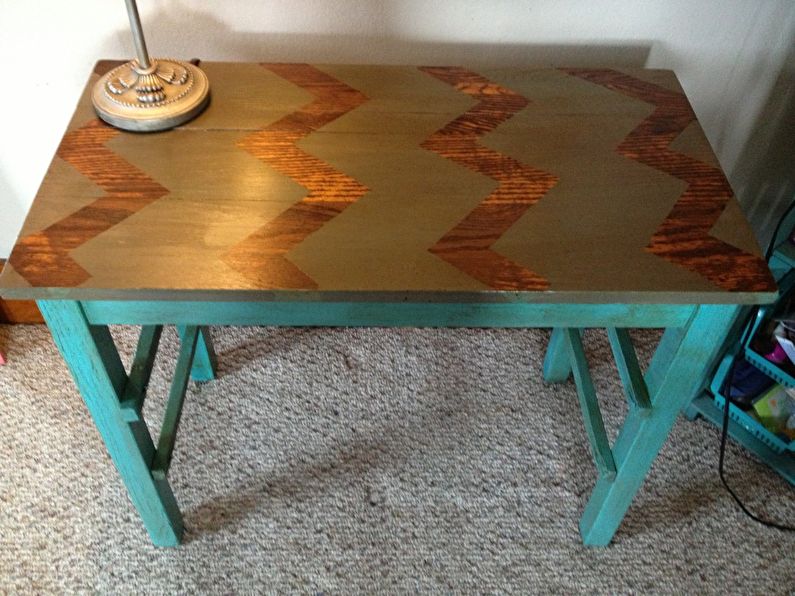
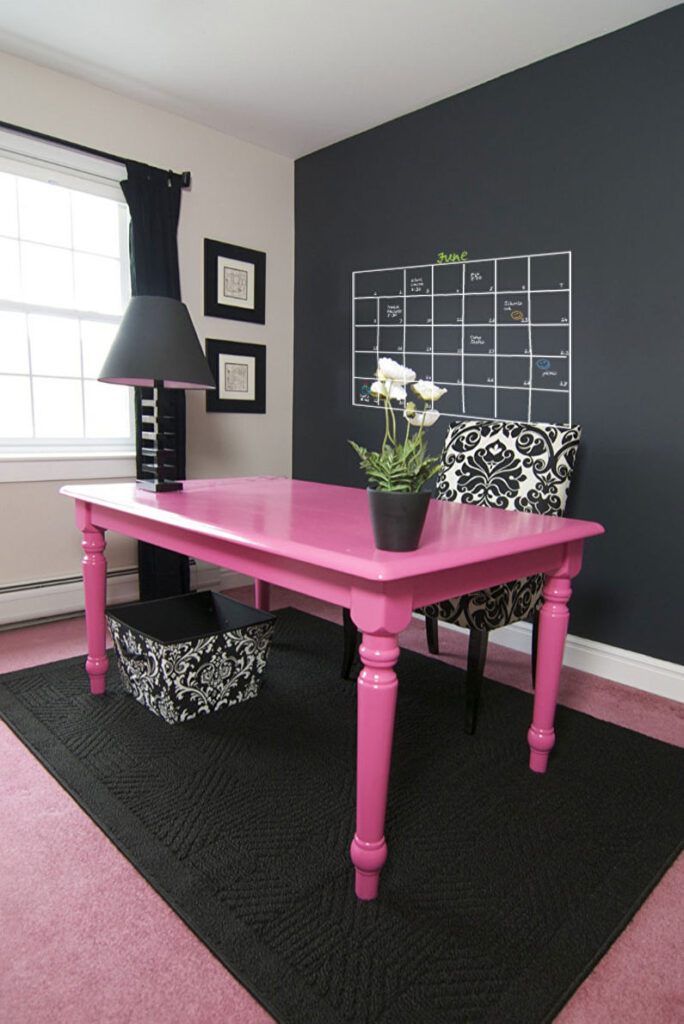
The best way to update an old table is to paint it, but first, you need to prepare the surface. A paint stripper will help remove the previous finish.
If the metal legs or hardware have rust, soak them generously with vinegar, Coca-Cola, or a special agent. After 15-20 minutes, wipe the rust off with a stiff scraper.
Sand the wood using sandpaper and remove any dust. Treat the wood with an antiseptic and prime it. Use acrylic wood filler to smooth out any chips, cracks, or unevenness.
For the painting process, consider using alkyd enamel, acrylic or epoxy paint, varnishes, or aerosol compositions for metal. You’ll also need painter’s tools like a brush, roller, sponge, or sprayer.
To make the table look more stylish, you can paint only certain parts of it using masking tape or stencils.
Artistic painting
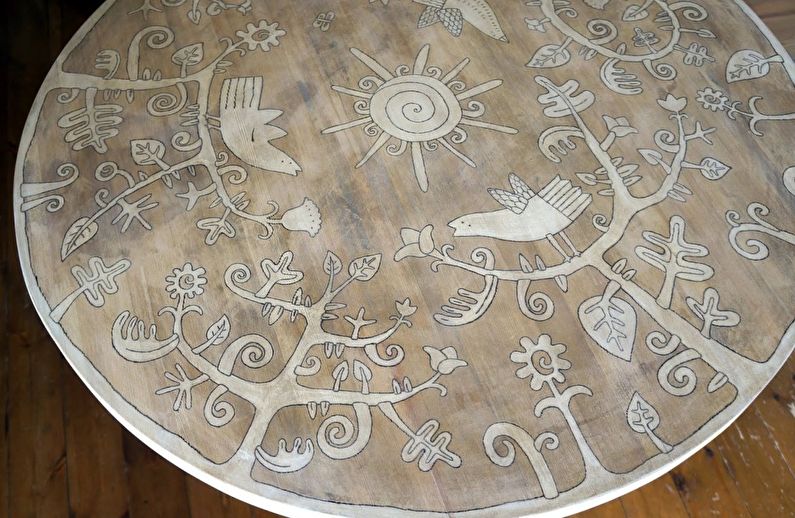
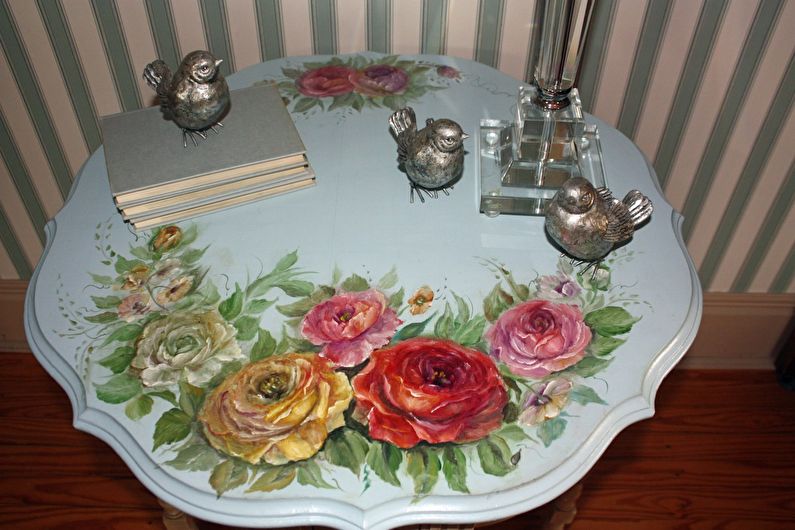
If a plain finish seems too boring – try decorating an old table with patterns. Patterns can be applied with a brush and acrylic paints – by hand, through a stencil, or by tracing outlines made with tracing paper.
A table with artistic painting will perfectly complement an interior in an ethnic or rural style, and images of animals, fairytale and cartoon characters will be liked by children.
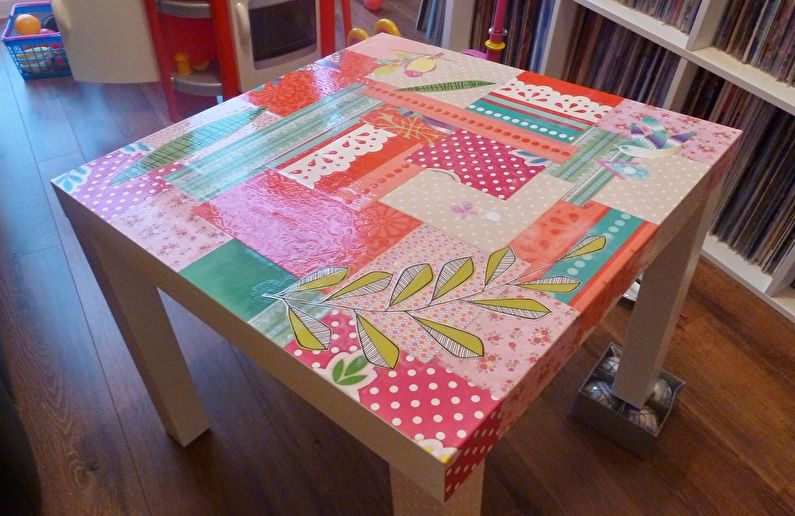
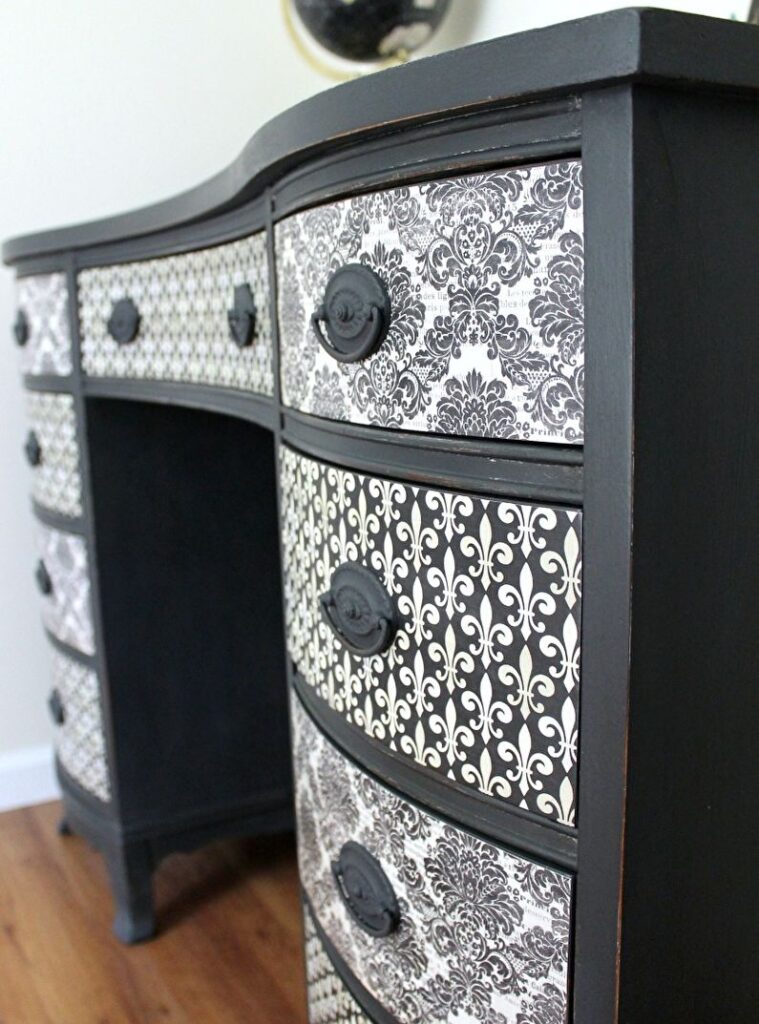
Decoupage
For this type of decoration, you will need a brush, paper napkins with a pattern, PVA glue, and transparent furniture lacquer.
Start by tearing off or cutting out the pictures carefully. Remove the bottom layers of paper to create thin appliques. Place these appliques in the designated spots and spread glue on top, making sure to avoid folds and tears.
If you can’t attach a certain element on the first try, immediately wipe it off with a sponge soaked in warm water and try again with a similar piece.
Once the decoupage has dried, cover it with several layers of transparent furniture lacquer. Without this protective layer, the paper decoration would wear off quickly.
Crackle finish
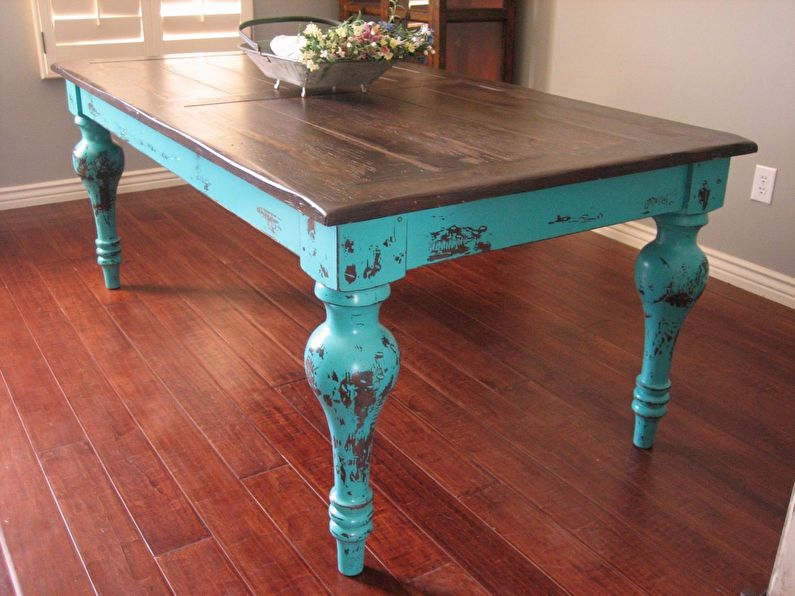
You have two options for creating a crackle finish. For a one-step finish, apply the coating in one layer and let it crack as it dries. A two-step finish involves using two mixtures, one based on epoxy resins and the other on a water base. These interact to create a characteristic texture.
The color of the veins comes from the underlying layer of acrylic paint and the shade of the grout. People often use a golden pigment powder or pastel for this.
If you’re aiming for the effect of an aged painting to complement decoupage or hand painting, a two-step crackle finish works best. If your product doesn’t have patterns, a one-step finish might be more suitable.
Tile
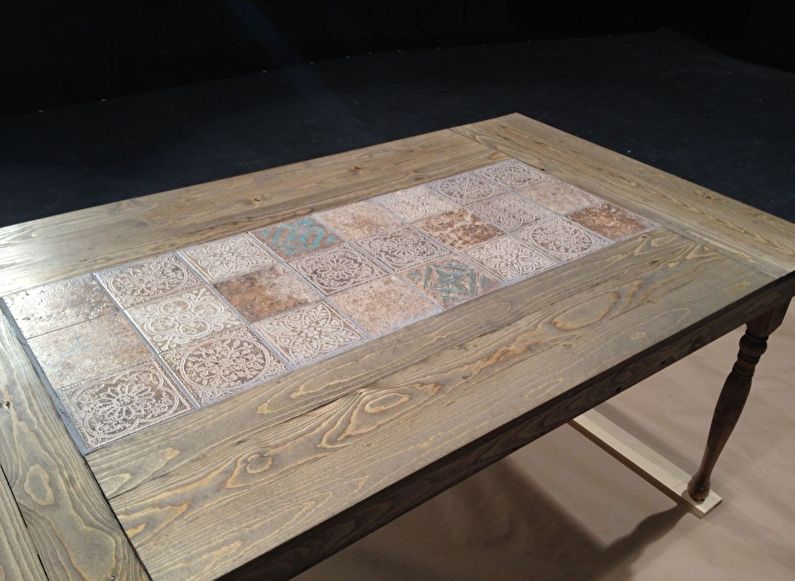
Sometimes after renovation, there is a small supply of ceramic tiles left. It can be used for decorating an old table – simply facing the wooden base with tiles. The installation technology in this case is almost no different from finishing walls or floors.
A ceramic surface is ideal for a table in the kitchen, terrace, veranda, gazebo, or even outside.
To give the table an attractive appearance, in addition to plain tiles, it is worth using patterned borders, decorative panels (even with some stories), or stylish patchwork.
Mosaic
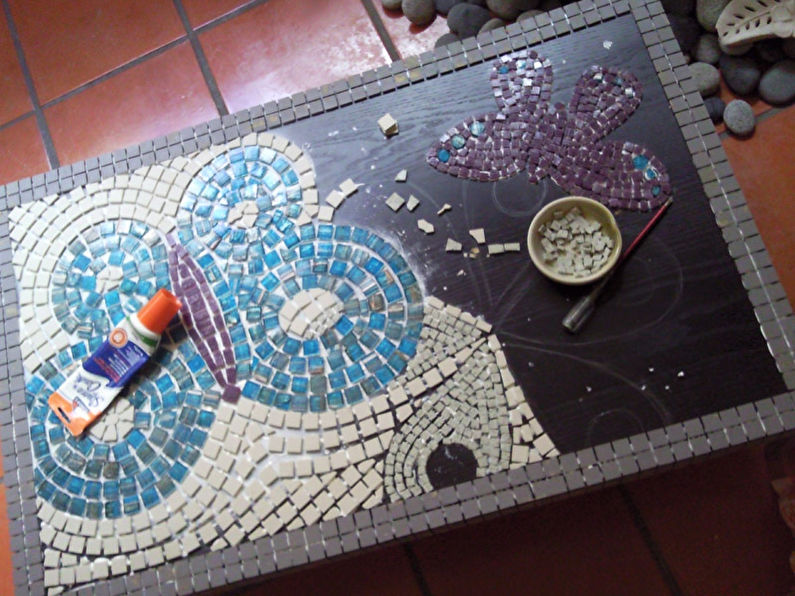
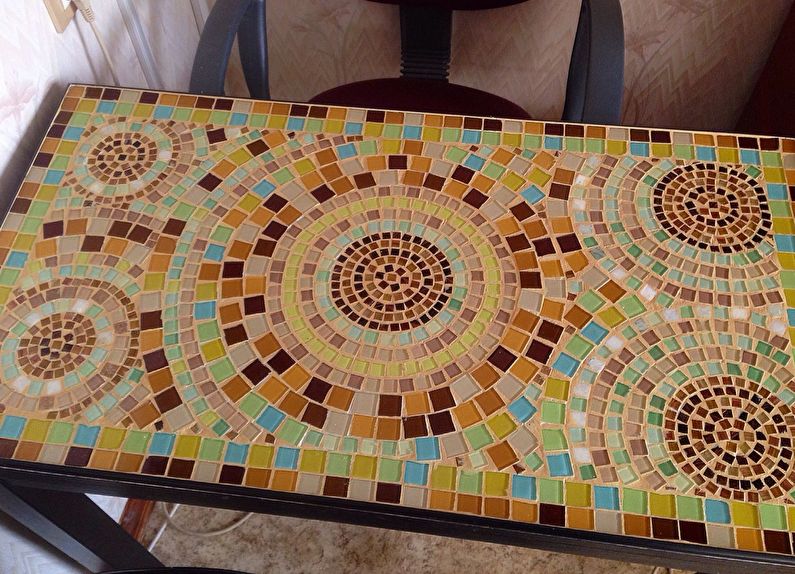
Pictures made of small fragments decorate many galleries, temples, and palaces. They will look just as exquisite in the home, for example, on the surface of coffee tables.
Mosaic elements can be made of ceramics (even broken tiles will do), glass, or acrylic.
From improvised materials, small round saw cuts of wood, cut compact discs, colored stones will do. It is enough to come up with an interesting pattern and attach the pieces to the table using glue or liquid nails.
Self-adhesive film
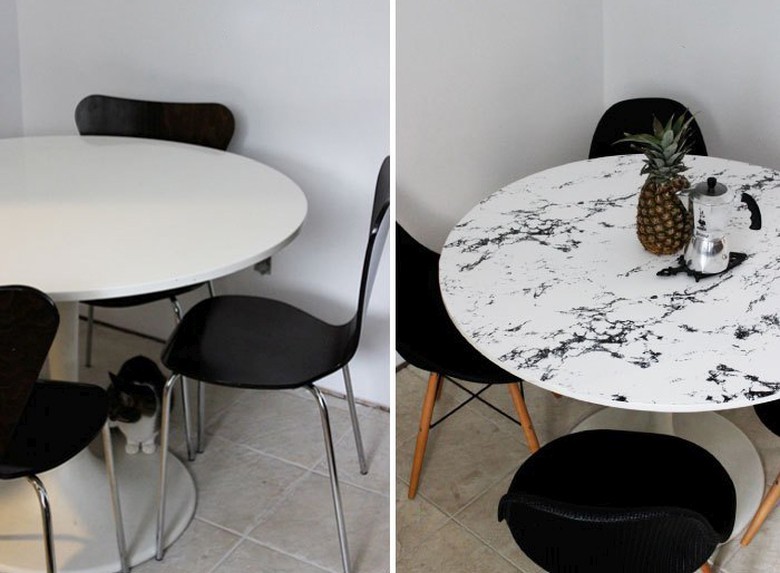
The easiest and most beautiful way to decorate an old table without the hassle of paint is by applying self-adhesive film.
This affordable material can imitate any surface – from rare wood species to marble, and can feature any pattern, design, and texture.
Self-adhesive film is sold in rolls and is easy and pleasant to use.
Decorative tape
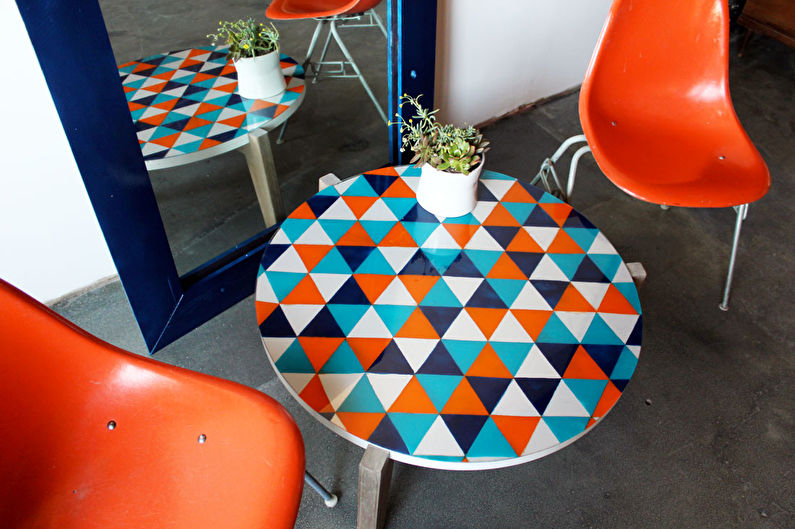
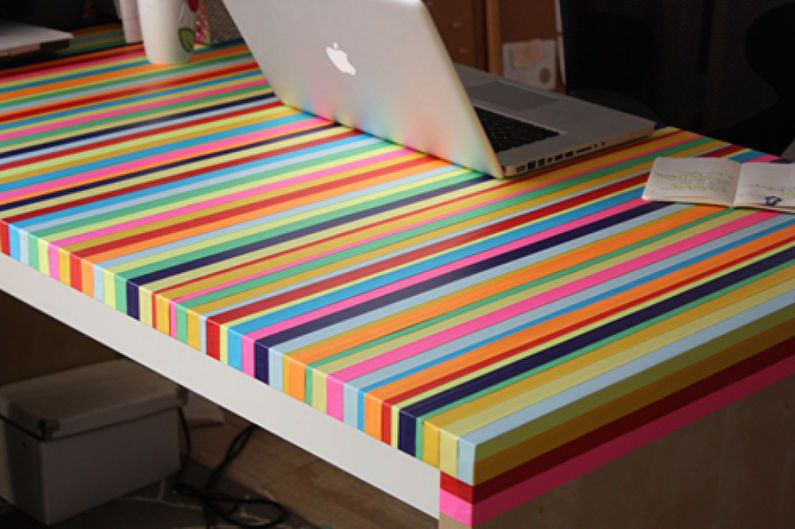
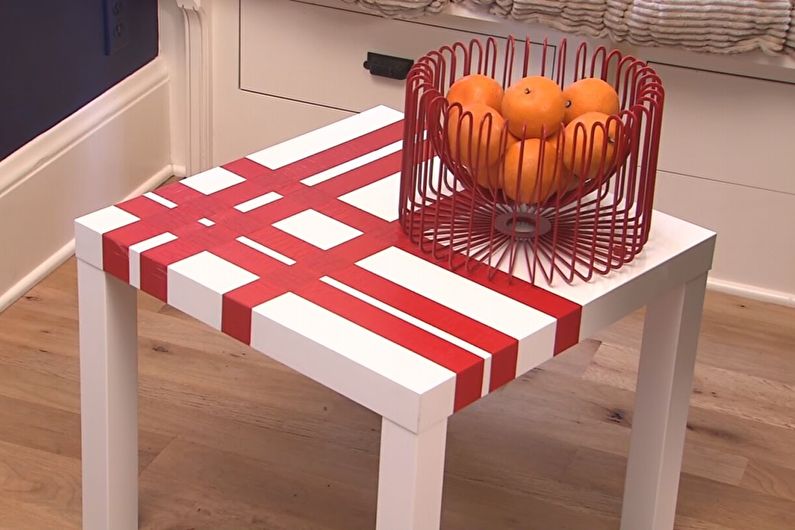
Office and craft stores now offer a wide variety of decorative self-adhesive tapes. It takes no more than 30-40 minutes to decorate an old table with colorful tape, and a new bright item will appear in your interior.
If you want to change the finish, the adhesive strips can be quickly removed, and if any glue remains, it can be easily dissolved with acetone.
Epoxy resin
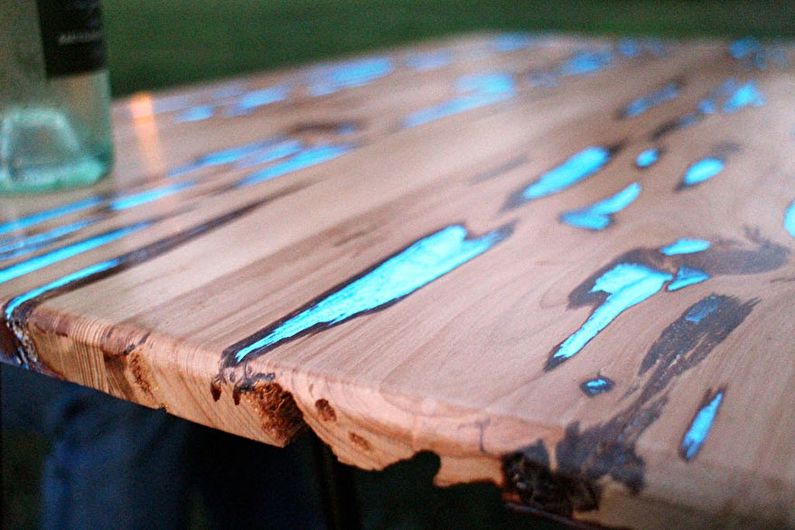
Epoxy resin is a liquid substance that quickly solidifies in the open air, transforming into a solid, transparent plastic.
When you fill cracks in wood with epoxy resin, it creates a very unusual look. Adding fluorescent powder to the liquid phase makes them glow brightly in the dark.
You can also use epoxy resin to embed items like dried flowers, leaves, shells, and coins. The transparency of the resin can create an effect similar to ice or amber.
Glass-covered decor.
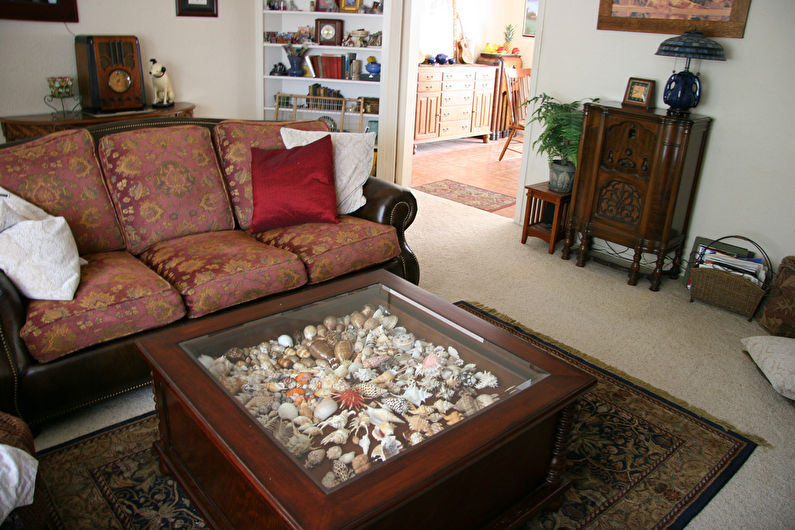
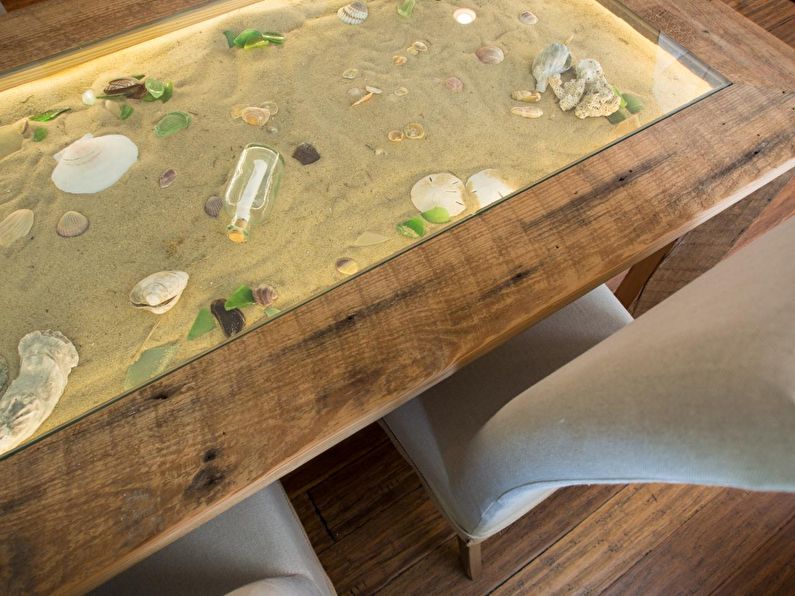
You can create an original decoration for a living room table by carving out a recess in it. Place thematic decor inside this recess – options could include sand with seashells and starfish, moss or miniature cacti, Christmas ornaments and twigs, small car models, or beads. After you’ve arranged the decor, cover the top with transparent glass.
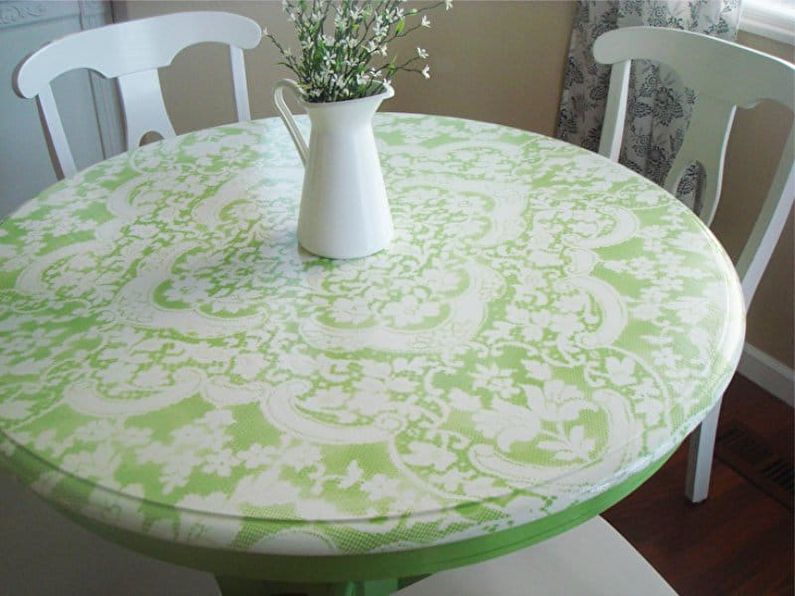
Painting through lace
To paint a table through lace, you need to start with a base layer of a contrasting color. Then, firmly attach the lace to the surface to prevent shifting or gaps. Because of these requirements, consider using spray paint or an airbrush.
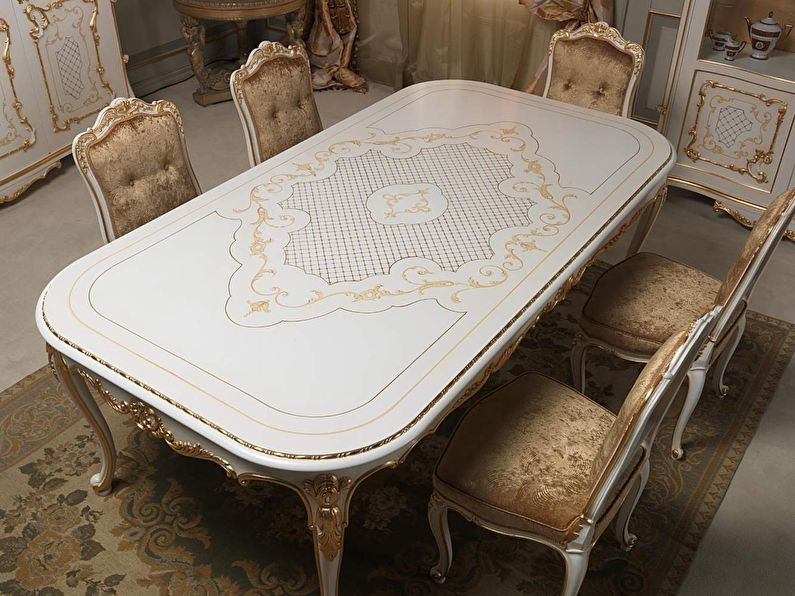
Gilding
You can create them by using a stencil and applying shiny acrylic paint, but for a more lifelike appearance, you can use gold leaf. Gold leaf is an extremely thin foil that mimics precious metals and is commonly used for artistic purposes.
To ensure the gilding doesn’t chip or peel, it is essential to apply a clear varnish over the gold leaf layer. This protective varnish helps to seal and preserve the gilding, preventing it from flaking off over time.

Leave feedback about this