Does your apartment need a refresh, and you’ve decided to take decisive action? Perfect, you’re in the right place! Today, we’ll show you everything about apartment renovations with before and after photos included. Get ready to witness the dramatic transformation of old apartments into new and stylish ones!
Renovating a Run-down Apartment: Where to Start?
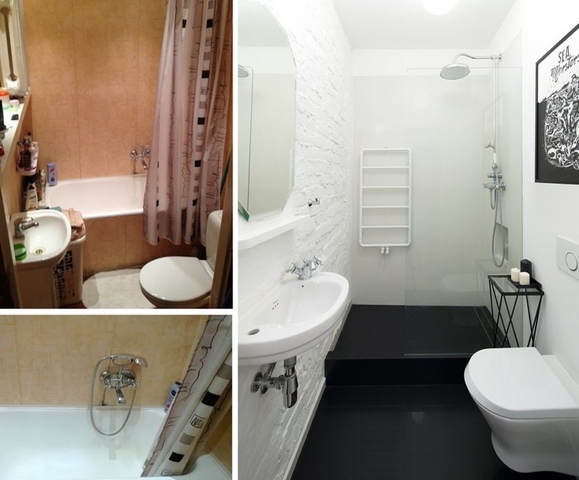
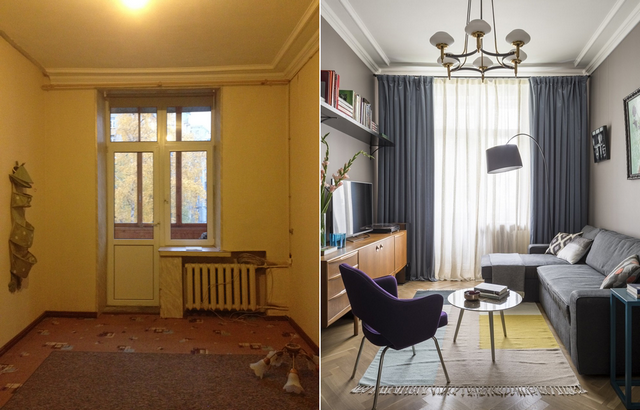
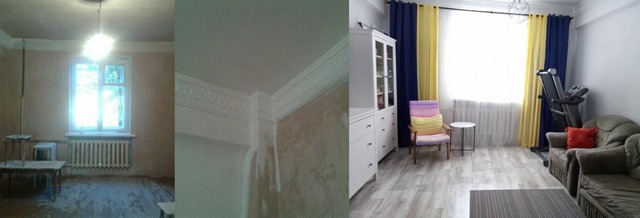
Sometimes, to freshen up a living space, you only need minimal resources: replace the wallpaper, change the furniture, and you’re done. However, when it comes to renovating a worn-out apartment, its before and after appearance will be very different. You’ll have to roll up your sleeves and put in effort, but trust us – it’s all achievable. Just look at the photos below:
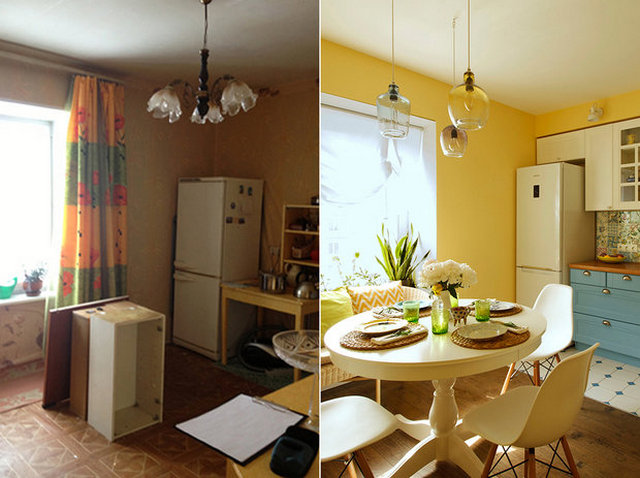
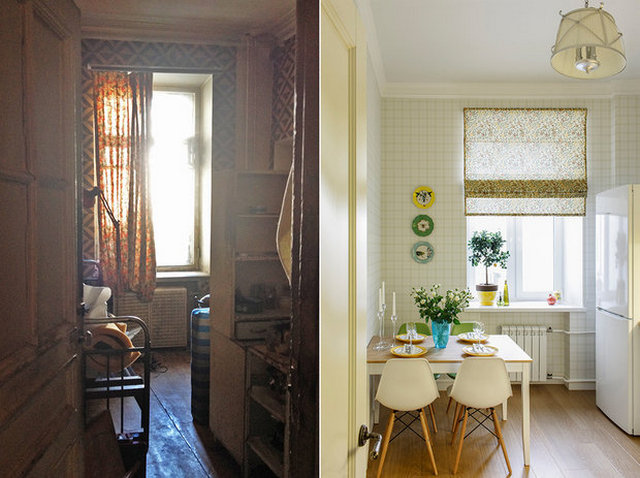
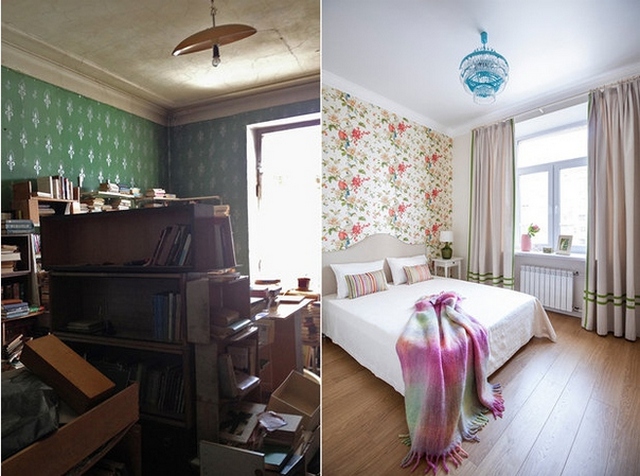
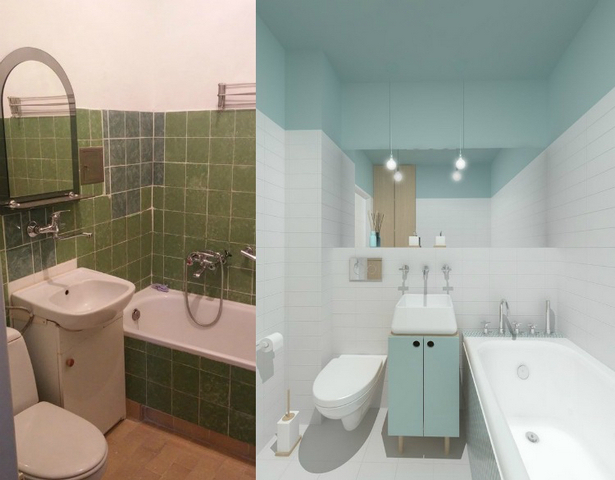
At the outset, it might seem impossible to build a castle from ruins, but that’s just an illusion. In reality, any apartment can look fantastic, and Decorin will prove it to you today!
So, where should you start?
Evaluate the scale of work
Before drafting a budget and rushing to construction stores, decide what you want to keep from the old setup. For instance, do plumbing, pipes, and wiring need replacement? Are you considering a redesign? Once you’ve sorted out these fundamental questions, the renovation process can be clearly divided into before and after stages – you’ve taken the first step.
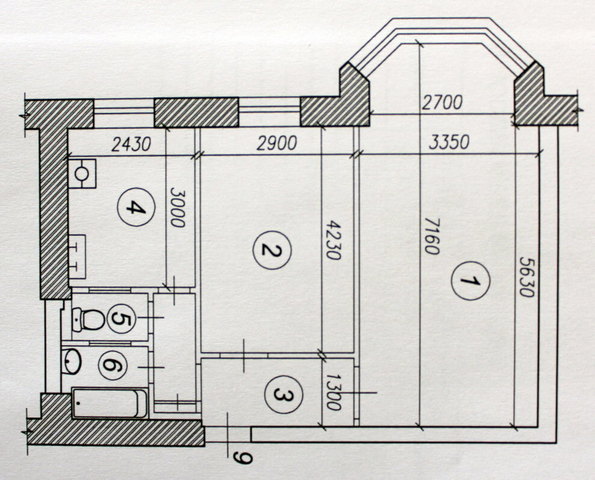
Below, you can view the apartment’s floor plan before the redesign…
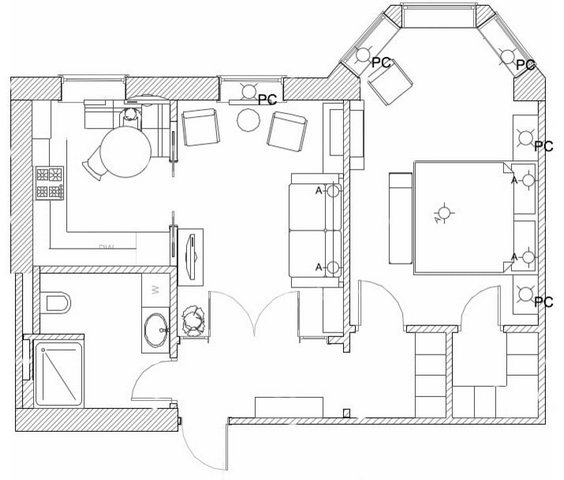
…and after:
Monitor prices for materials
If you’re planning a budget-friendly apartment renovation, create a clear budget to achieve a fabulous outcome.
To stay within your budget (although it’s not always easy), initially aim to allocate an extra 10% for each material for unforeseen expenses. Wallpaper +10%, plumbing +10%, and so on. This way, you’ll be financially prepared for any surprises that might pop up during renovation.
Start the work
Now begins the most exciting yet most labor-intensive stage. Let’s briefly outline the upcoming steps:
- Dismantling
- Laying a rough screed on the floor
- Installing new partitions (if redesigning)
- Laying new utilities (if needed)
Once you complete these steps, you can consider the rough renovation done, and the before and after look starts to promise.
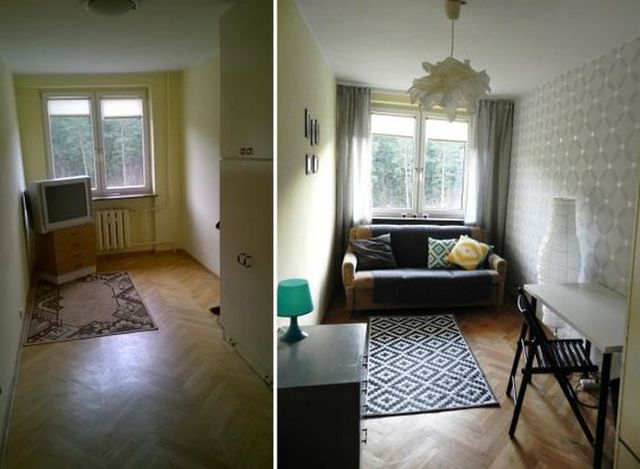
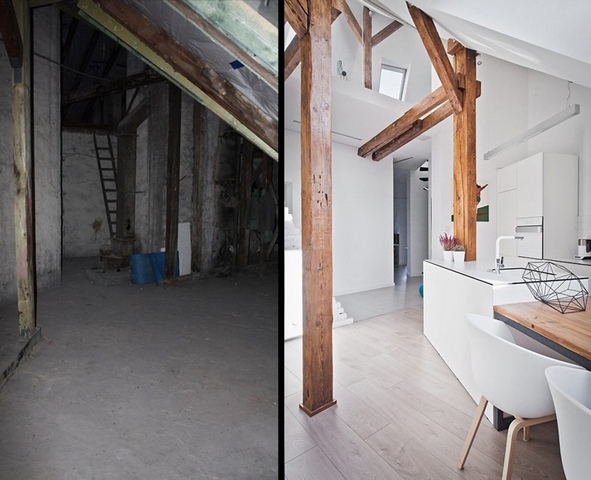
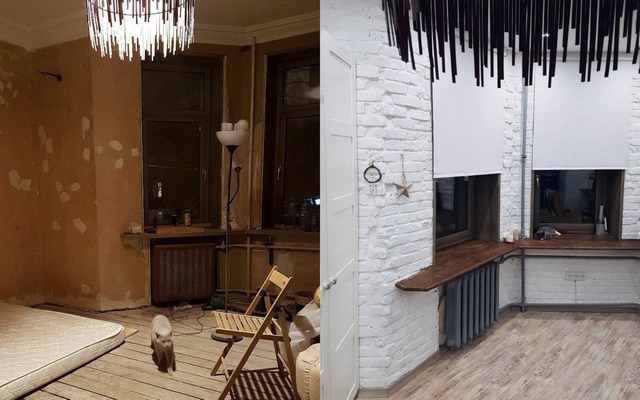
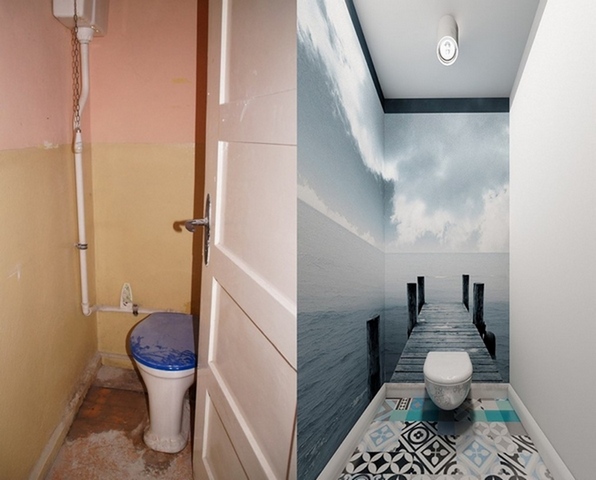
Photos of Apartments After DIY Renovations
To dive into the finishing touches with full energy, you need some inspiration. Decorin’s portal has got you covered. We’ll show you photos of DIY apartment renovations, proving that you can do it all.
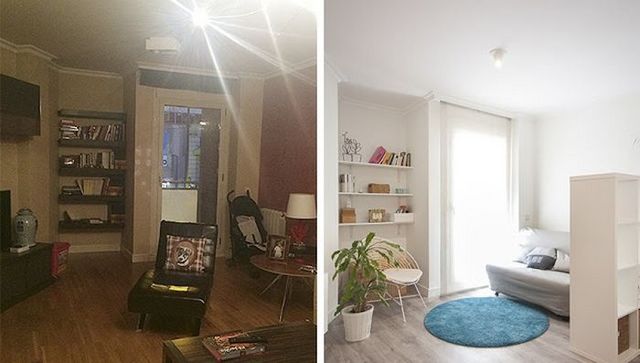
Here’s an example of a budget-friendly apartment renovation with before and after photos:
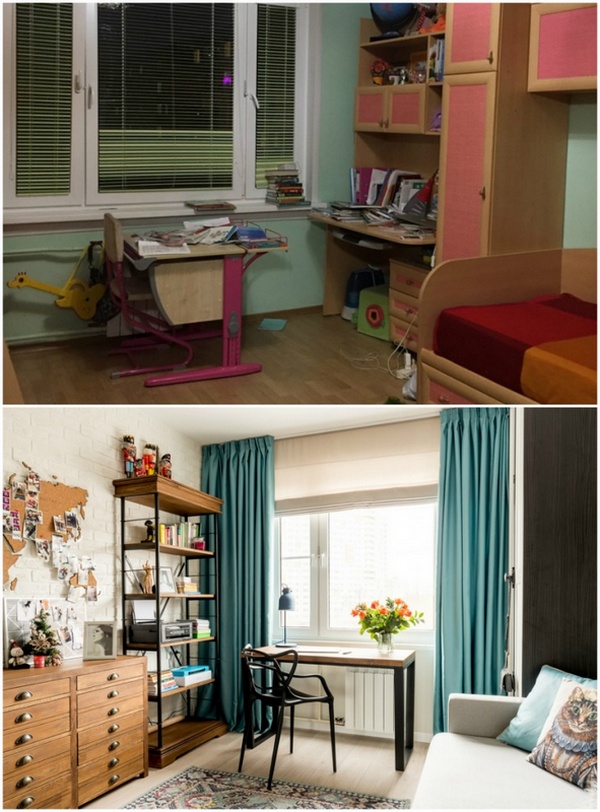
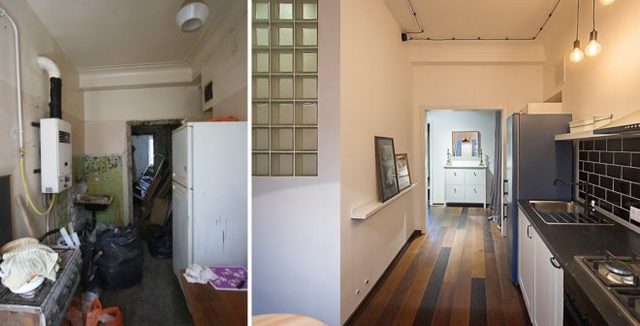
As you can see, just refreshing the finish makes the room feel entirely different, right?
Standard apartments look completely different before and after renovations. And you don’t always need a redesign for that.
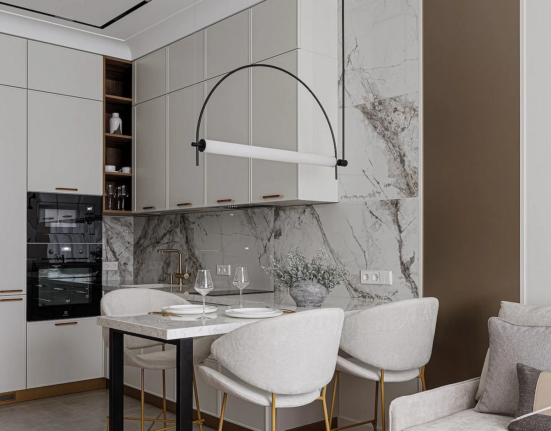
Now, look at kitchen examples. See how you can transform the tiniest and most cramped kitchen into something bright and wonderful:
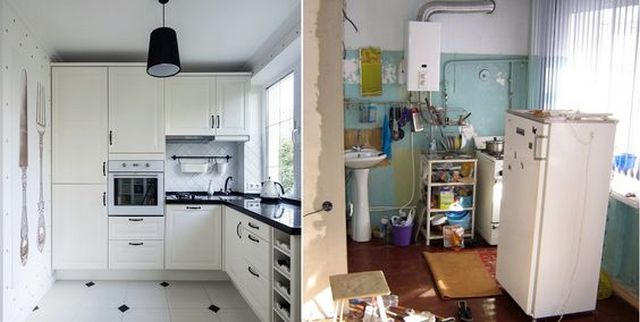
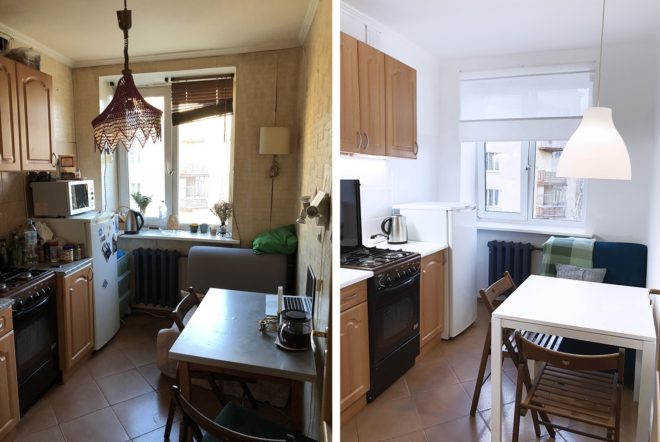
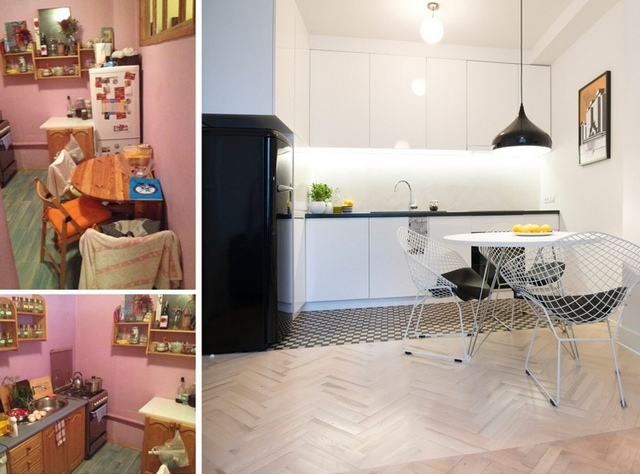
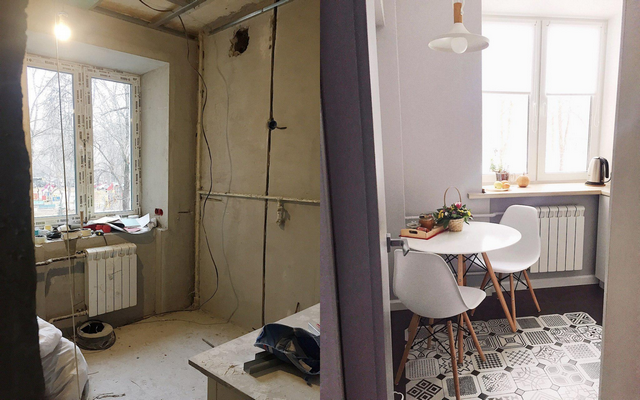
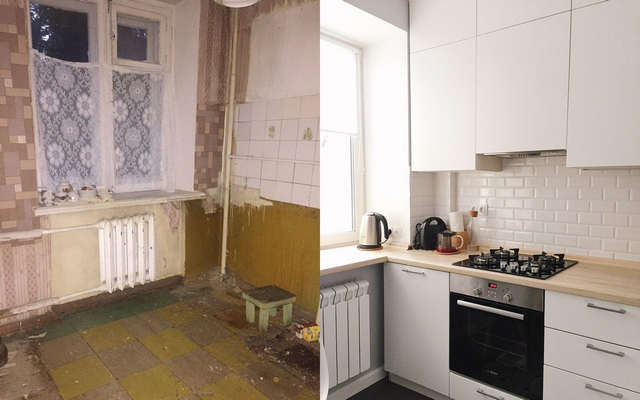
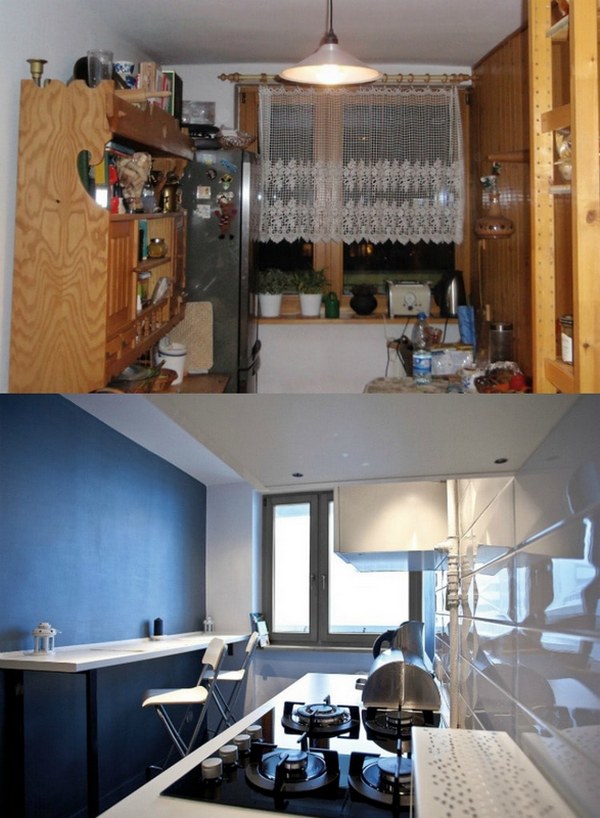
If you want more inspiration, read our article about kitchen renovations.
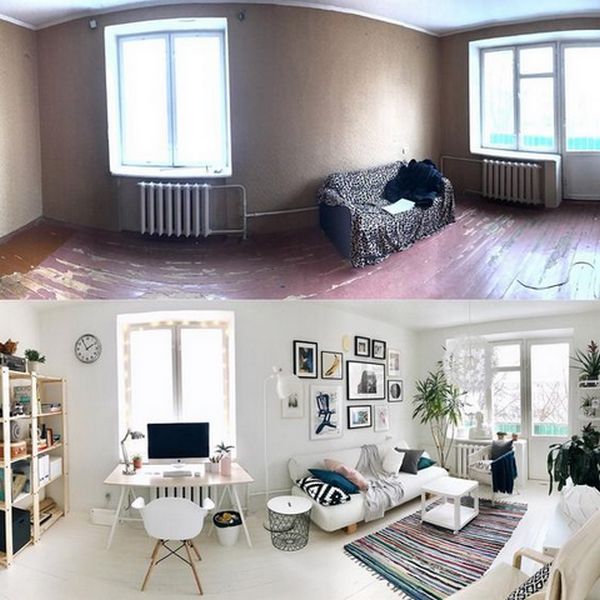
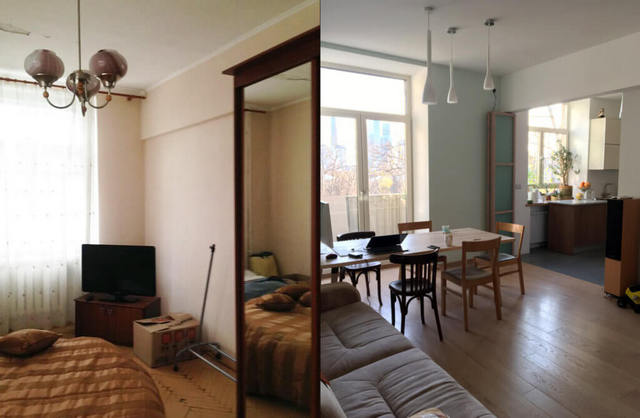
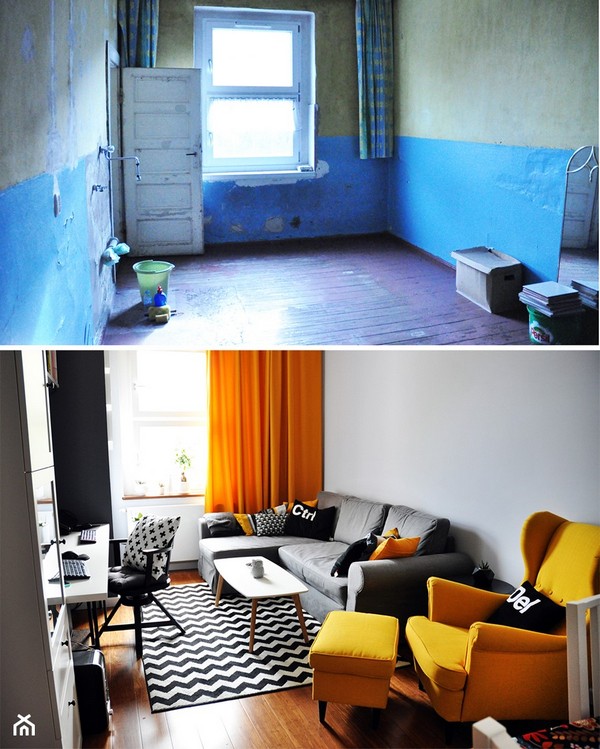
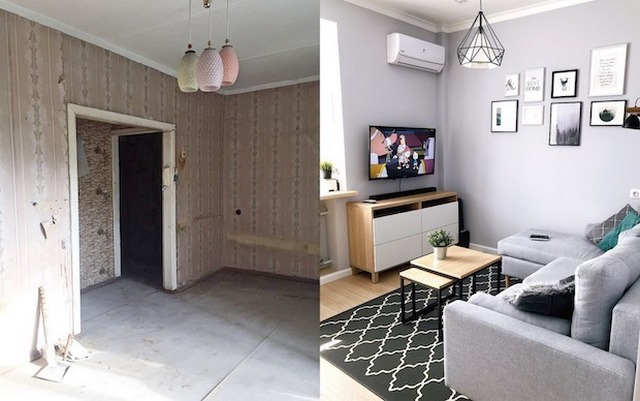
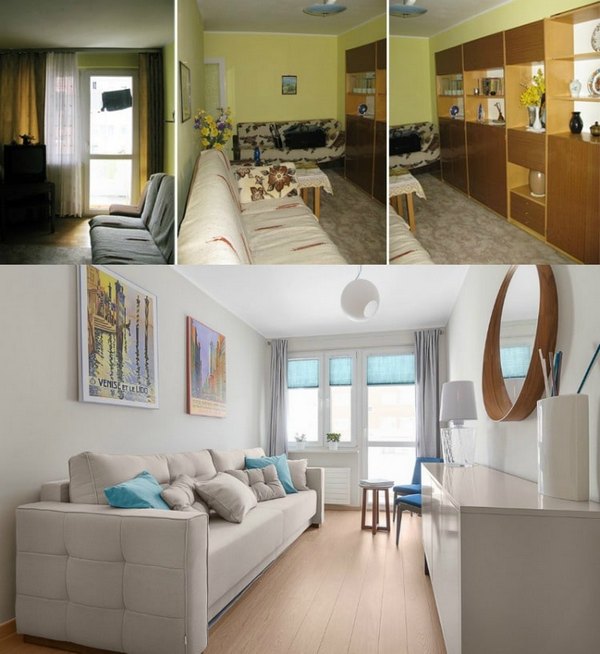
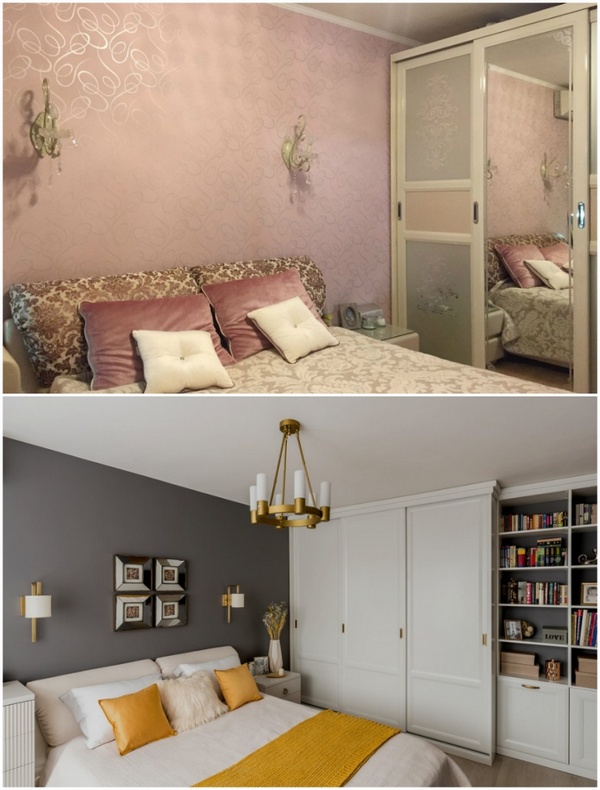
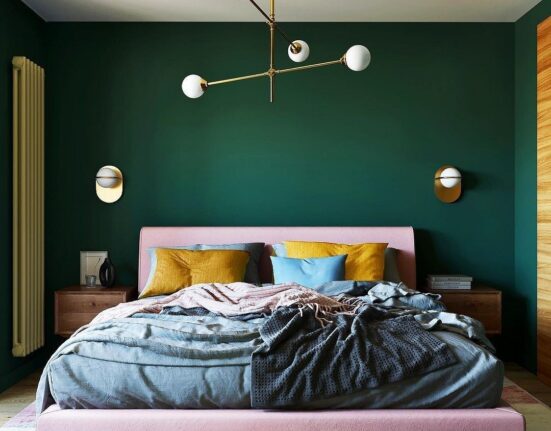
And bedrooms that have become cozy and modern:
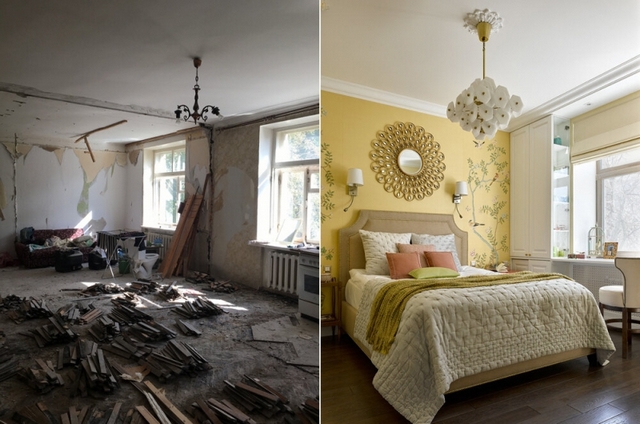
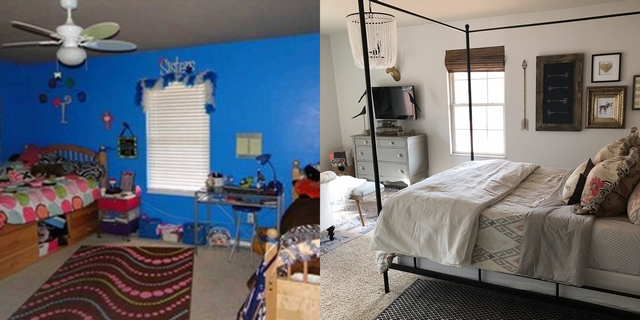
So, feeling inspired? Apartment renovations in before and after photos look entirely different. We hope that today you’ve realized that bringing your ideas to life is genuinely possible. Create beauty around you because you deserve it.
Good luck!

Leave feedback about this