- 1. DIY Seashell Wall Panel
- 2. Preparing to Create a DIY Seashell Wall Panel
- 3. DIY Shell Wall Panel for Beginners: Photos and Main Manufacturing Processes
- 4. Advanced Shell Panel Options for Walls
- 5. Wall Panel Made from Coffee Beans
- 6. DIY Wall Panel Made from Buttons
- 7. DIY Wooden Wall Art
- 8. DIY Paper Decorative Wall Art
- 9. DIY Wall Art with Threads and Nails
Making a wall panel by yourself is a great chance not only to create a beautiful unique decoration for your apartment but also to add a touch of home warmth and uniqueness. Designers also use such decor to hide imperfections and unevenness of surfaces, protect the coating from dirt, and visually expand the space. To craft a panel from available materials, you can use fabric, leather, paper, photos, threads, beads, bottle corks, mosaics, glass fragments, grains, seashells, stones, and much more. In this article, we will explore some unique ideas for creating such decor, including pictures. Get inspired with us and boldly start decorating your living space.
DIY Seashell Wall Panel
When vacationing by the sea, kids love to collect various seashells scattered along the shoreline. But, when they return home, they often don’t know what to do with them. Stashed away in bags, these seashells and pretty stones just end up adding to the clutter in cabinets and shelves for years. However, they can be an excellent material for creating a wall panel by yourself. Their diverse shapes and colors can help produce stunning compositions that will beautify any room, especially if the interior has a maritime theme.

Preparing to Create a DIY Seashell Wall Panel
A seashell panel will require items like seashells, a frame (you can use a photo frame, board, or plywood), glue, and acrylic paints (stain, nail polish). You’ll also need background material – fabric, burlap, mesh, or sand. Depending on the design, additional elements might include beads, buttons, stones, rhinestones, etc.
First and foremost, you need to process the seashells – wash them, dry them, and sort by type and size. To enhance their brightness while maintaining their original color, you can coat them with stain or clear nail polish. Some panel designs may need different colors. In that case, you can paint the seashells with acrylic paints or use a potassium permanganate solution. The frame can also be treated, for instance, painted in blue or white.
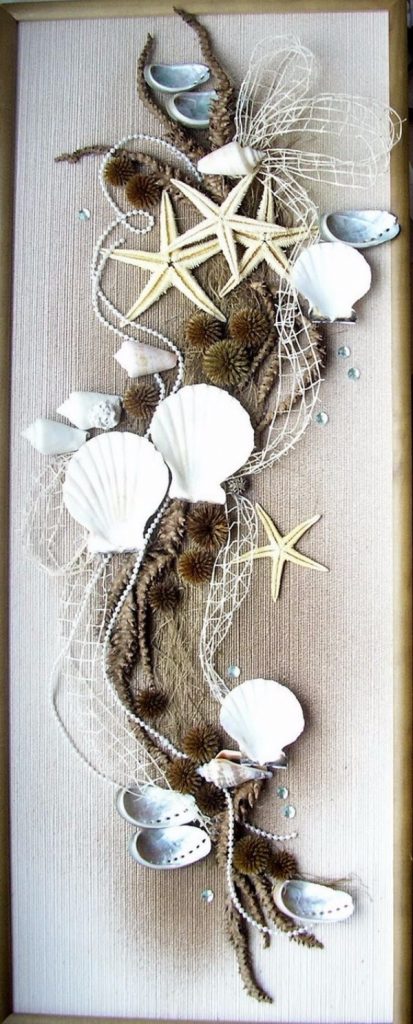
You can arrange various types of shells randomly on a flat surface, and it will look pretty appealing, as shown in the photos. Or you can create different designs for panels with your own hands, like a seascape, ship, doll, flowers, etc. In this case, you’ll need to sketch out a design and then apply the prepared material to it.
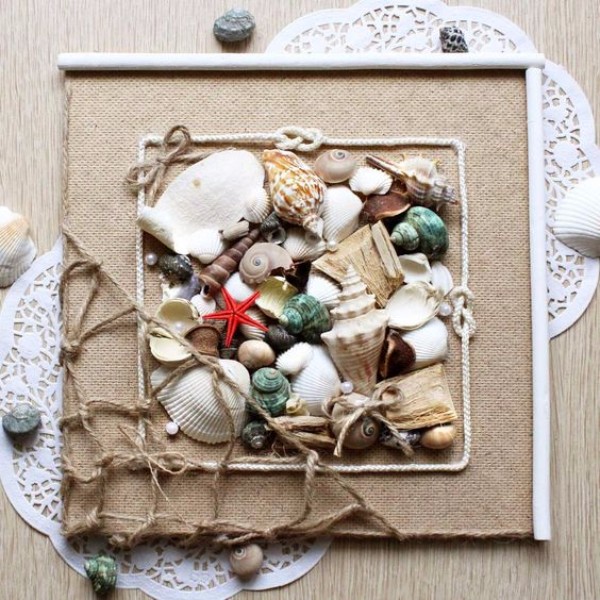
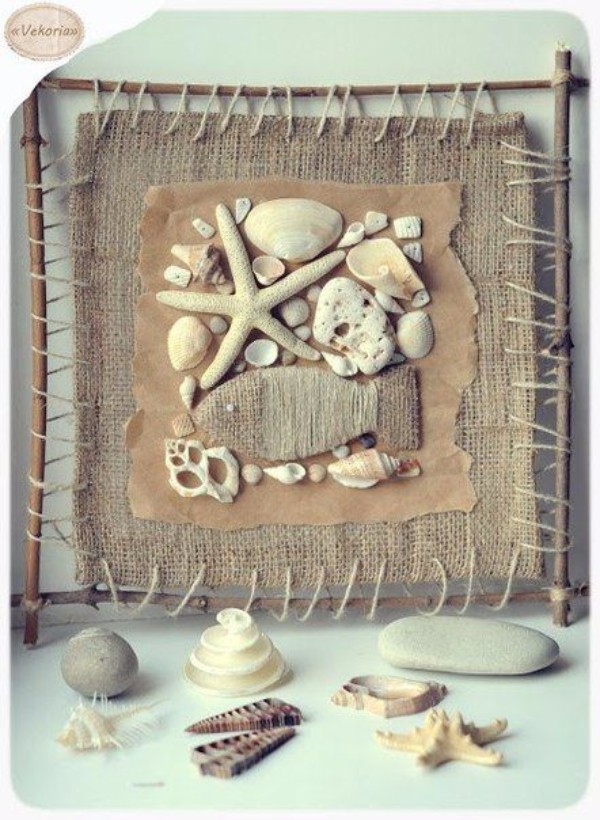
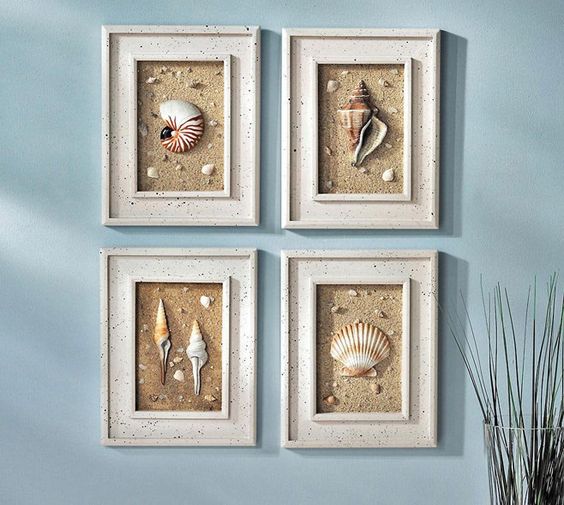
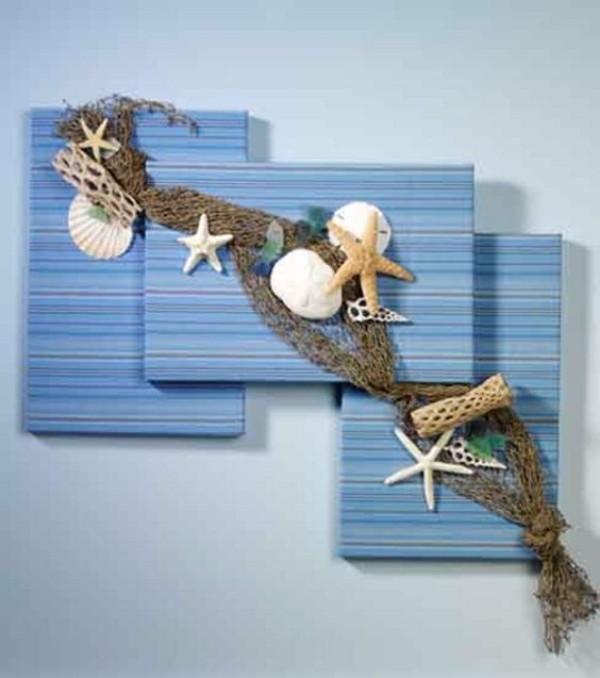
DIY Shell Wall Panel for Beginners: Photos and Main Manufacturing Processes
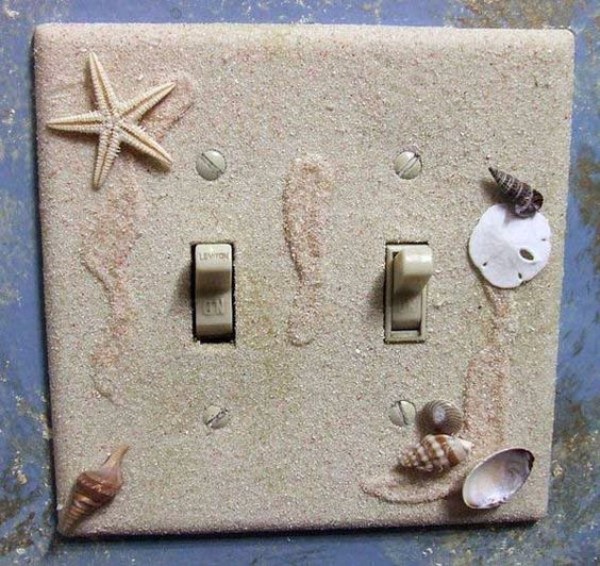
Let’s start with the simplest models that even a child can make, like a random design. First, apply a background fabric or sand to the base using glue and assemble a frame. You can paint the background in any suitable color before gluing materials. Some pictures suggest a solid color, in which case you paint the entire finished composition. Now start gluing various shells. You can also decorate empty spaces with beads, threads, and other available materials.
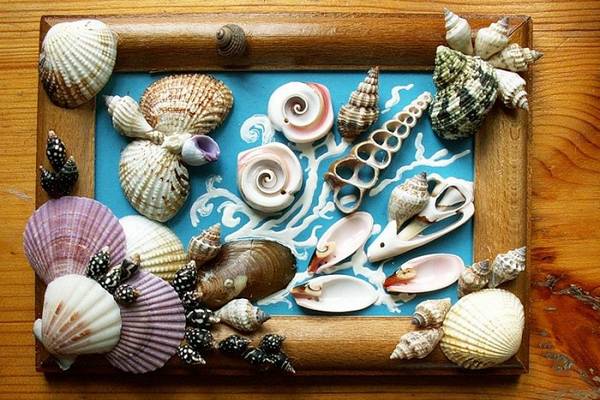

A shell panel in the form of a seascape looks quite beautiful (and we can see this in the photos). It’s not hard to create such a picture, and it will remind you of a good vacation by the sea for a long time.

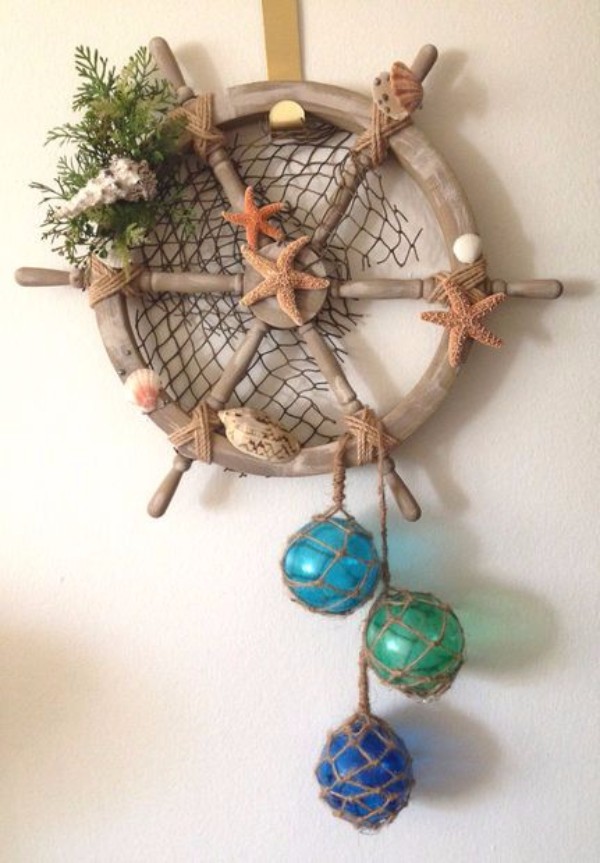
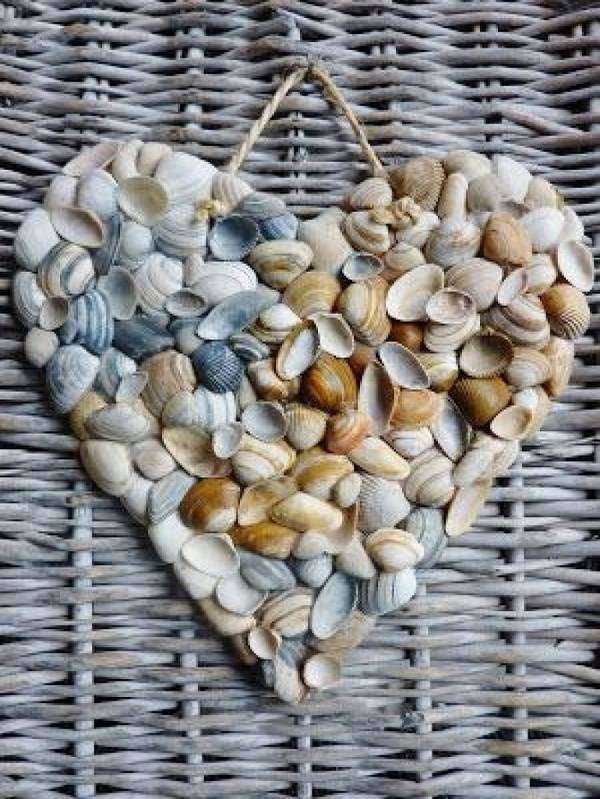
Advanced Shell Panel Options for Walls
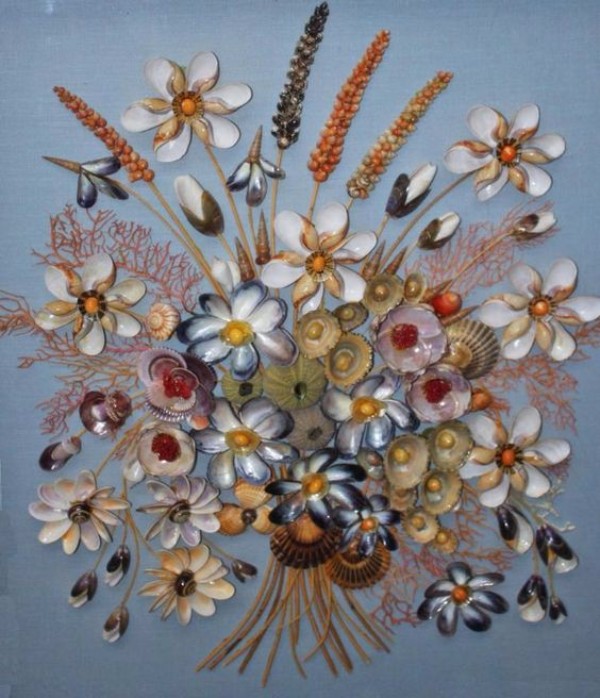
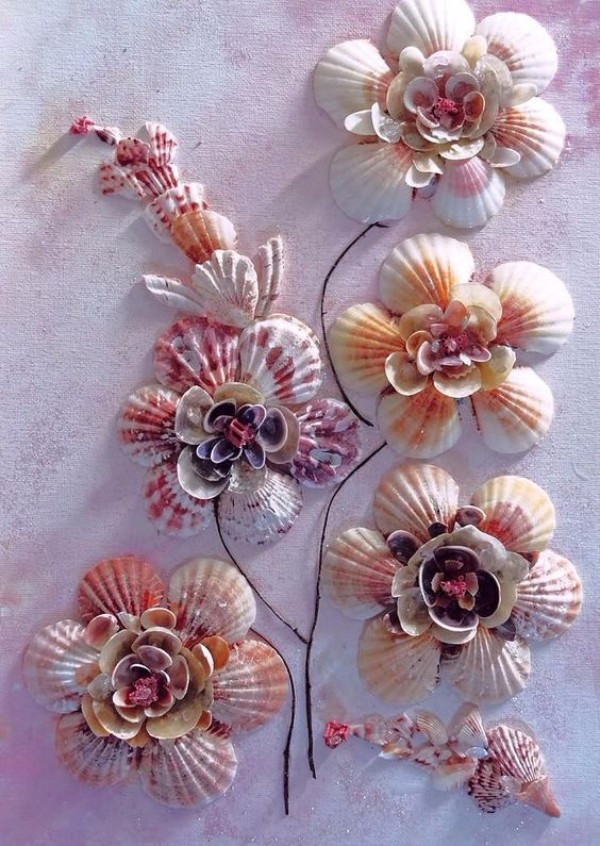
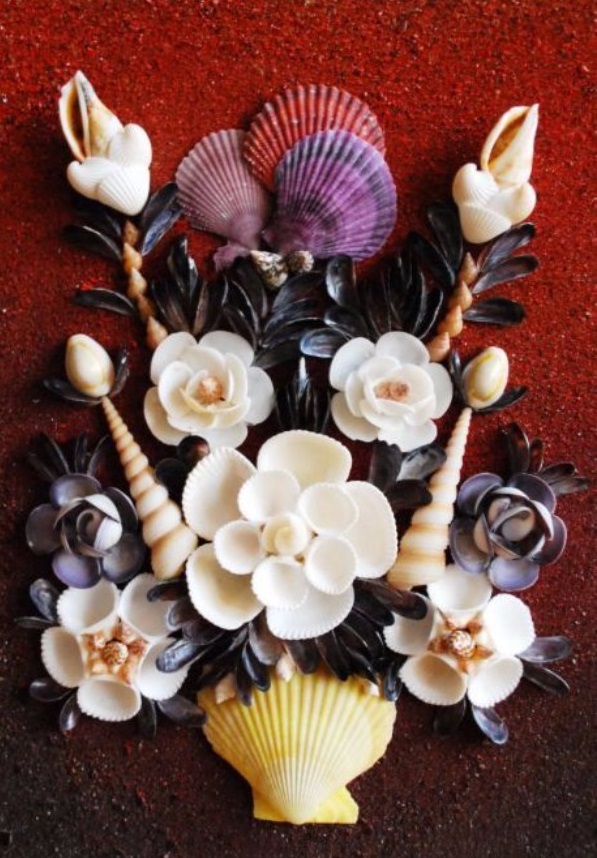
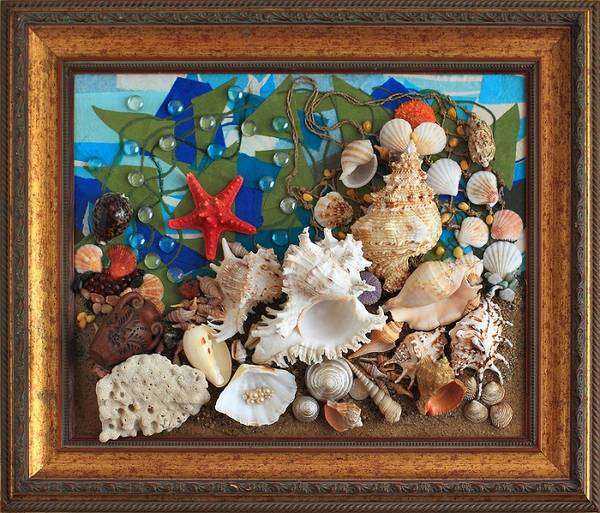
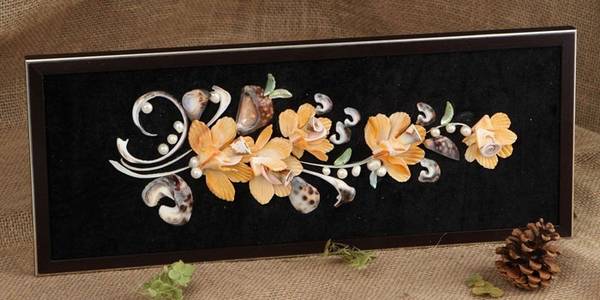
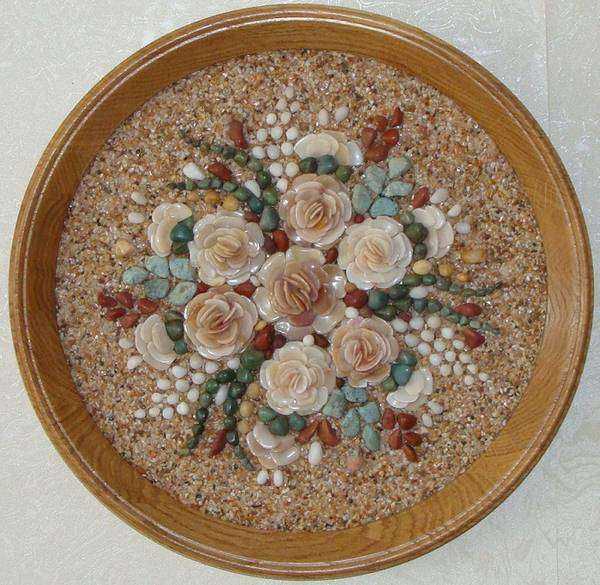
Panels, like paintings, can have various themes. For example, a shell panel might depict a lush bouquet which, as seen in the photos, will look very realistic and three-dimensional. To achieve this, it’s best to give different shades to the shells with paints. First, select shells of suitable sizes, from which buds and then centers are formed. You can use thick threads or rows of beads as stems.

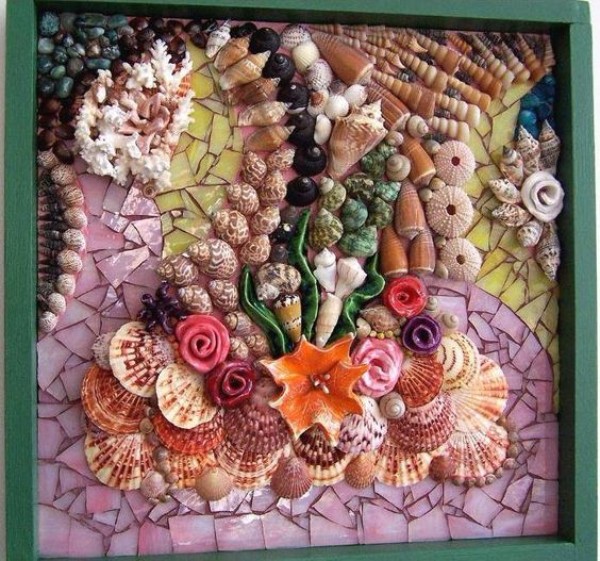
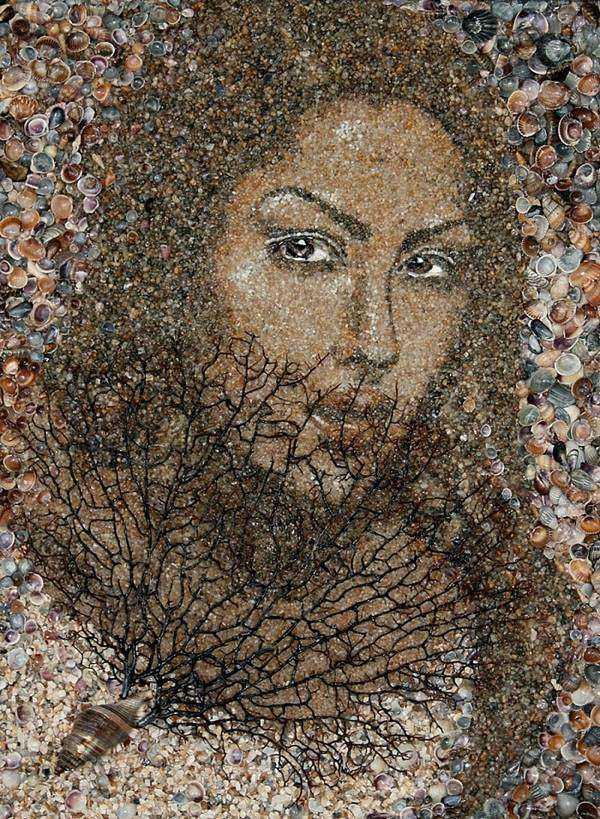
Seashore pebbles can enhance such a picture in the best way. In the photos, we see how gracefully a panel made of shells and stones looks. If you want to depict an animal in the picture or create a portrait, make sure you have enough similarly-sized shells. Below are examples of such works.
Wall Panel Made from Coffee Beans
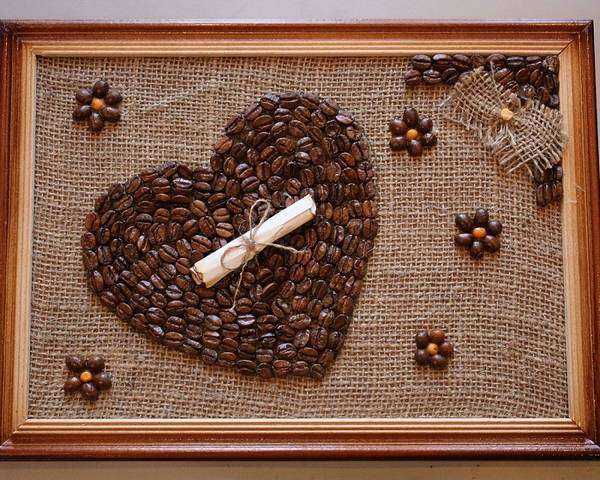
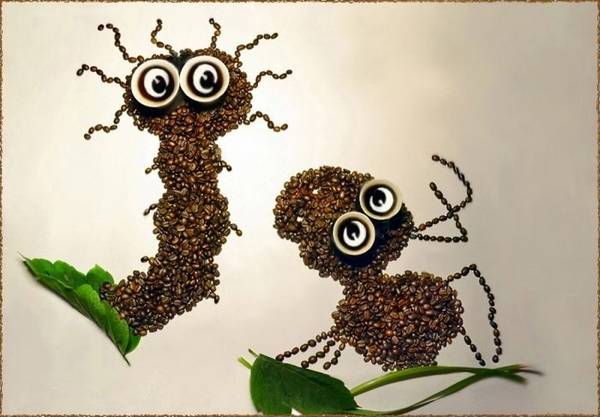
A panel made from coffee beans beautifully decorates a kitchen, adding a fitting decorative element. You can design such pictures for other rooms as well by choosing a suitable design. These might include images of various cute animals for children’s rooms, beautiful hearts for bedrooms, etc. To make a panel from coffee beans yourself, you’ll need, of course, the coffee beans, glue (like PVA, “Moment” or, most conveniently, a glue gun), a base made of plywood, board or picture frame, and additional elements: fabric for the background, felted rope, burlap, scissors, and a pencil to sketch the design.

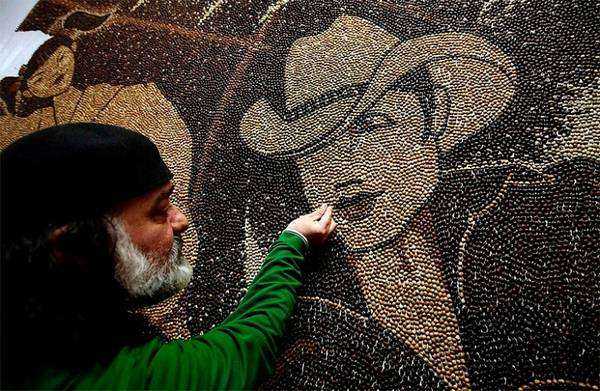
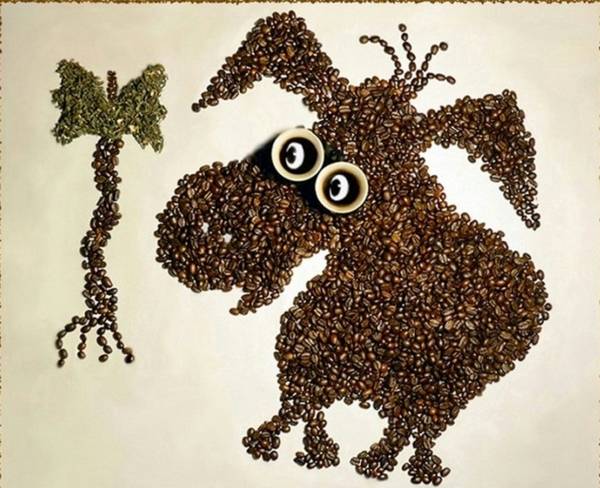
Some skilled individuals manage to form entire portraits and pictures from coffee beans, but such work requires some skills, so it’s better to start with simpler images.
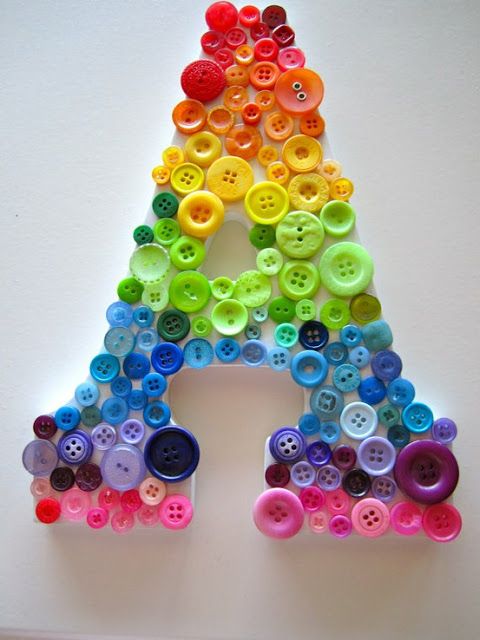
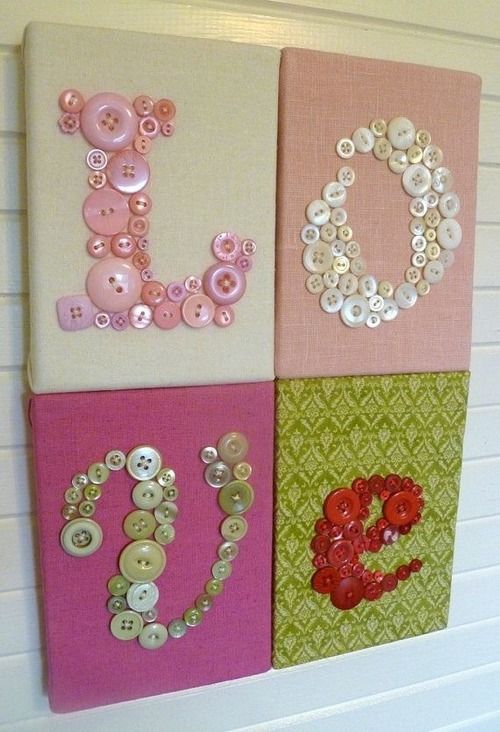
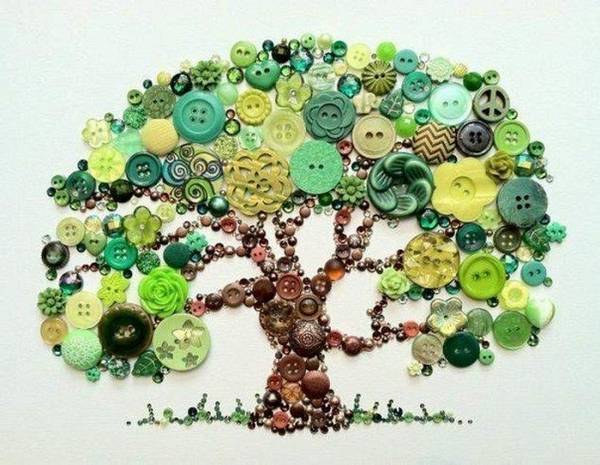
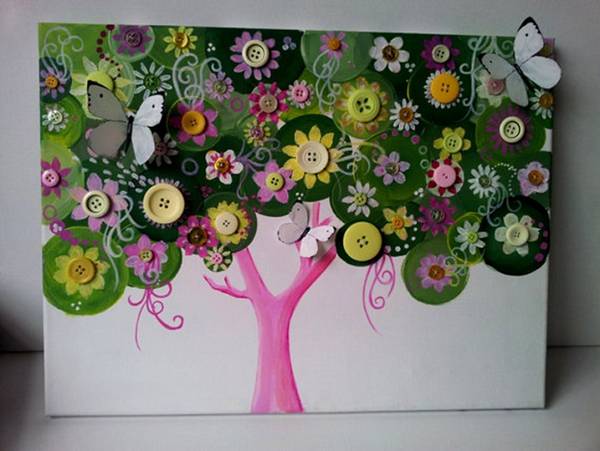
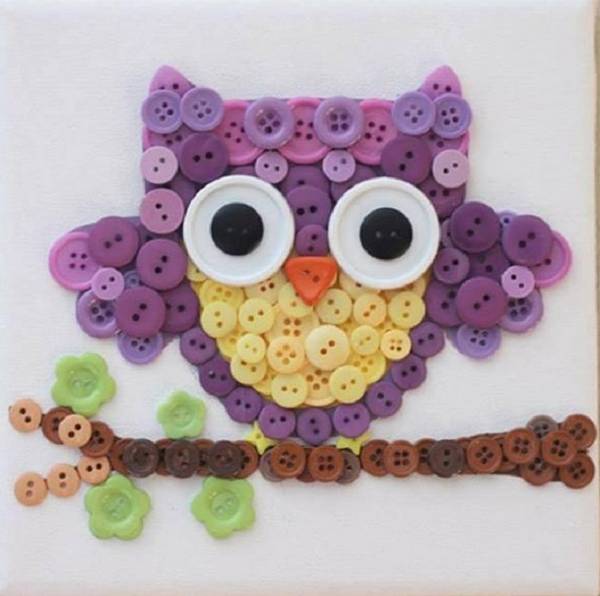
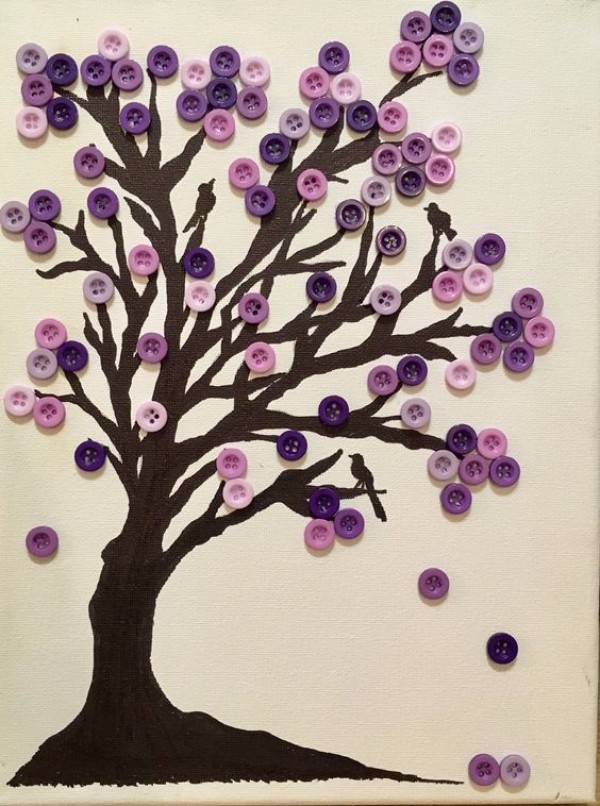
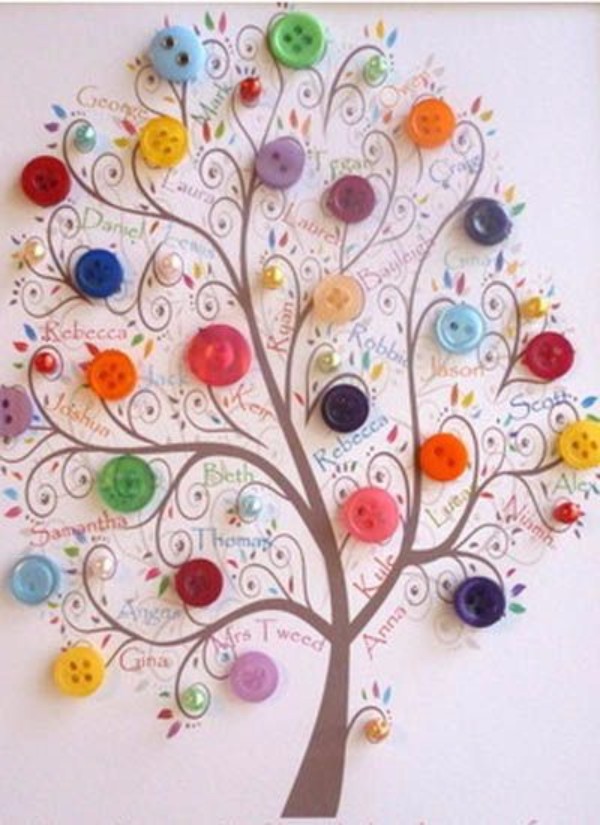
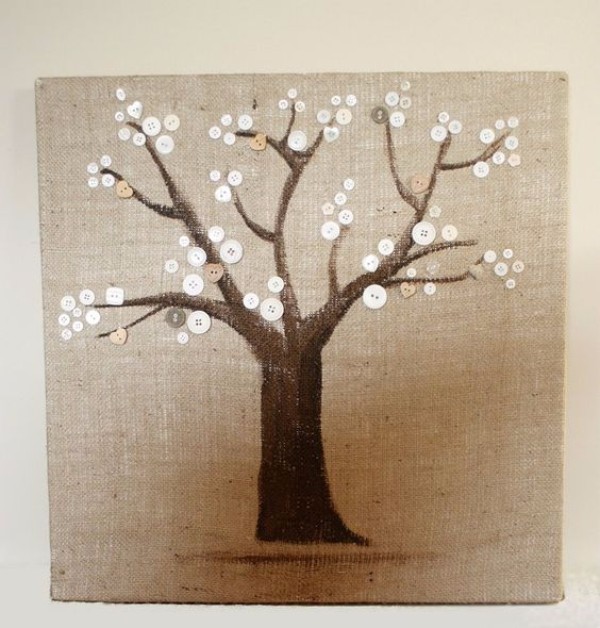
DIY Wall Panel Made from Buttons
Many homeowners probably have boxes filled with various buttons left over from worn-out items. They might lie around for years, unused, considered unnecessary clutter that’s too precious to throw away. But with a little imagination and creativity, you can make a beautiful wall panel yourself from them. For example, using the least demanded green and brown buttons of various shades, you can create a wonderful “money” tree, as shown in the photo. In this case, you only need a board, glue, and a pencil for sketching out the design from materials commonly found at home, so crafting such a panel won’t incur any extra costs.

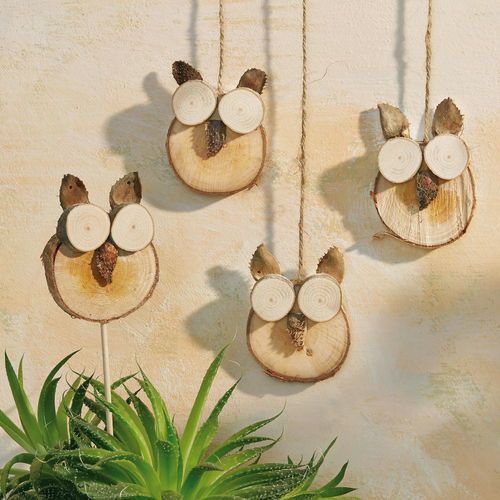
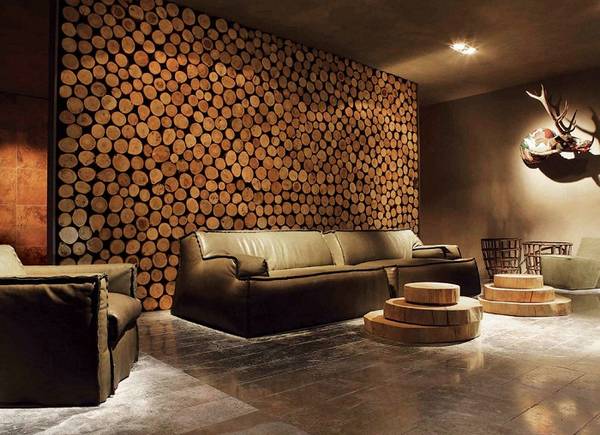
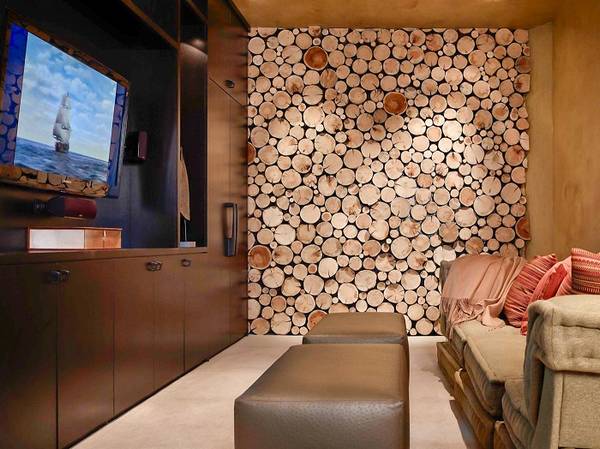
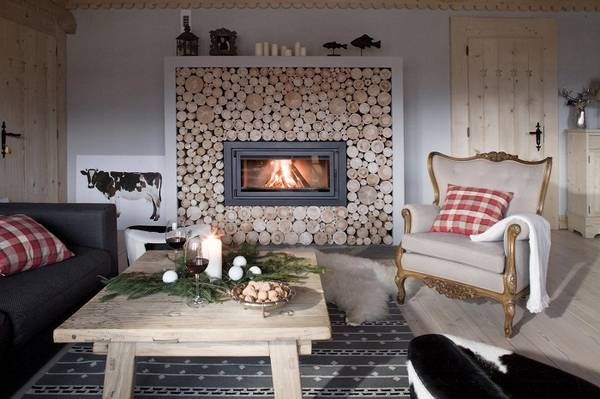
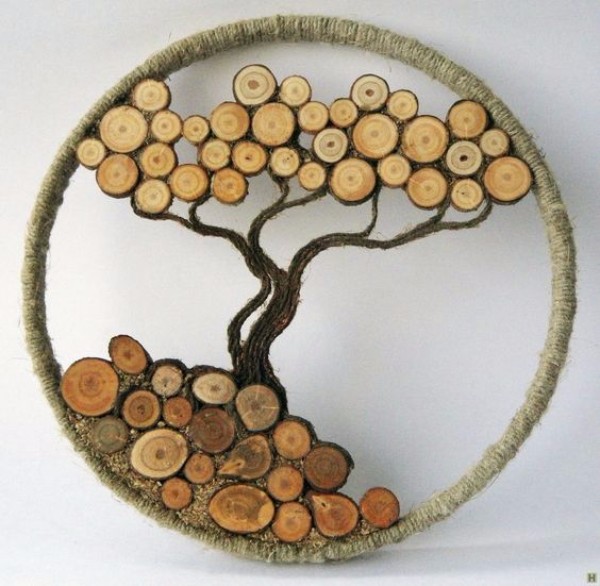
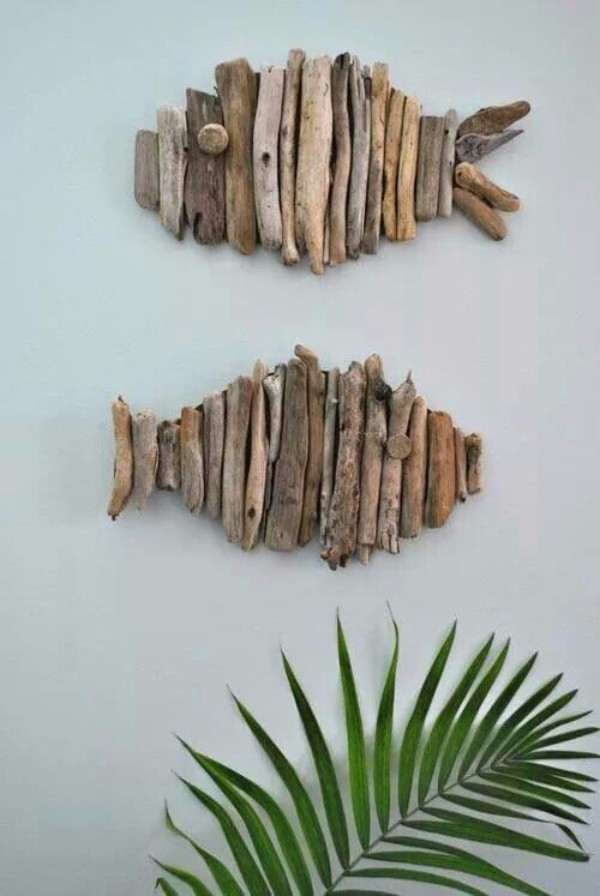
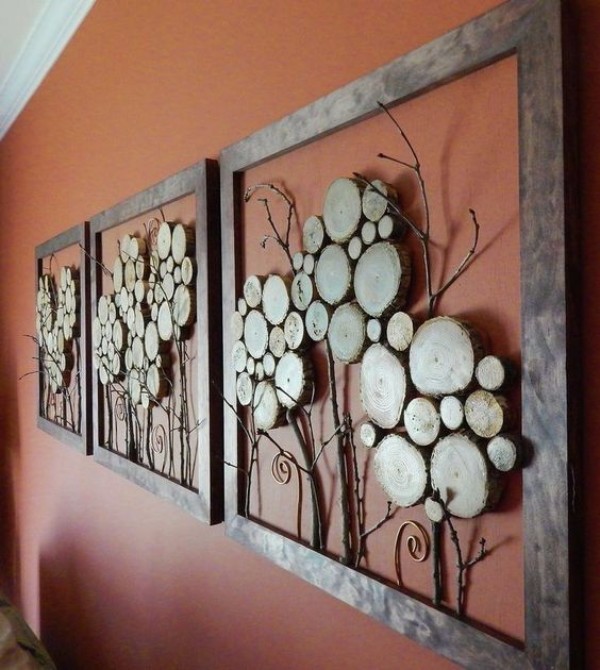
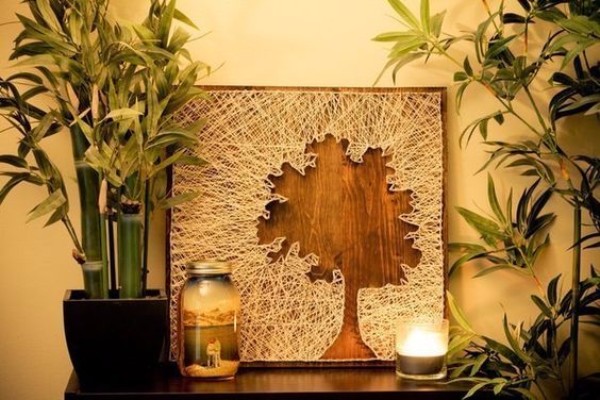
DIY Wooden Wall Art
One of the modern interior design trends involves the use of eco-friendly materials, especially wood. In this context, a decorative wooden wall art piece made by hand becomes an excellent choice for adorning a blank wall. Let’s explore how to make wall art using tree branches.
All you need is: a sheet of thick cardboard or particleboard, glue (it’s best to use hot glue, which dries very quickly), a saw, varnish, brushes, and of course, branches from different types of trees varying in thickness. For framing, you can use wooden slats or molding.
The size of the canvas depends solely on personal preference. Before making the wall art, plan out its shape, dimensions, and potential shades.
First, create the frame. Here, you’ll need an additional tool – a miter box, which allows you to cut the pieces at a 45-degree angle (45°). Attach the finished frame to the base using small nails or a stapler. Then, cut discs from the branches, and the thickness can vary.
Arrange the prepared pieces on the canvas in a random order, starting with the largest and ending with the smallest, which will fill in the gaps. Once everything is in place and the canvas is fully covered, start gluing all the pieces down. After that, wait for the glue to dry and apply a coat of varnish. It will add a glossy finish and also provide a protective layer against moisture and harmful insects. With that, your DIY wall art is complete. All that’s left is to install it.

Also Read: DIY Home Decor: Descriptions and Photos of Unique Ideas
DIY Paper Decorative Wall Art
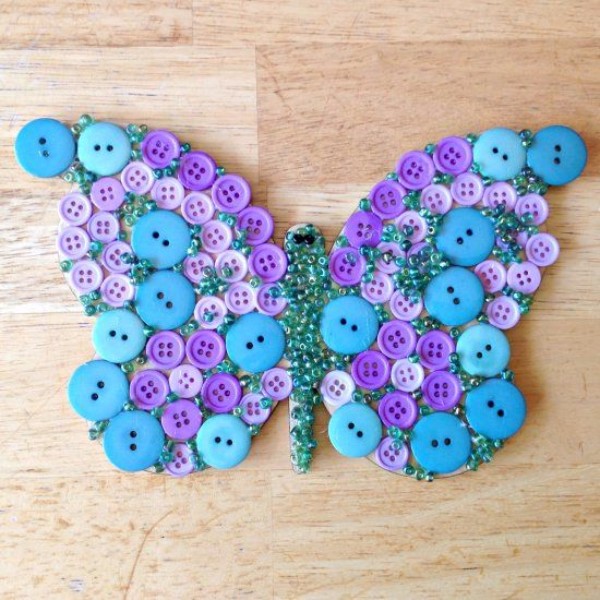
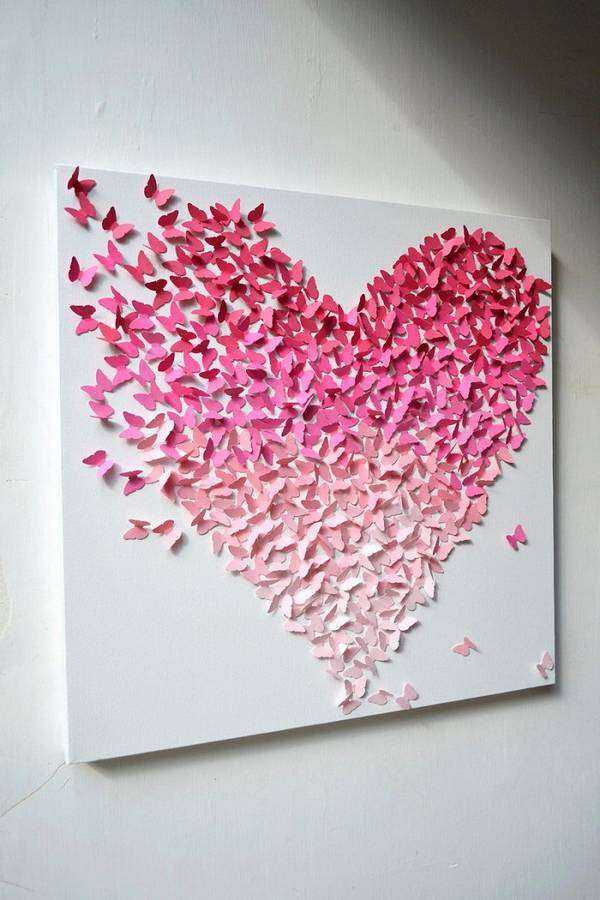
To create a delicate and unique interior, you can handcraft a “butterfly” wall art. Photos show how creatively such a piece can enhance an interior design. Moreover, if you’re willing to put in the effort, you can adorn paper butterflies with various beads and create shaped wings using special scissors. The surface for applying these tiny elements can be either the wall itself or plywood placed on the surface. You can attach the butterfly to the surface using double-sided tape.
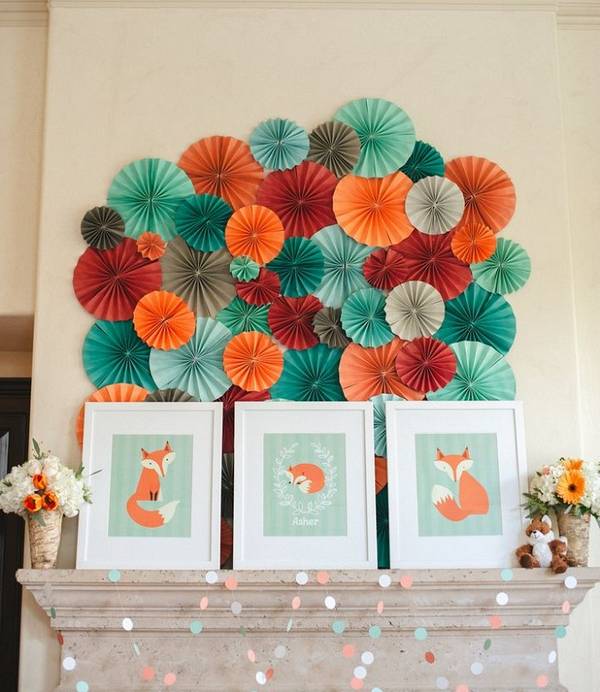
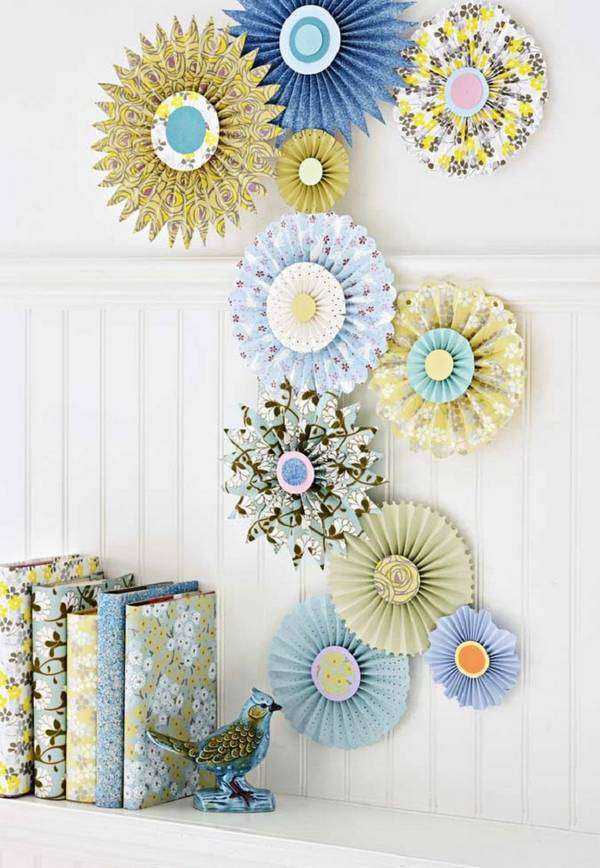
Using paper, you can craft genuine 3D wall art. For this, take square sheets of colored paper and fold them accordion-style. Then, fold each sheet in half and stretch it out, resulting in a circle (photos below). Staple the shapes together and attach them to the wall. Such art can serve not only as decor but also as a cover-up for wall imperfections.

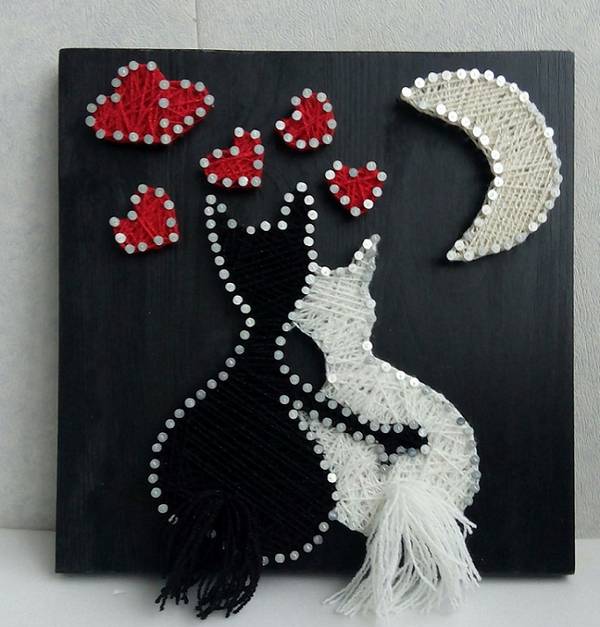
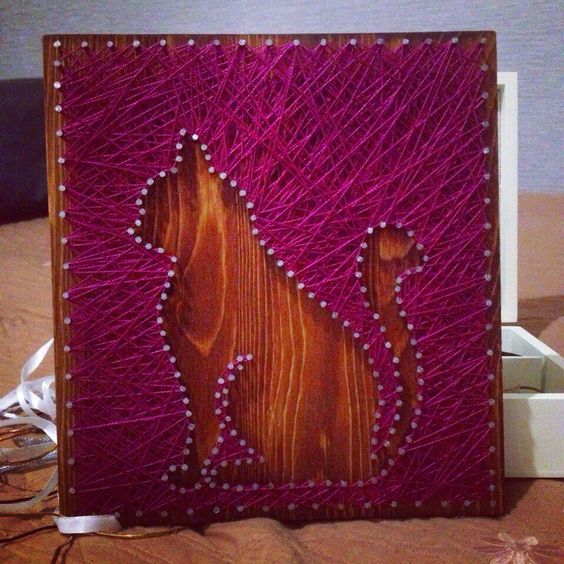
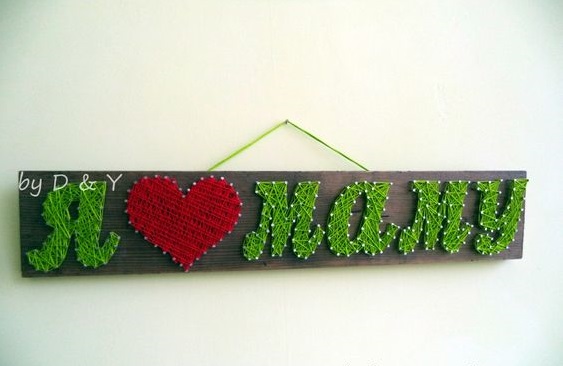
DIY Wall Art with Threads and Nails
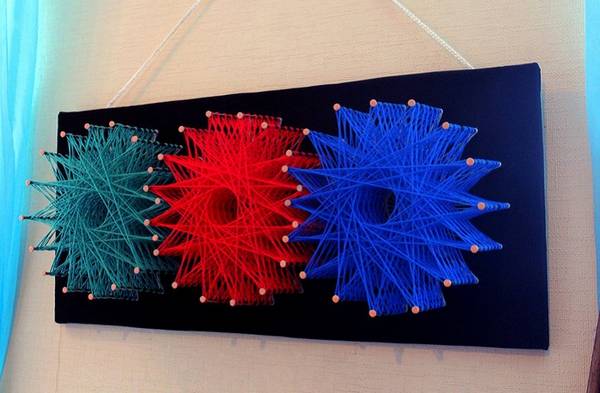
A unique interior decoration can be stylish wall art made using regular nails and colored threads. This art form is known as string art. The base for this craft can be wood or foam. In the latter case, you can replace nails with pins. A paper template gets placed onto the base (you can paint it beforehand with acrylic paints) and gets secured around the perimeter with nails (or pins). Carefully remove the paper, and then wrap the threads around the nails in any pattern, ensuring an even thickness throughout. There are examples of such handcrafted wall art in our article’s photos. If you find it challenging to come up with a design initially, you can use patterns and diagrams available online.
In conclusion, we’ve only explored a fraction of the myriad possibilities for creating wall art with readily available materials. However, even these examples demonstrate that such decorations, when designed appropriately, can significantly enhance the interior of any room.
Leave feedback about this