You can make your own Christmas ornaments using paper, fabric, felt, and even gifts from nature (like pine cones and acorns). In our article, you’ll find detailed guides for creating simple decorations: you’ll get great results even if you’ve never tried such crafts before. For those who are more experienced in these activities, we offer video tutorials for making more intricate items from beads, cotton, and epoxy resin.
All About Making DIY New Year’s Decor
How to Make a Christmas Tree Ornament From:
– Paper
– Felt and Foamiran
– Fabric
– Wood
– Beads
– Cotton
– Resin
– Handy Materials
Why Homemade Toys are so Popular
You might wonder why spend time and effort making Christmas decor when you can easily buy it?

There are many reasons:
- Not everything you want is available in stores, or it might be of poor quality or too expensive. Then, it’s simpler and more cost-effective to create your own Christmas tree toys.
- Such decor turns out unique: even if you strictly follow instructions, the result will always be slightly different.
- Homemade ornaments look more charming and cozy than faceless, identical store-bought balls.
- If you craft with a child or loved ones, the time spent together will become a wonderful memory for years to come.
- If you prefer to create alone, the process of bringing a Christmas masterpiece to life can be a form of meditation and a break from endless pre-holiday stress.
Even the simplest toys – from paper, pine cones, or wooden blanks – look attractive and are worthy of a place on the Christmas tree. Felt and fabric ornaments often can’t be distinguished from store-bought ones if they are made neatly. And some items made from epoxy resin can even be called works of art.







How to Make a Handmade Christmas Ornament
Paper
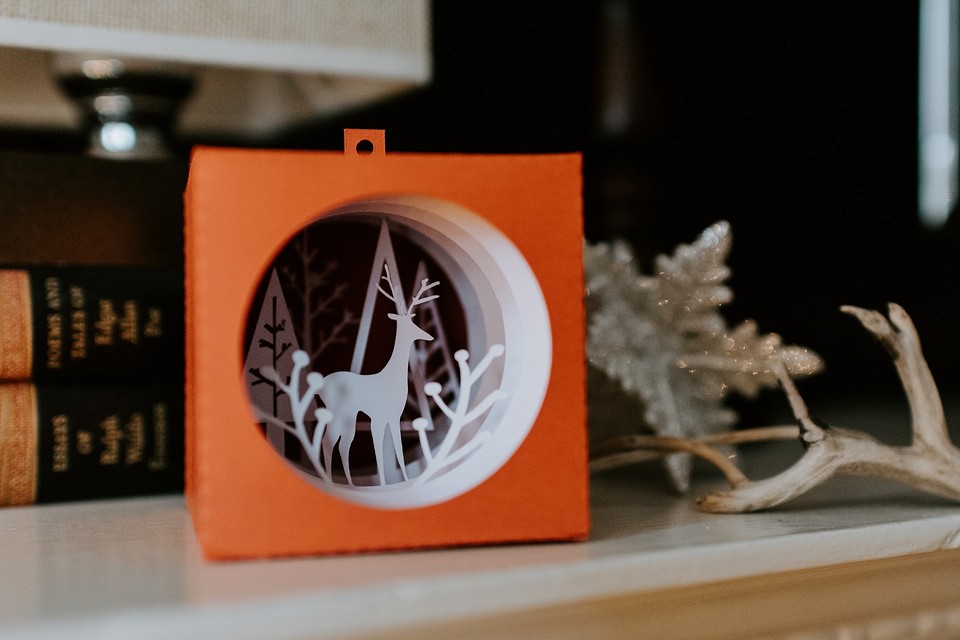
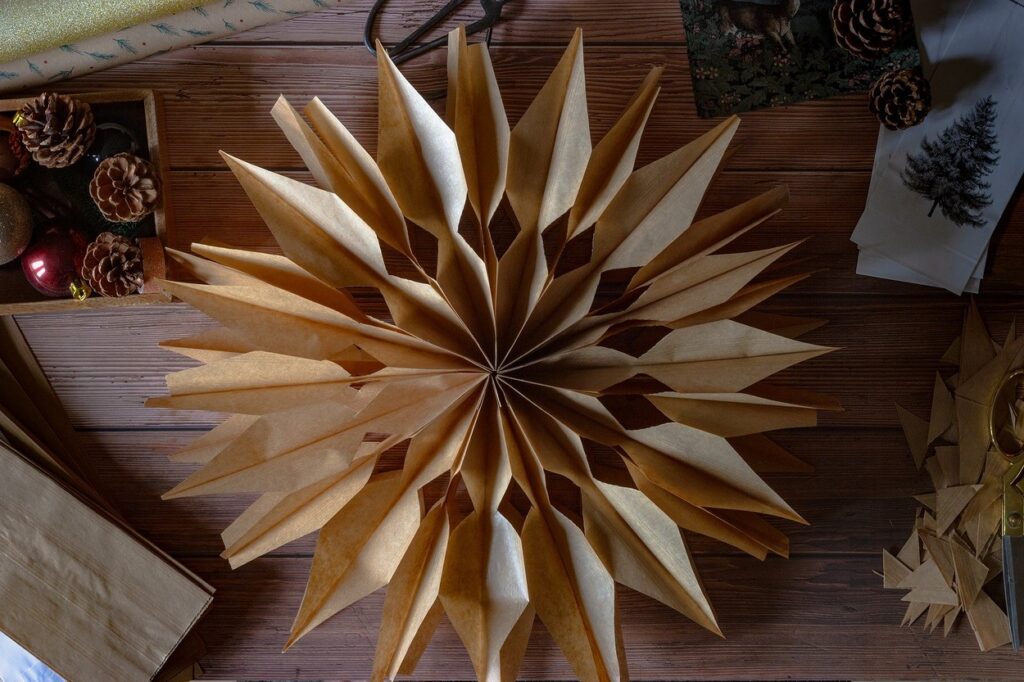
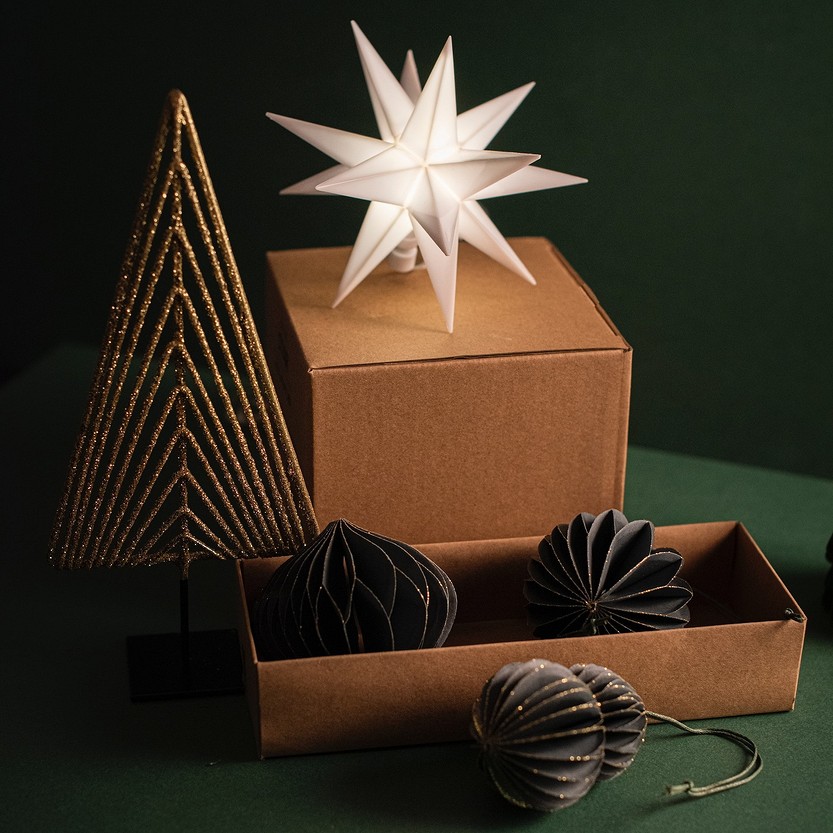
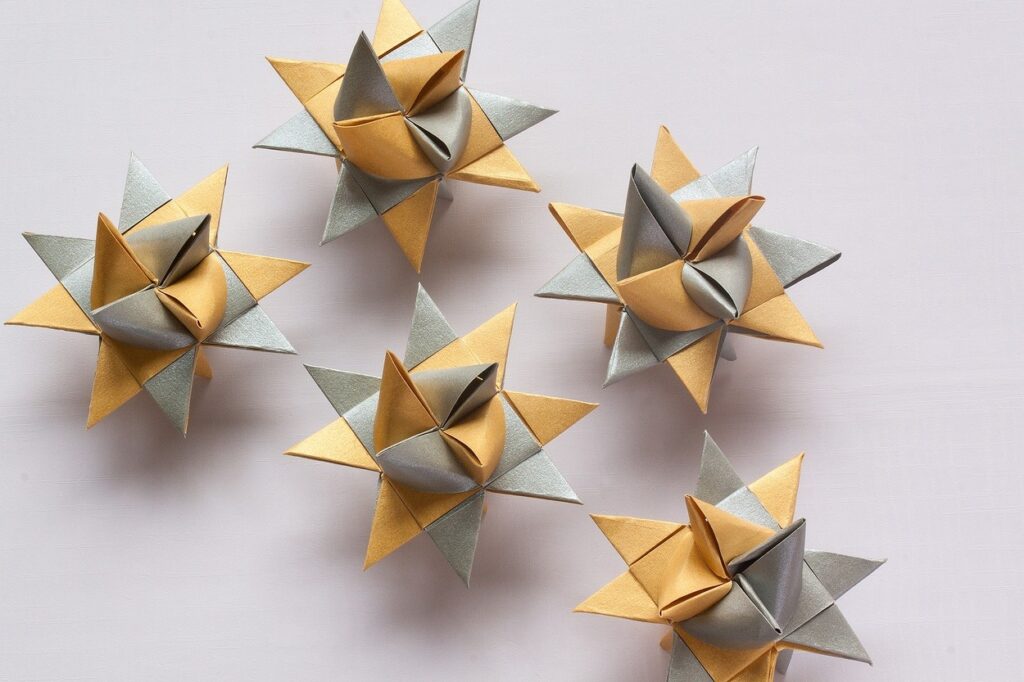
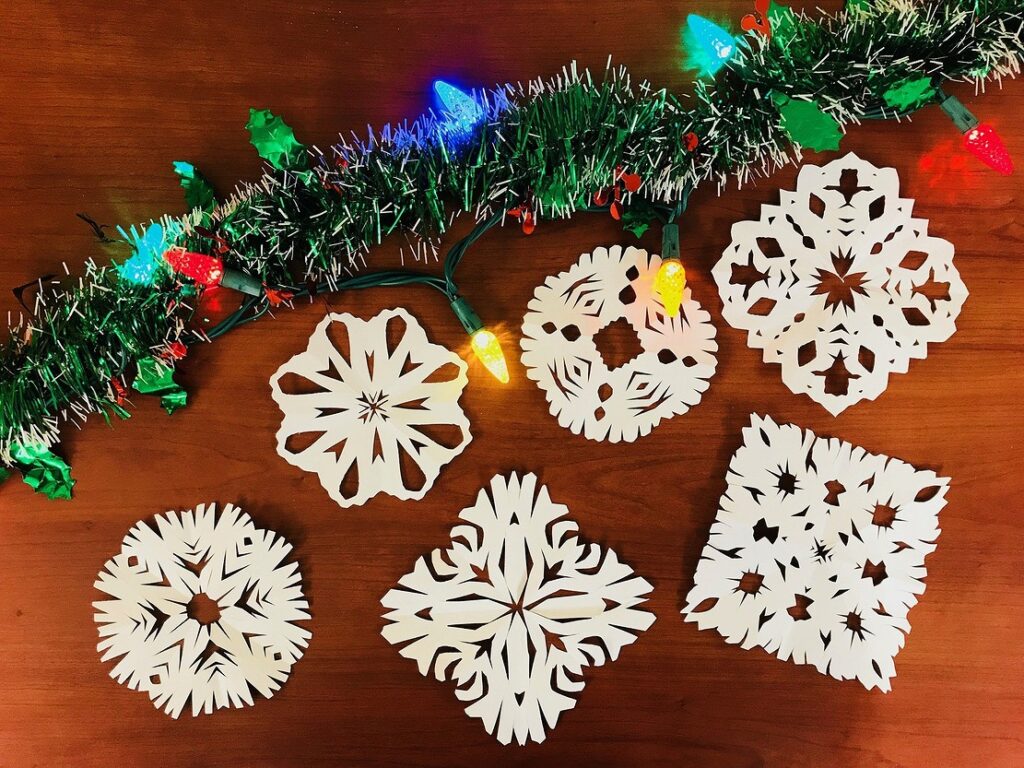
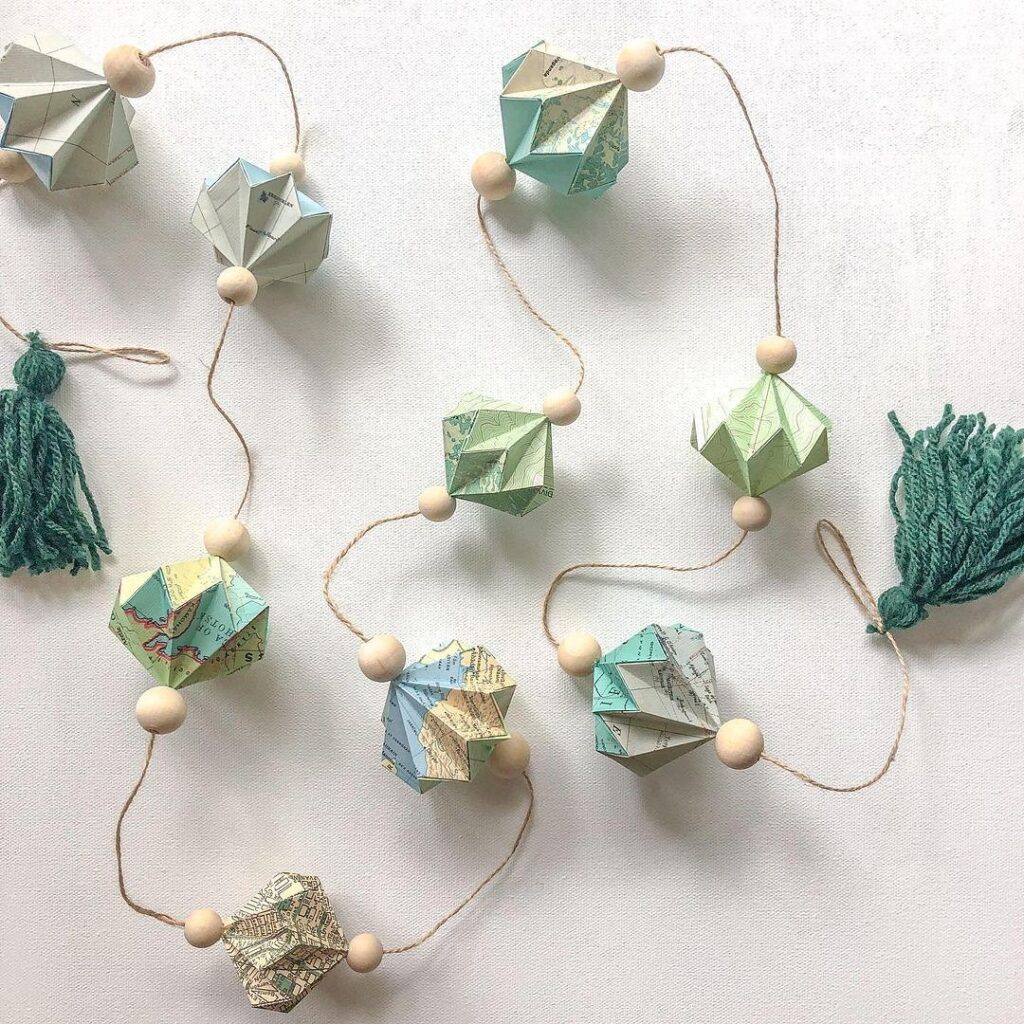
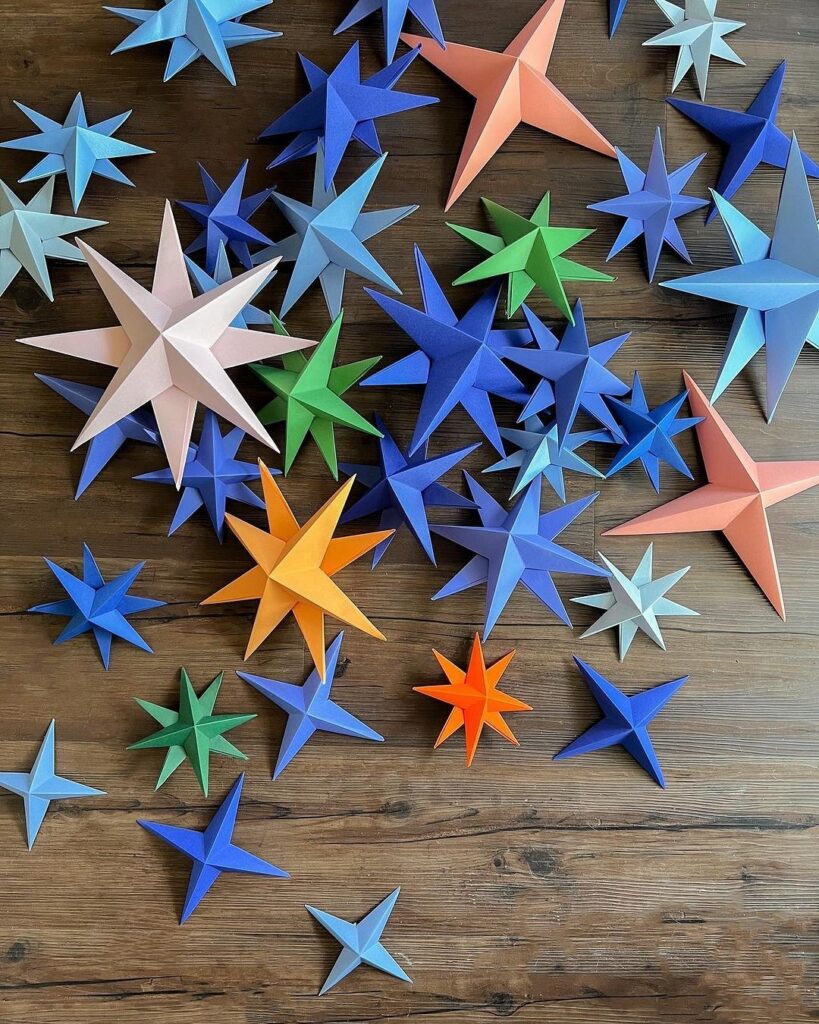
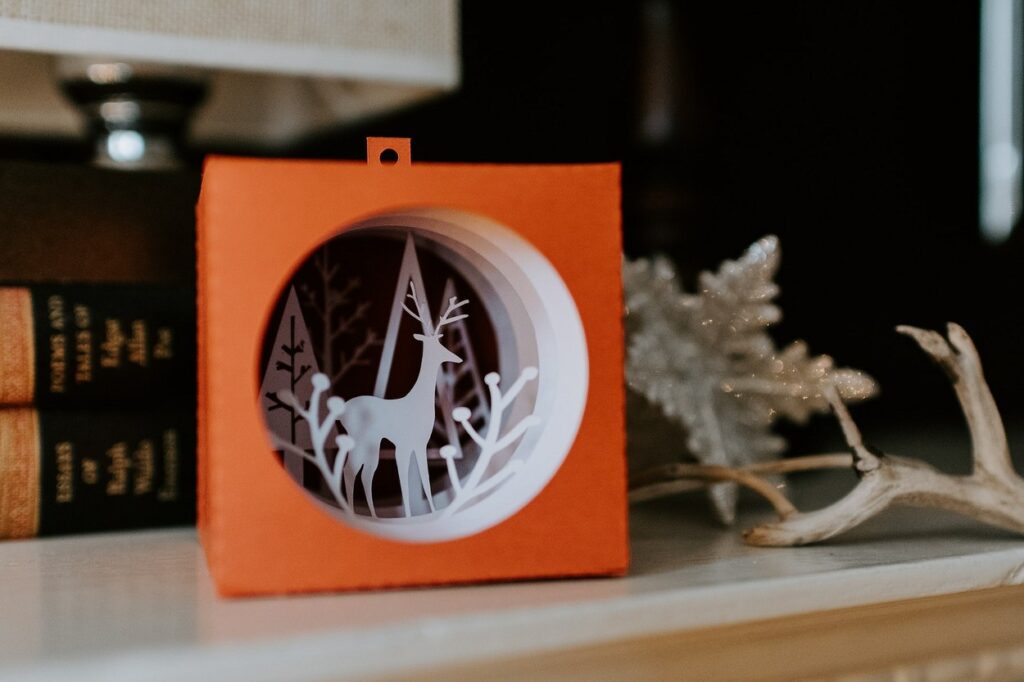
The range of decor you can make from paper and cardboard is incredibly vast. This includes classic ring garlands, balls from fancy wrapping paper, traditional snowflakes, and 3D figures.
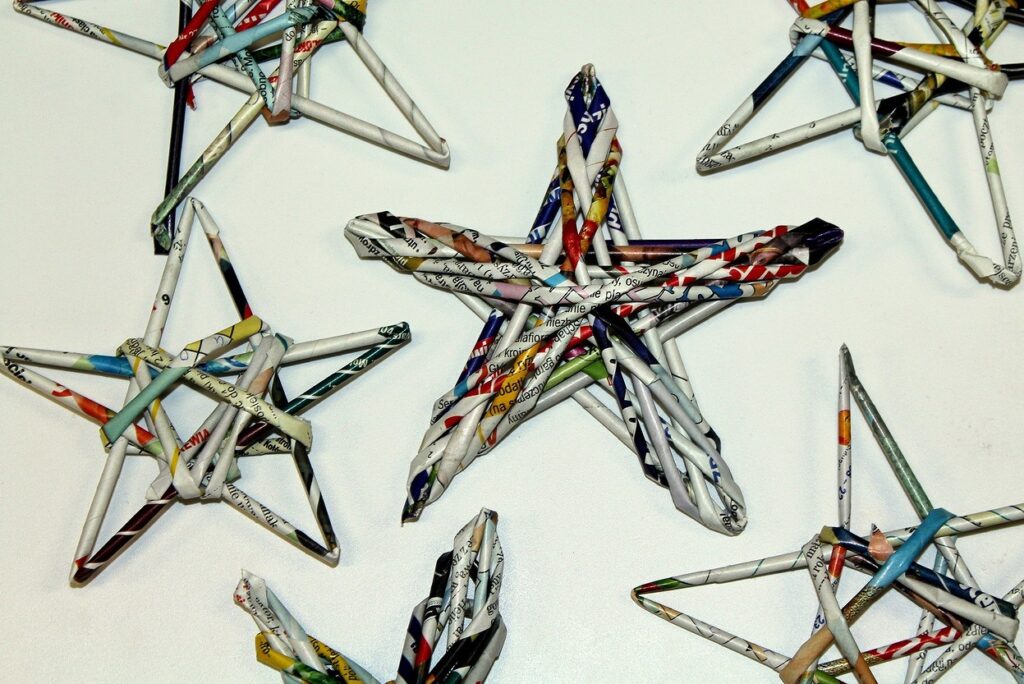
For most of these, you won’t need to buy anything: all the materials are usually already at home. Any paper will do – from white office or drawing paper to colorful corrugated paper, and for many ideas, even old magazines or newspapers are suitable. You can buy cardboard, or use unnecessary boxes from electronics – they are sturdy enough for crafts. Besides, you might need glue (PVA, office glue, glue stick) or a stapler, glitter and sparkles, acrylic paints, and ribbons for attachment.
These creations are used to decorate not just the Christmas tree, but everything around – windows, furniture, curtains.



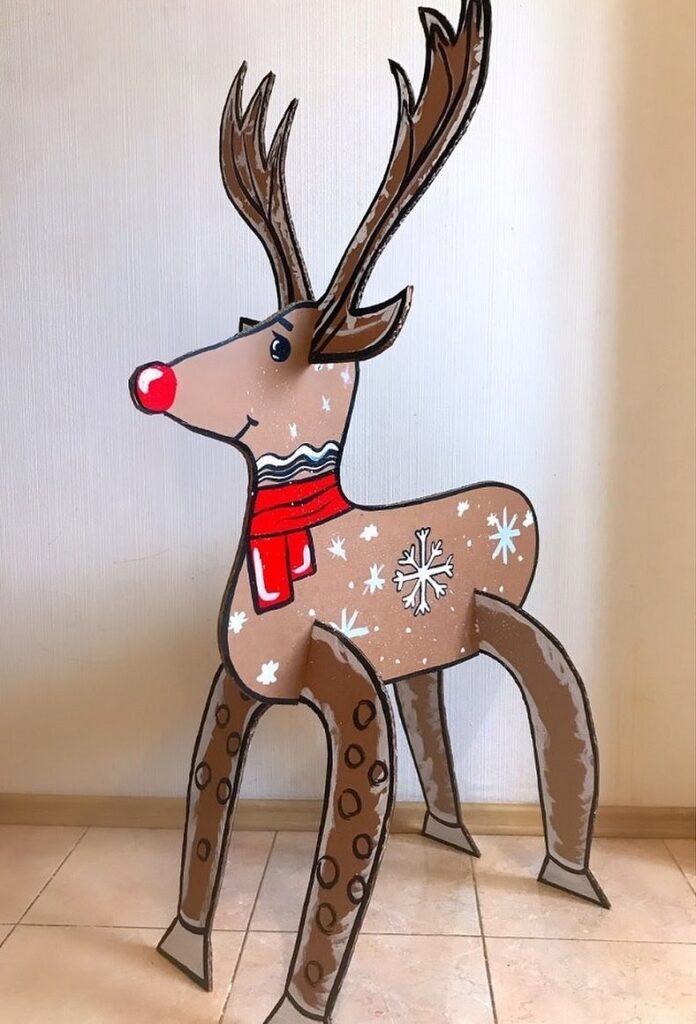
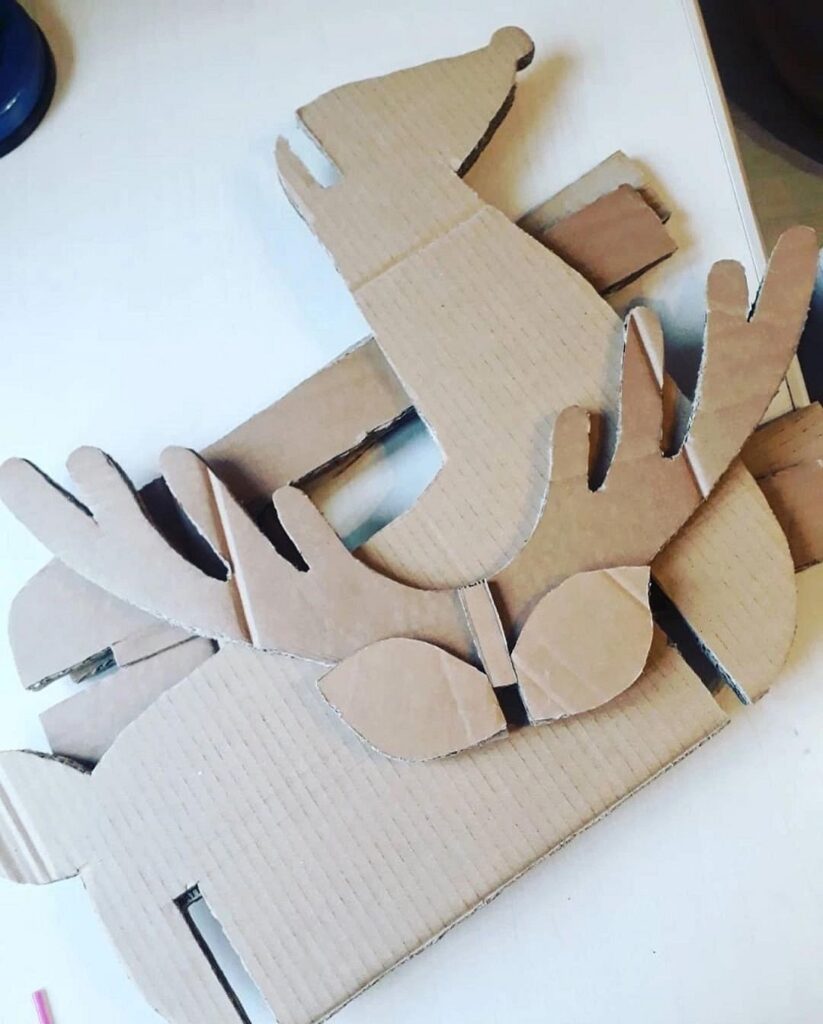
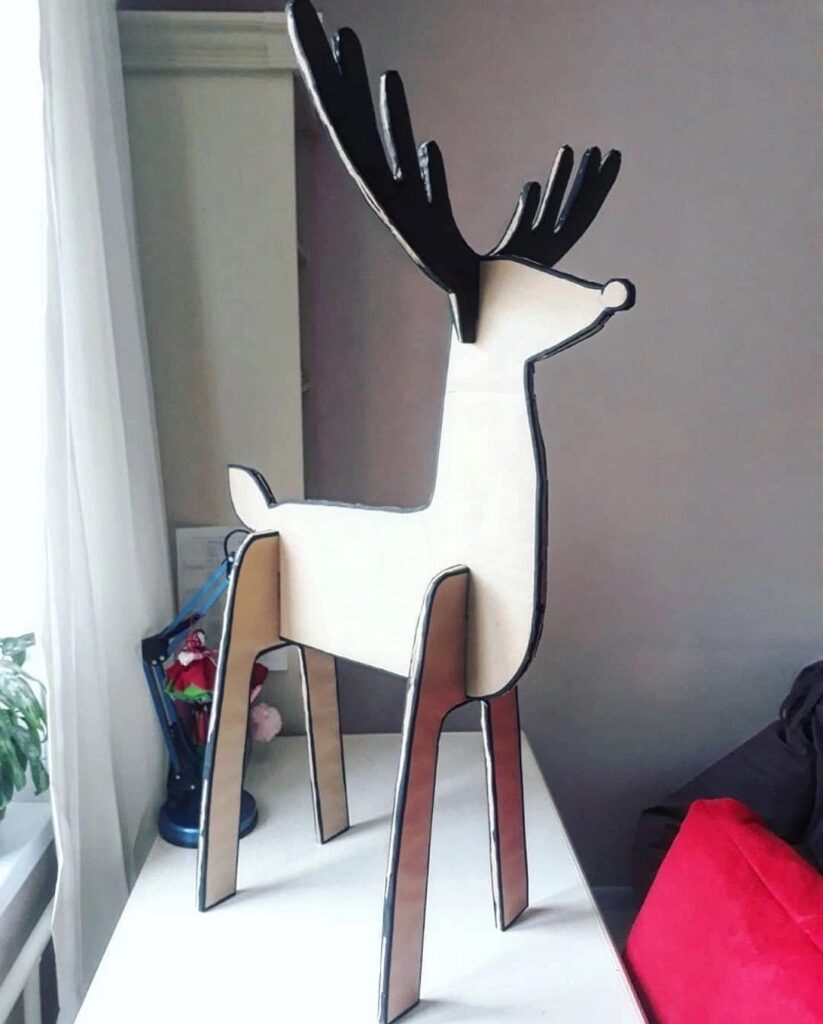
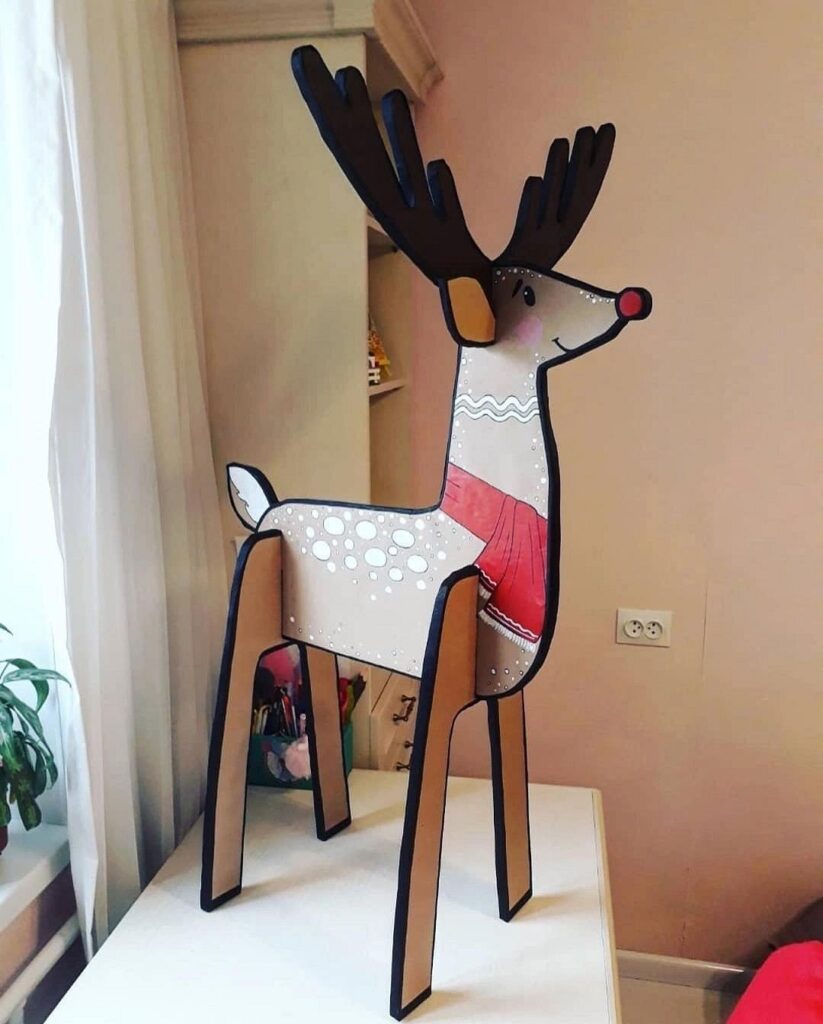
It’s easy to make a friendly cardboard Christmas reindeer. You’ll need scissors and just about 10 minutes of your time.
- Print out the template in the desired size.
- Trace the figure parts onto the cardboard. Cut them out, make slits at the indicated places.
- Assemble the pieces and decorate them – your reindeer is ready.

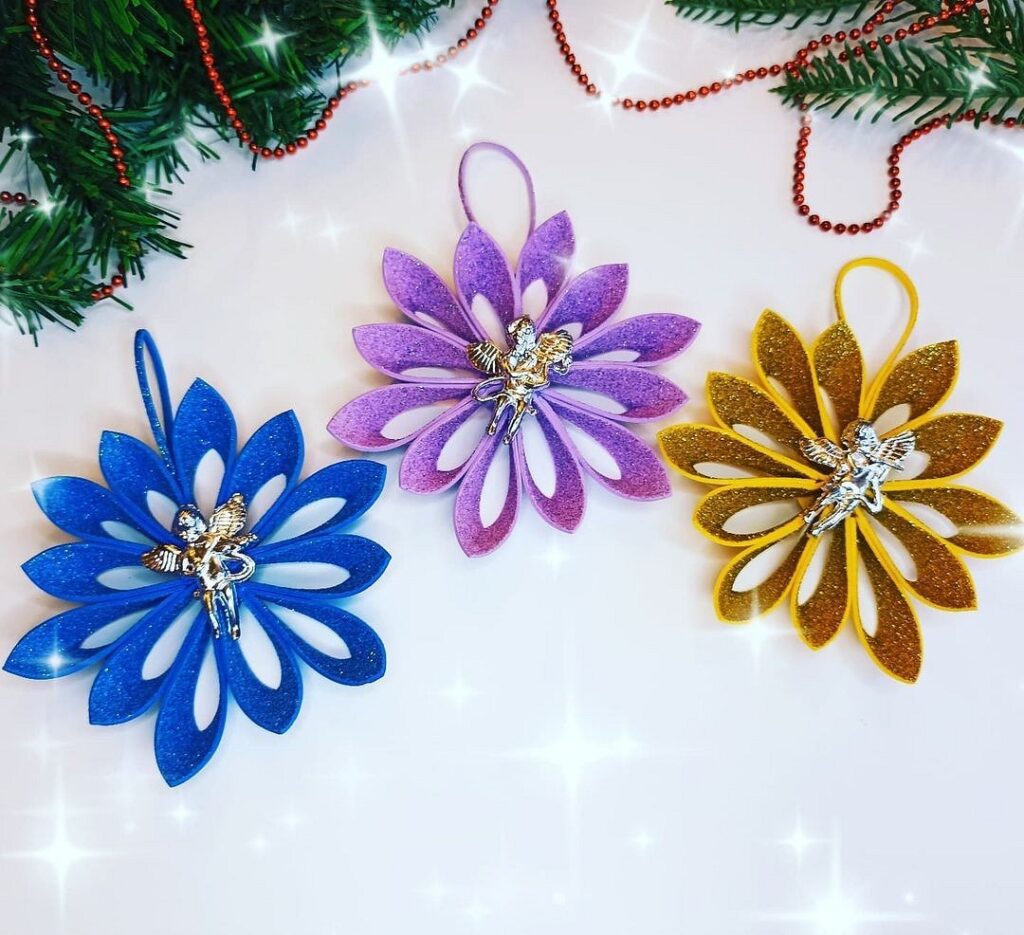
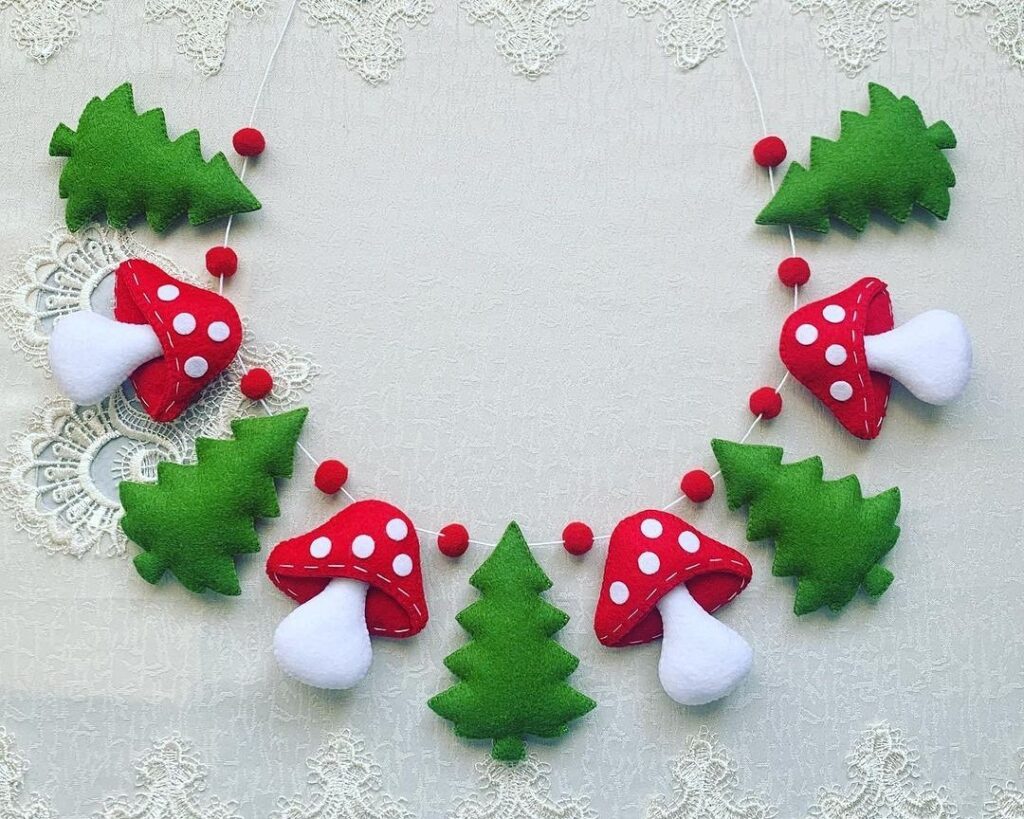
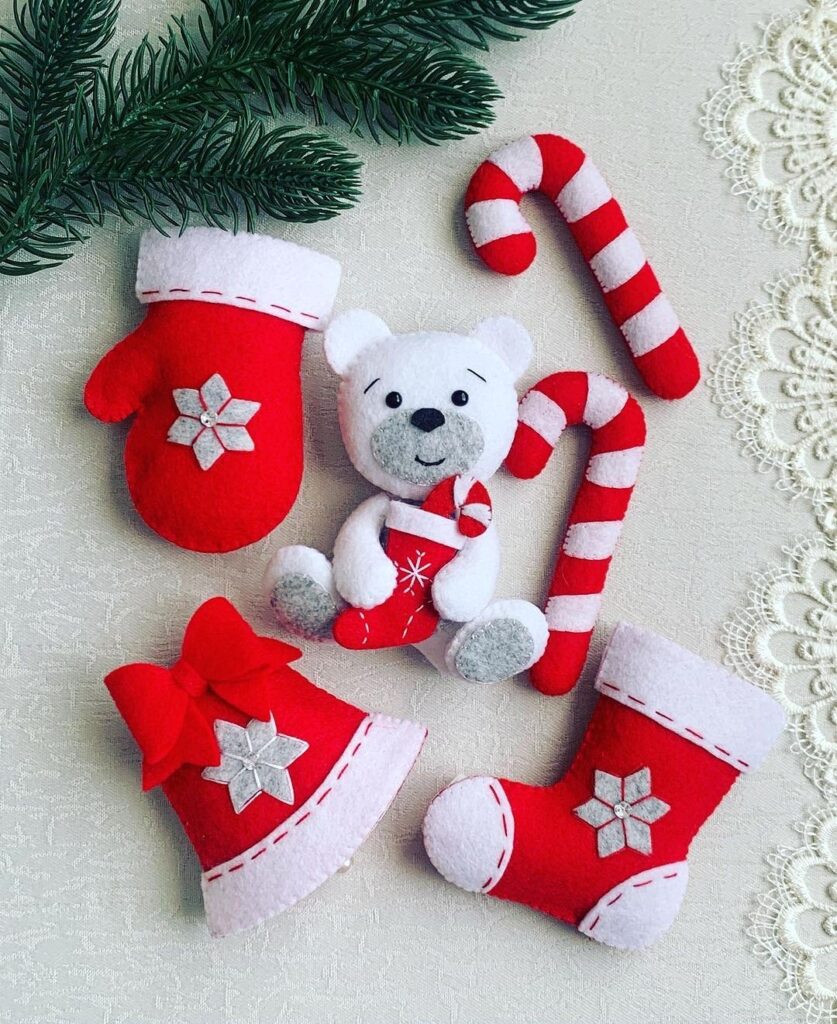
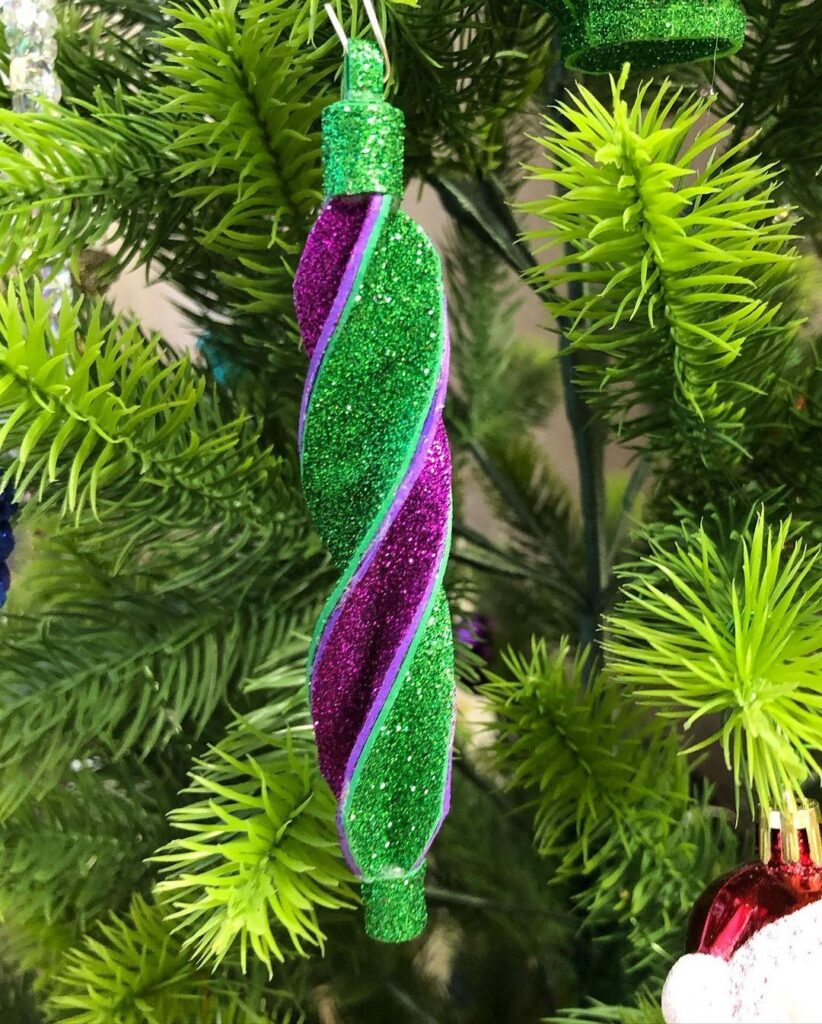
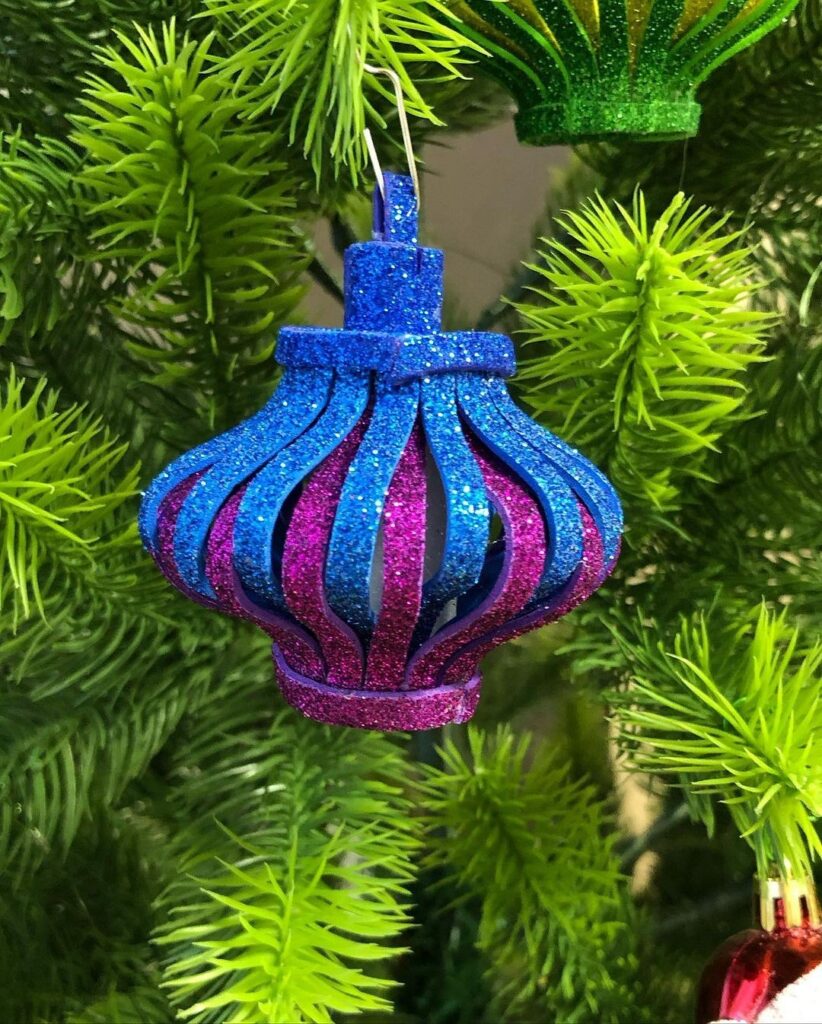
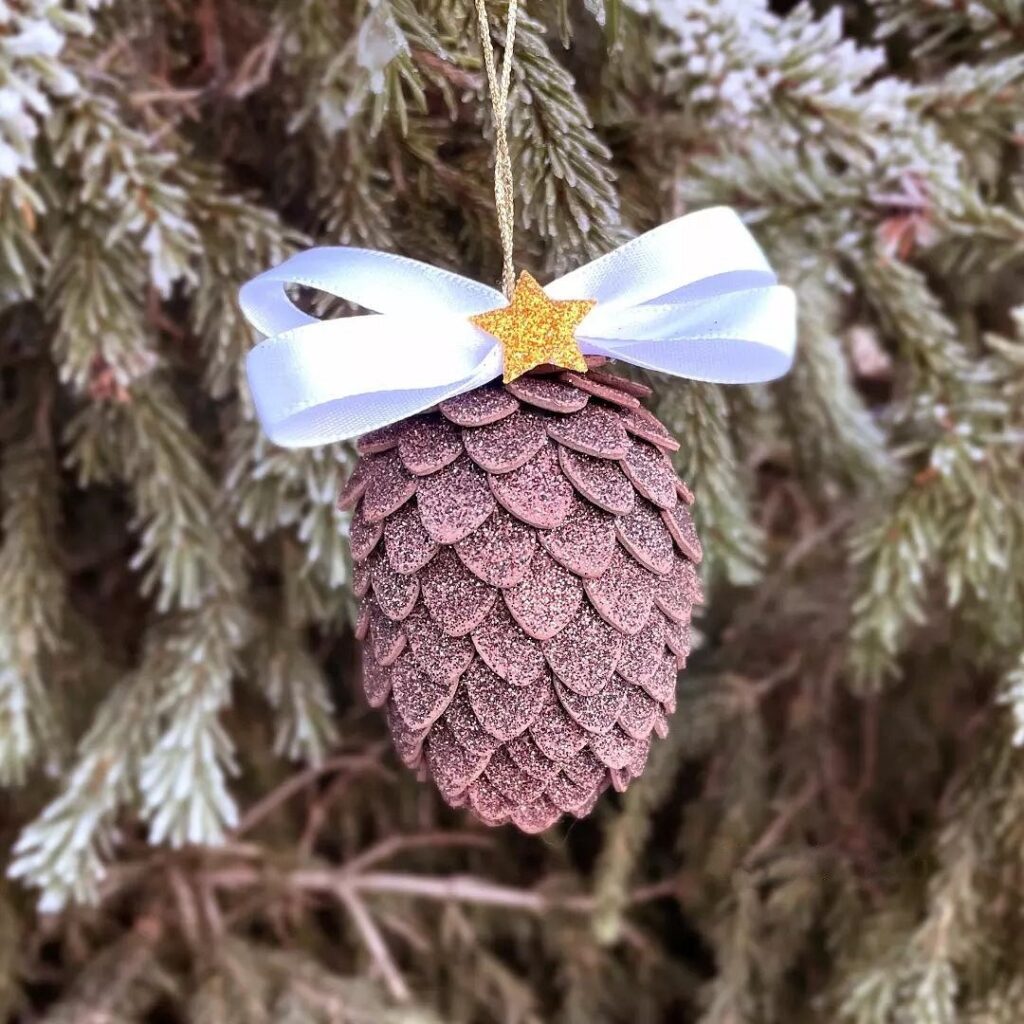
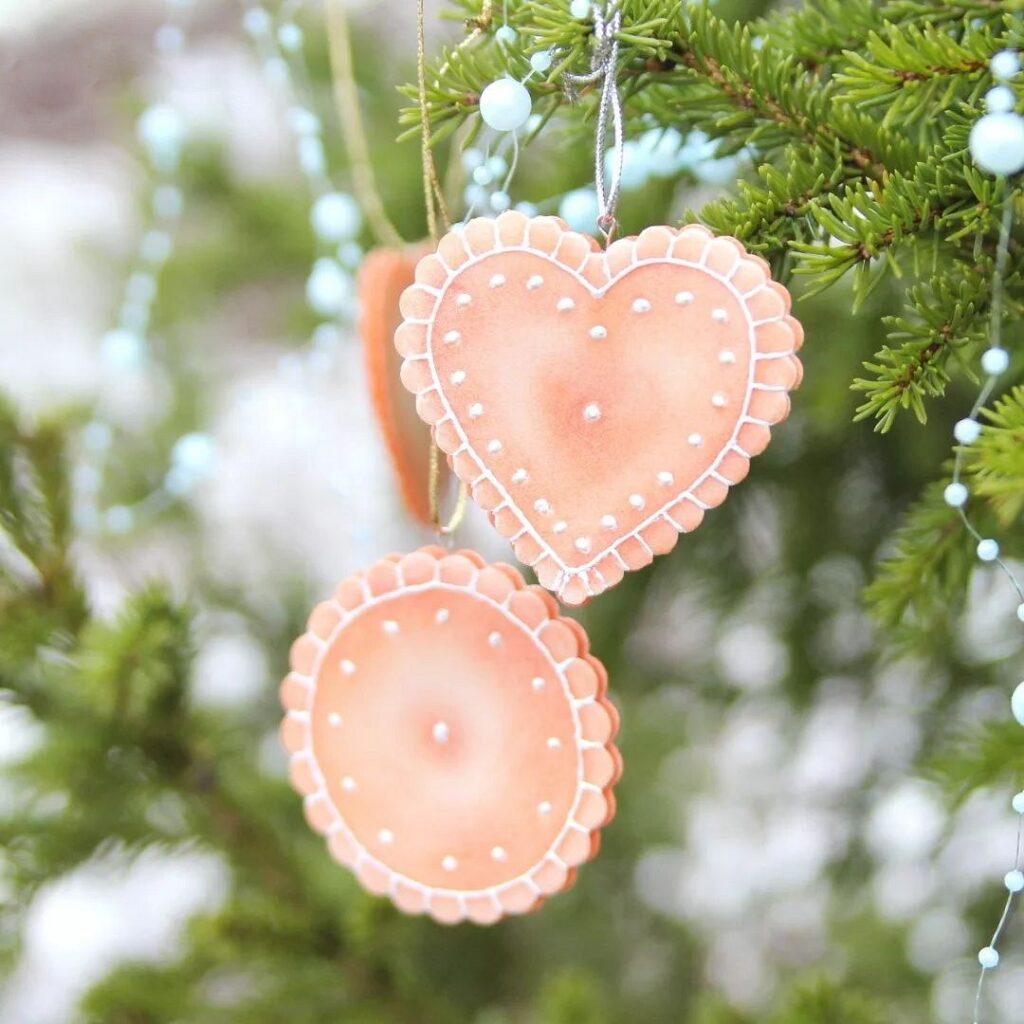
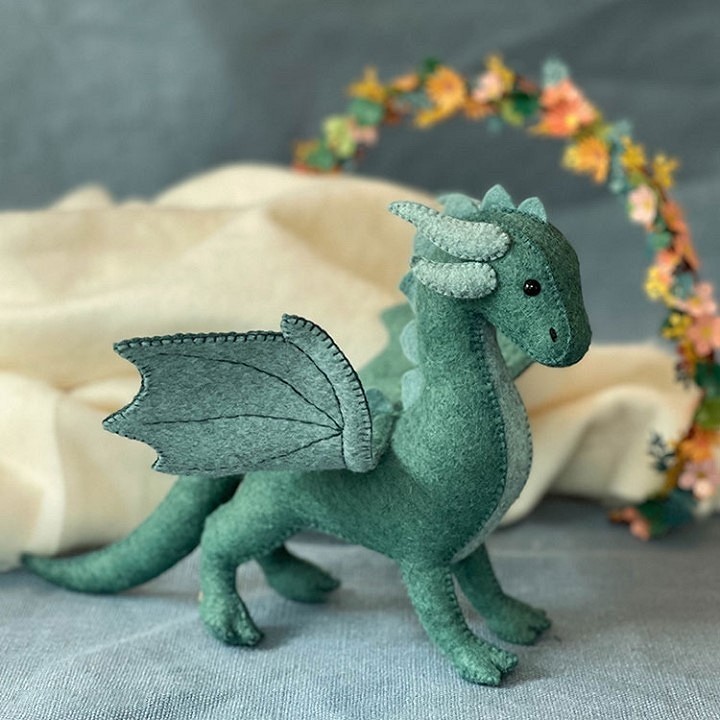
Felt and Foamiran
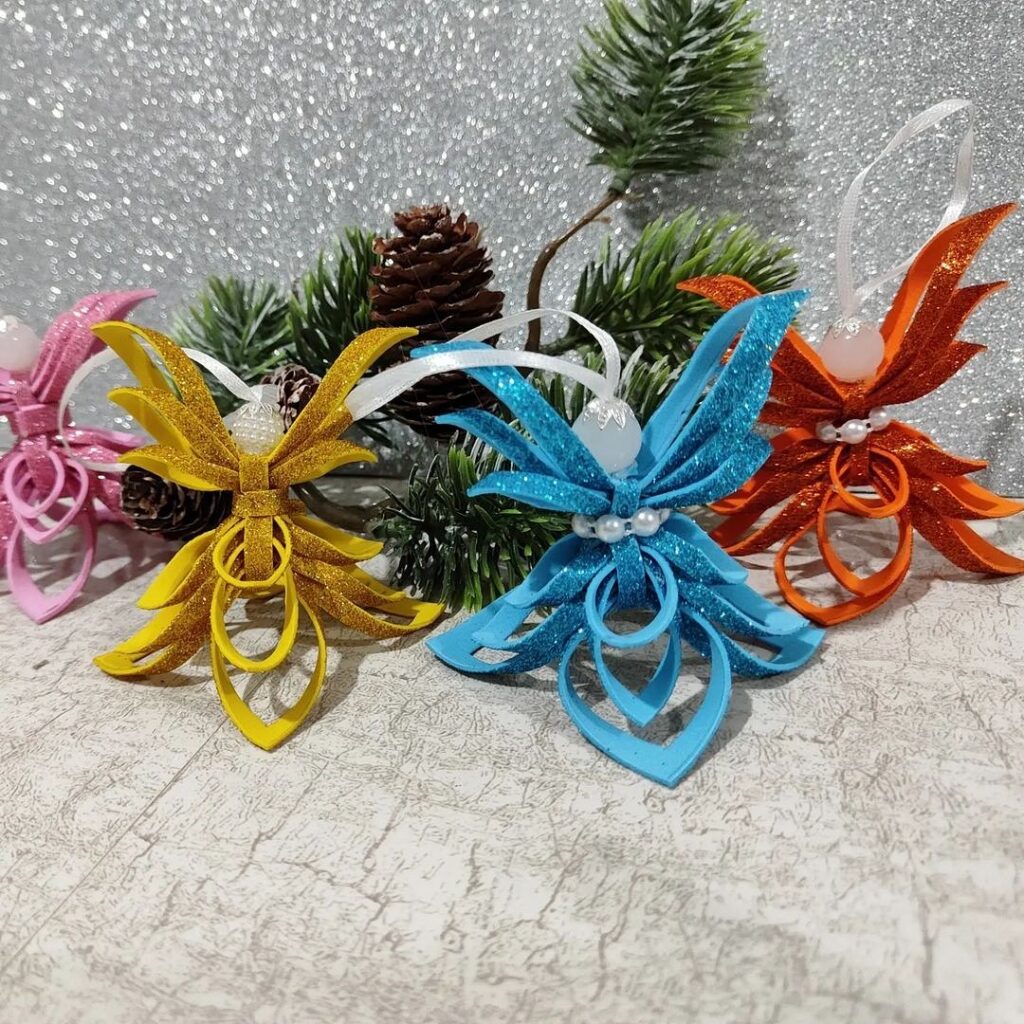
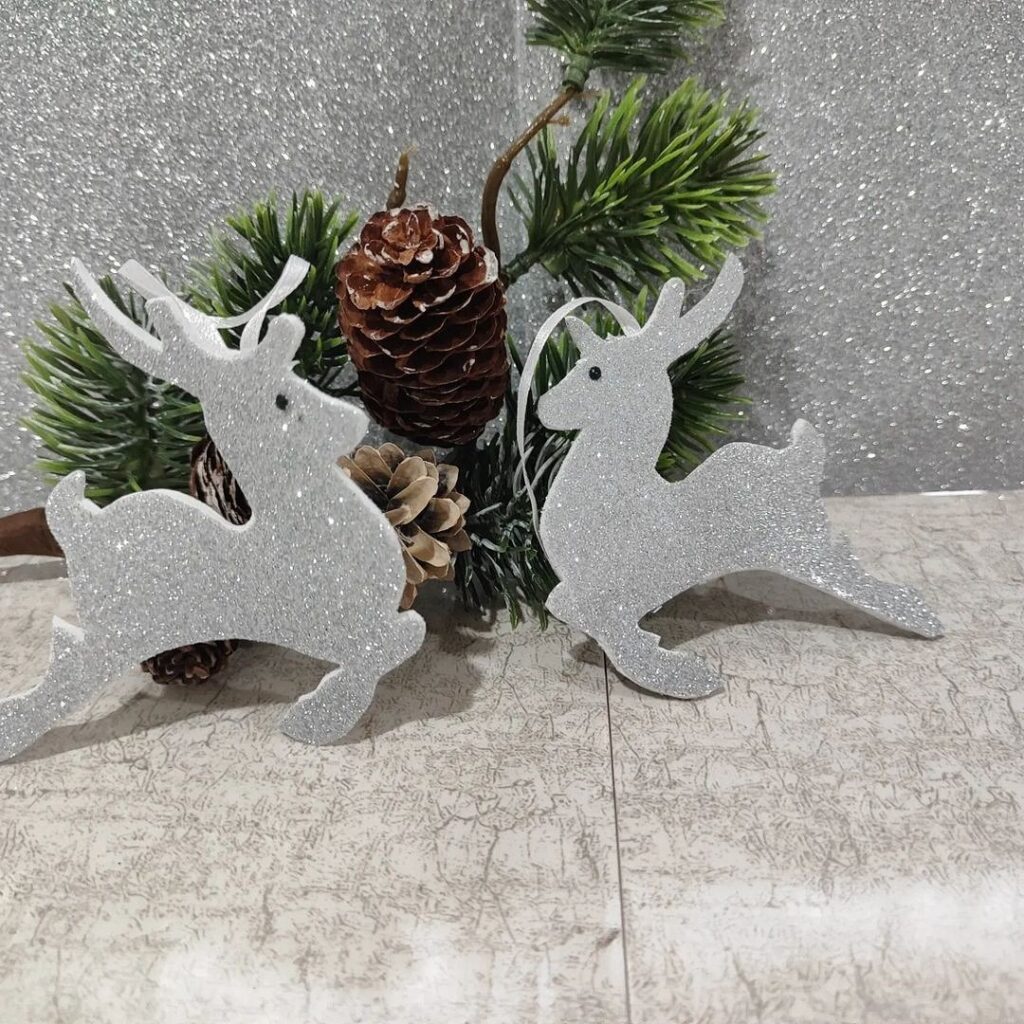
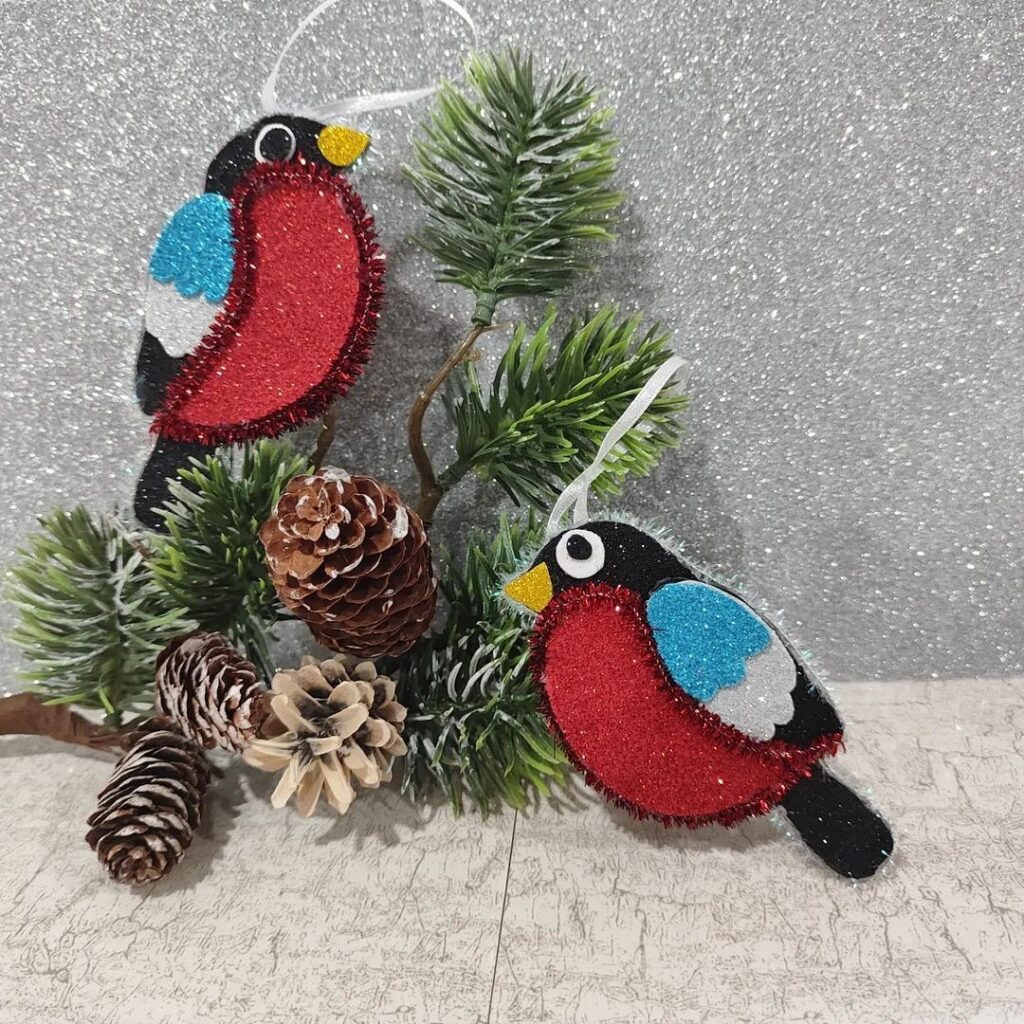
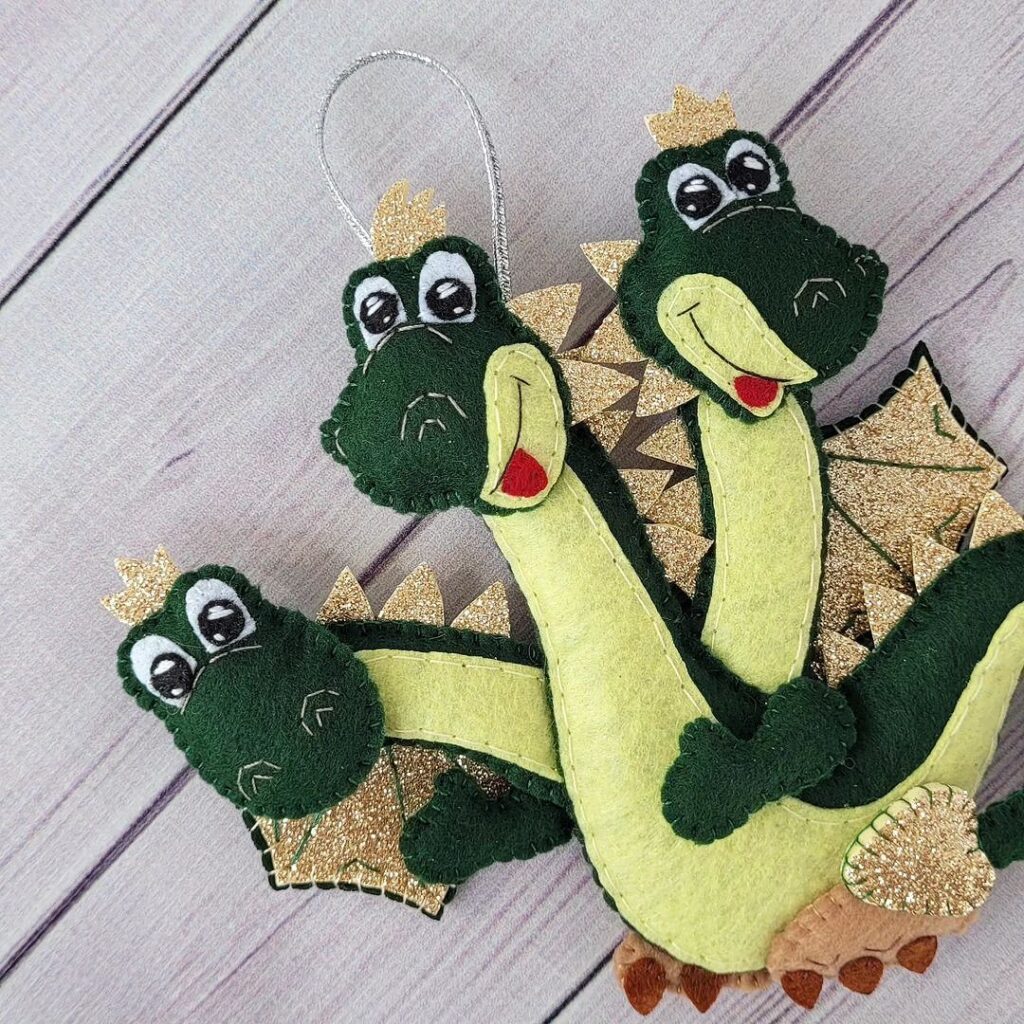
Both materials resemble fabric (soft and pliable), but they behave like paper – their cut edges don’t fray, they hold creases well, and they maintain their shape.

However, there are differences: felt is softer and more fibrous; foamiran is denser (sometimes called plastic suede), and it’s easier to shape into elegant curves, especially when heated – it retains its new shape after cooling.
Thus, their uses differ: traditional felt is great for stuffed figures, while foamiran is more suited for voluminous or realistic figures of animals and flowers. But both are suitable for flat hanging decorations on the Christmas tree.
How to make an ornament from them?
- Print out a template with pictures. For example, this one.
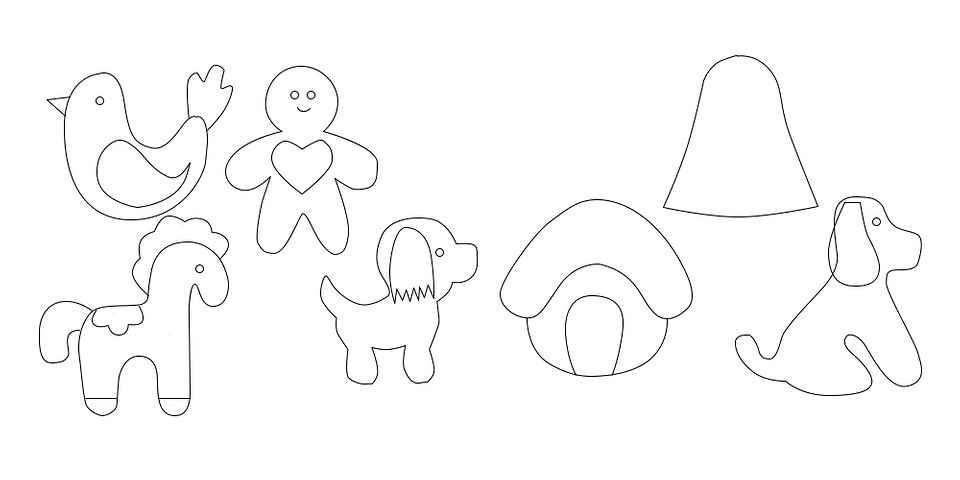
- Choose the designs. You need to cut them out along the contour and transfer them to the material. Outline the figures using tailor’s chalk, pencils, markers, or pens that disappear when heated, wetted, or over time.
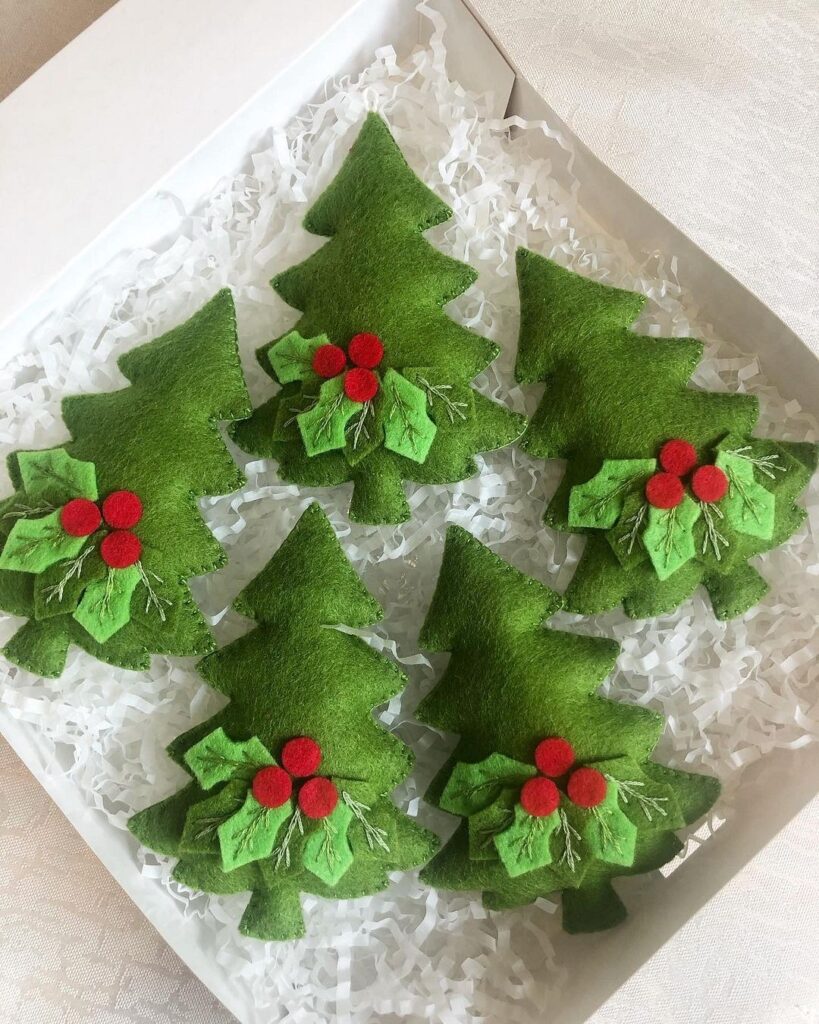
- Cut out the blanks along the contour. If necessary, glue them together (use PVA glue marked with M or MB, or a glue gun). If you’re making stuffed Christmas ornaments from felt, sew their edges (no need to treat them), leaving a small hole to add stuffing.
- Paint the craft with acrylic paints and decorate with beads, sequins, and ribbons (they can be either glued or sewn on).

Fabric
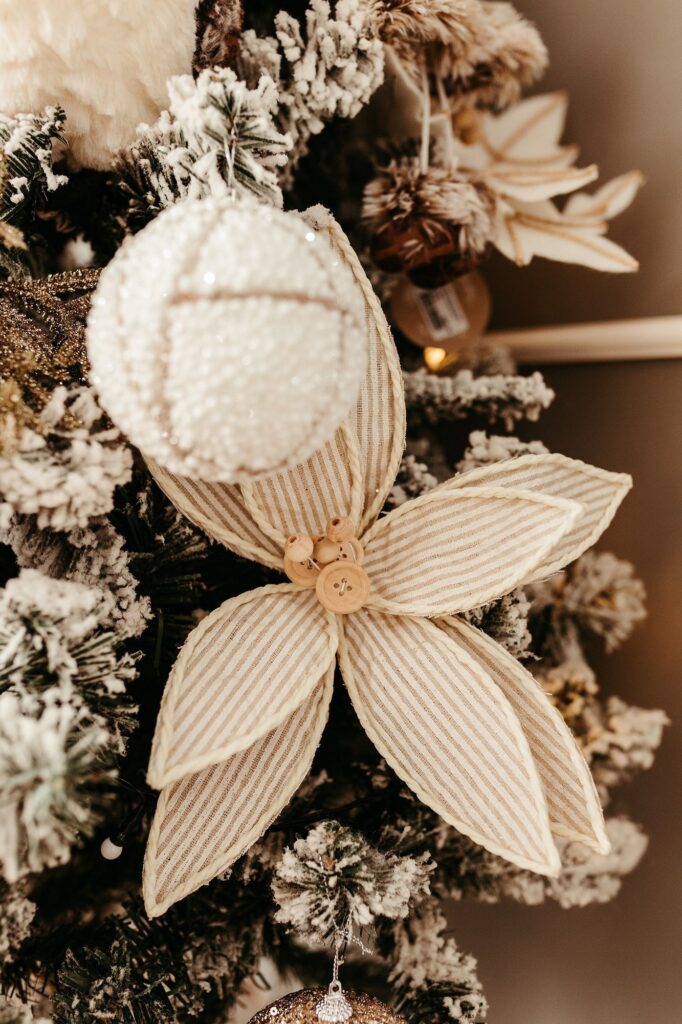
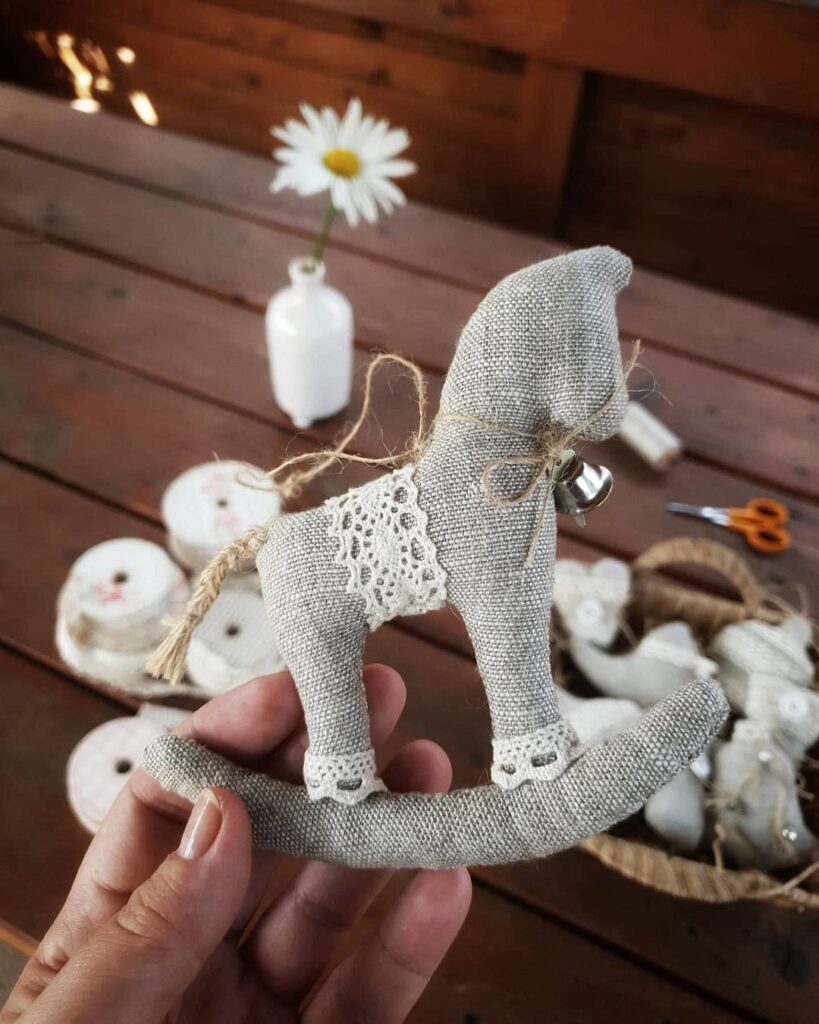
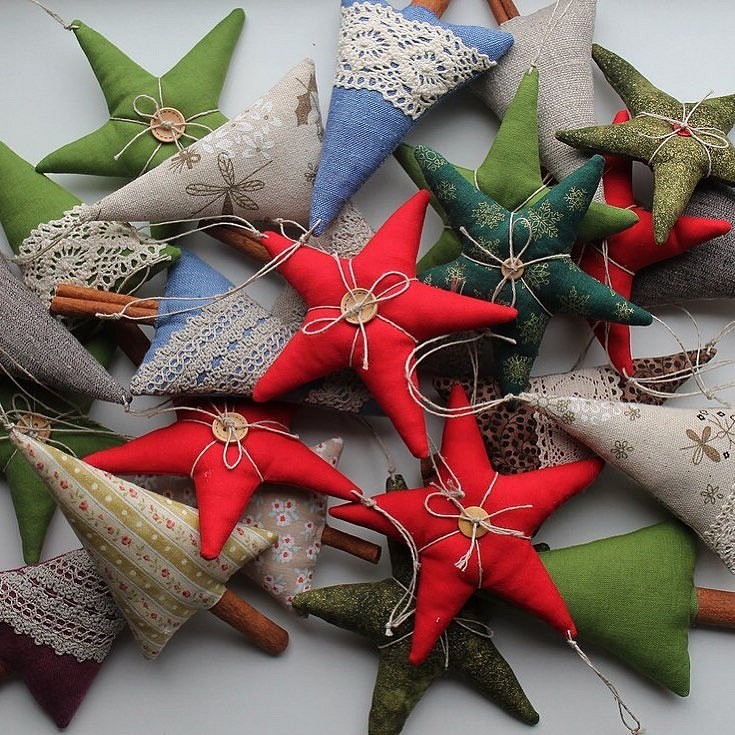
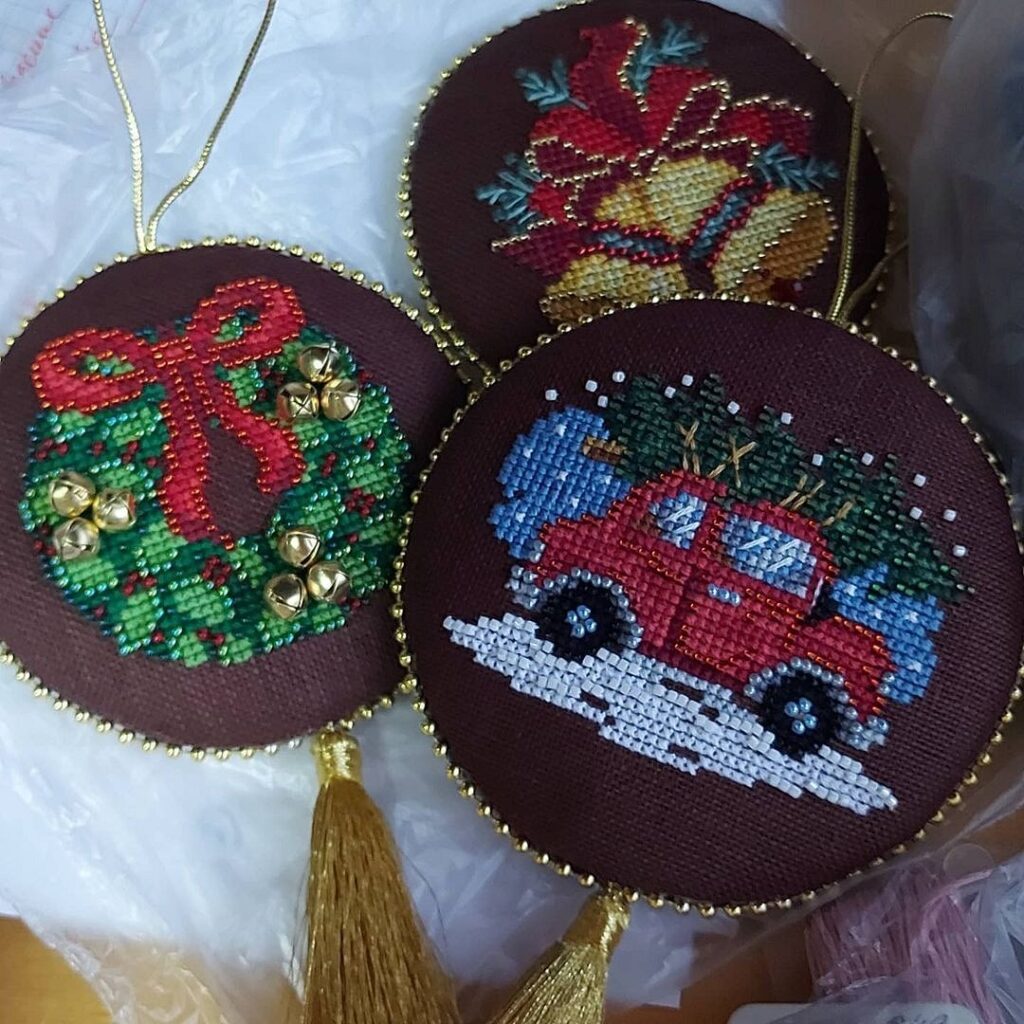
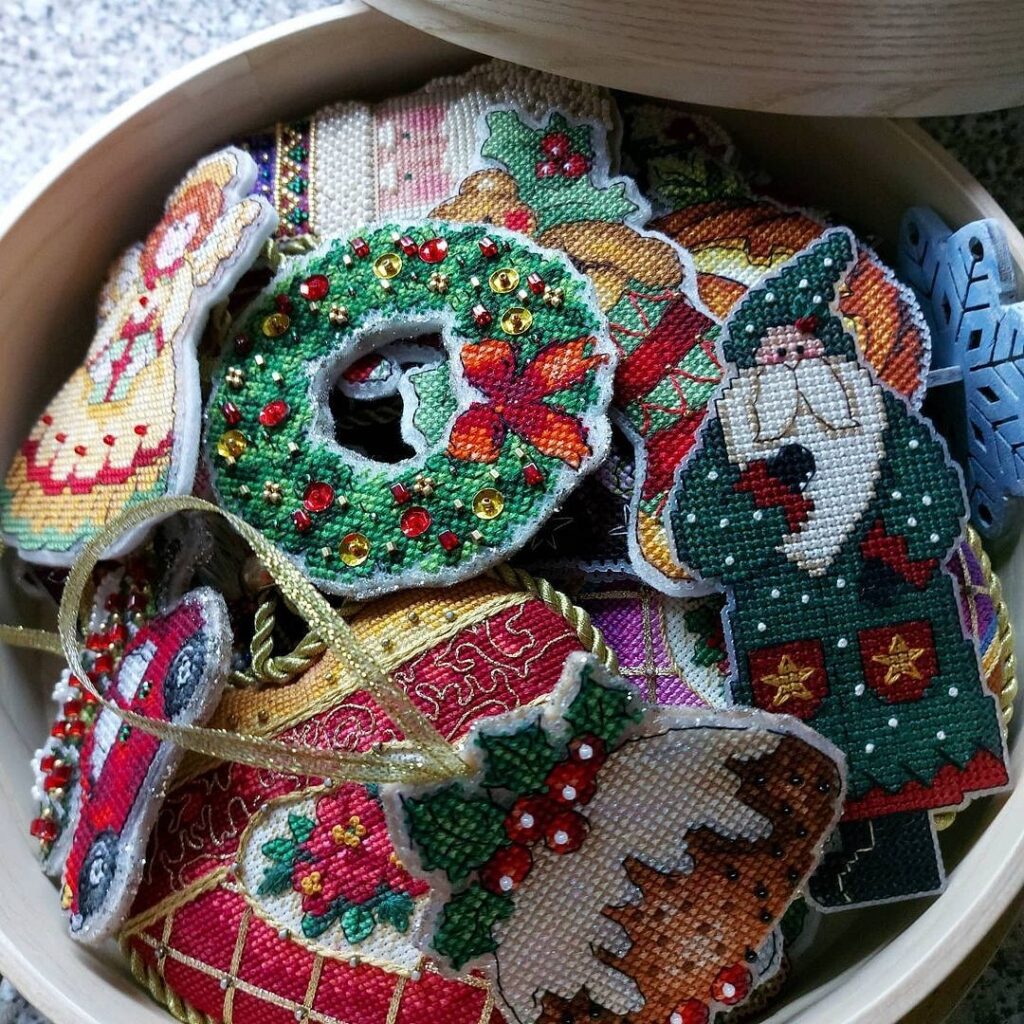
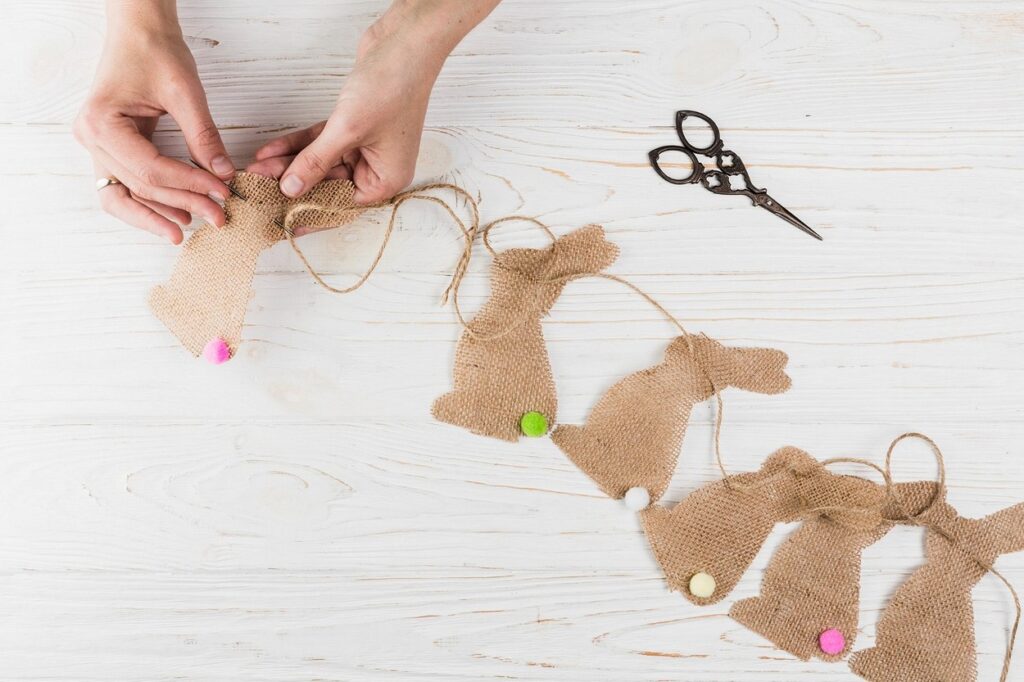
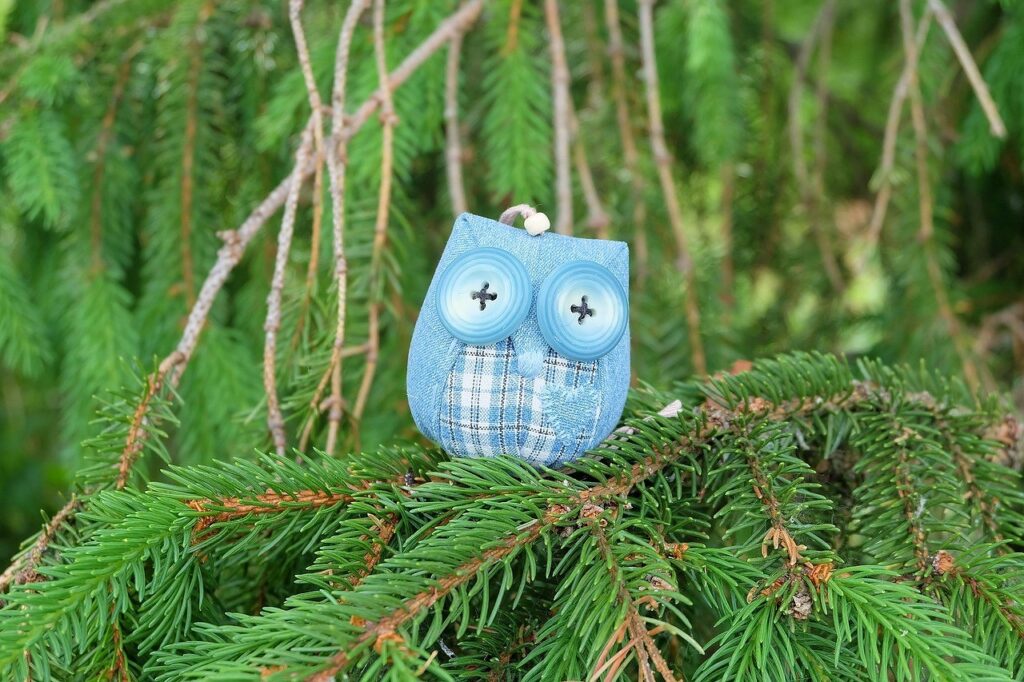
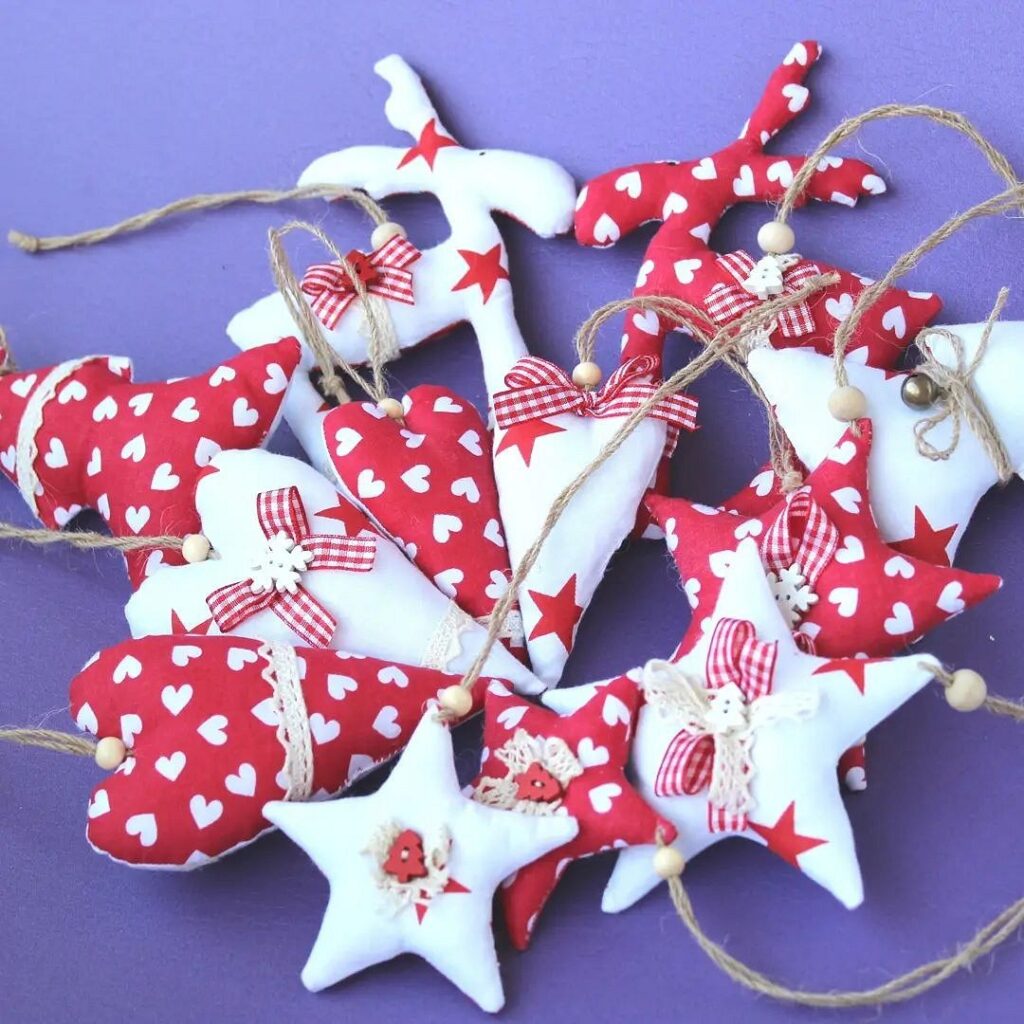
Fabric is primarily used to sew soft plush toys. But you don’t have to limit yourself to this: from dense cotton, linen, wool, and other materials, you can make flat figures without stuffing them with cotton or synthetic filler, and decorate them with buttons, embroidery, etc.
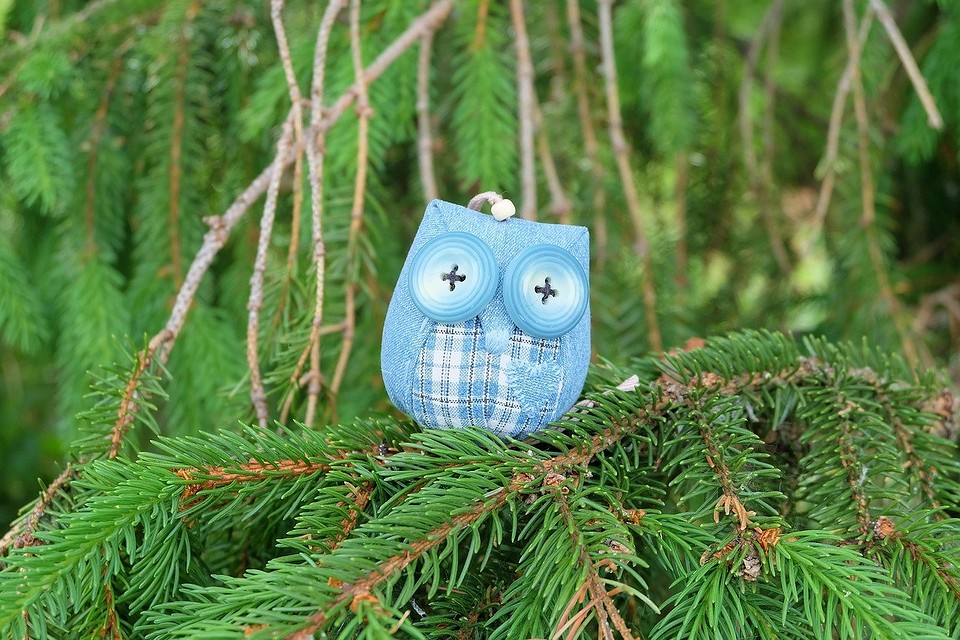
To ensure the item turns out neat, you’ll need a pattern for the handmade Christmas toy. A simple shape like a tree or star is easier to draw by hand in the size you want.
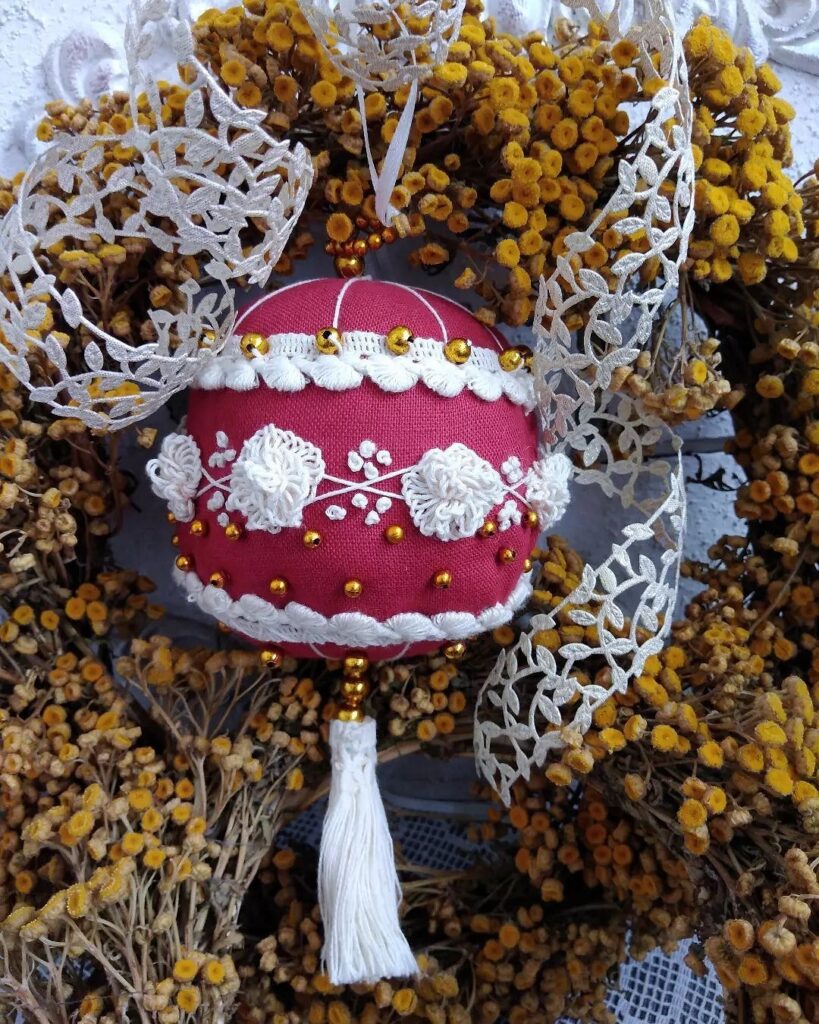
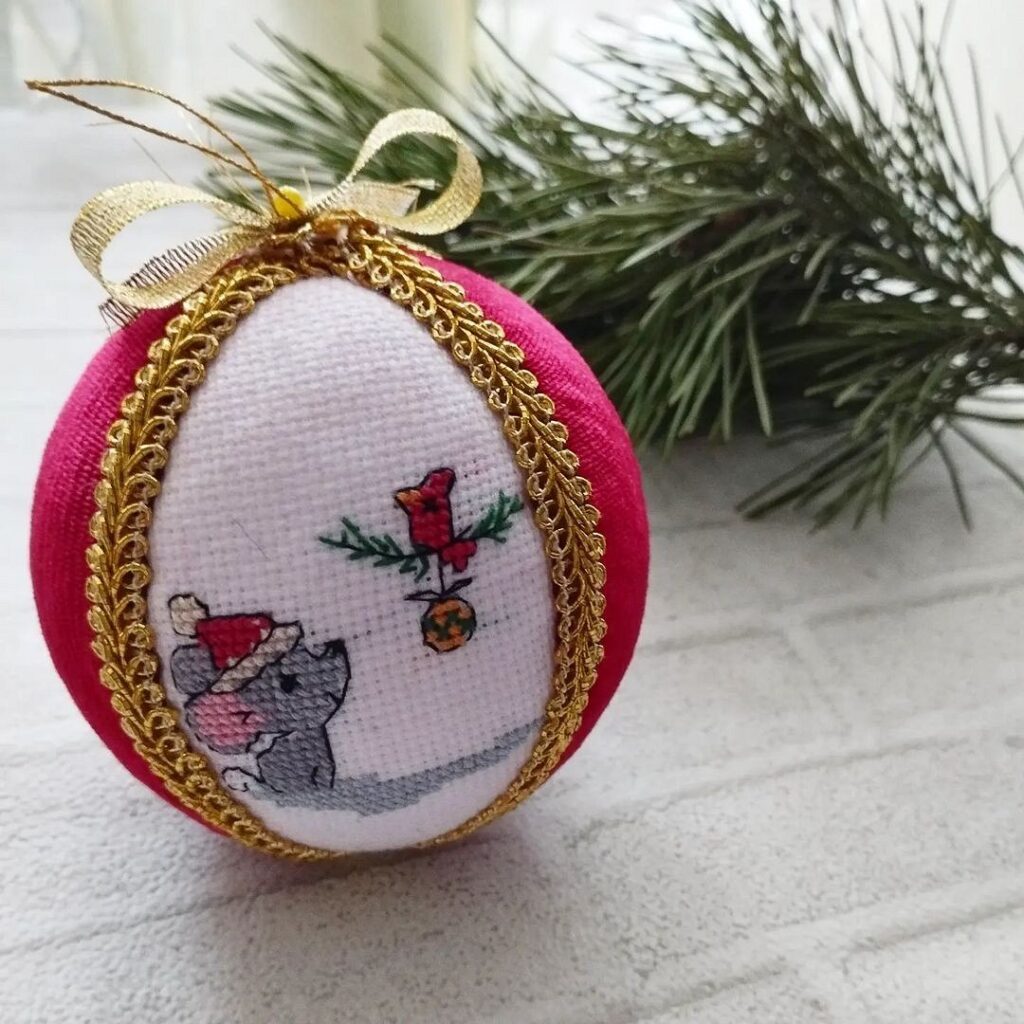
An accessible option for textile decor is wrapping balls in fabric. You can buy decorative material specifically for this purpose, so your tree will have a uniform color, or you can use various scraps you have at home, making the tree’s attire colorful and original.
How to make handmade Christmas toys from fabric?
- You’ll need ordinary balls or foam blanks, fabric, and narrow ribbon.
- Cut the material into squares according to the size of the balls.
- On the reverse side, draw diagonals to find the center of the piece.
- Place the ball in the center, carefully lift the edges of the fabric, tie them together with the ribbon. If you’re using a foam blank, you can also secure the fabric with push pins.
- Make a loop from the ribbon ends for hanging.
- Optionally, decorate the toy with a bow, rhinestones, or paint with acrylic paints.

Tip: if you’re wrapping plain plastic or glass balls, you can use tulle or another lace fabric, through which the color of the toys will be visible.



Wood
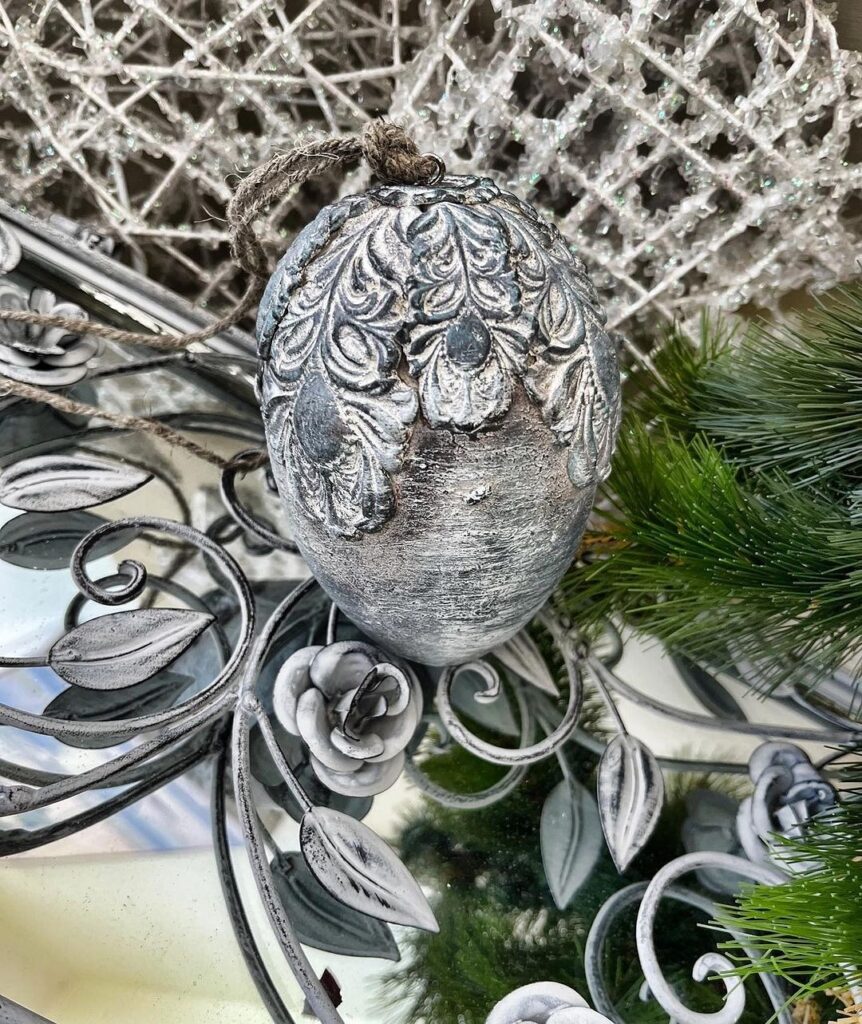
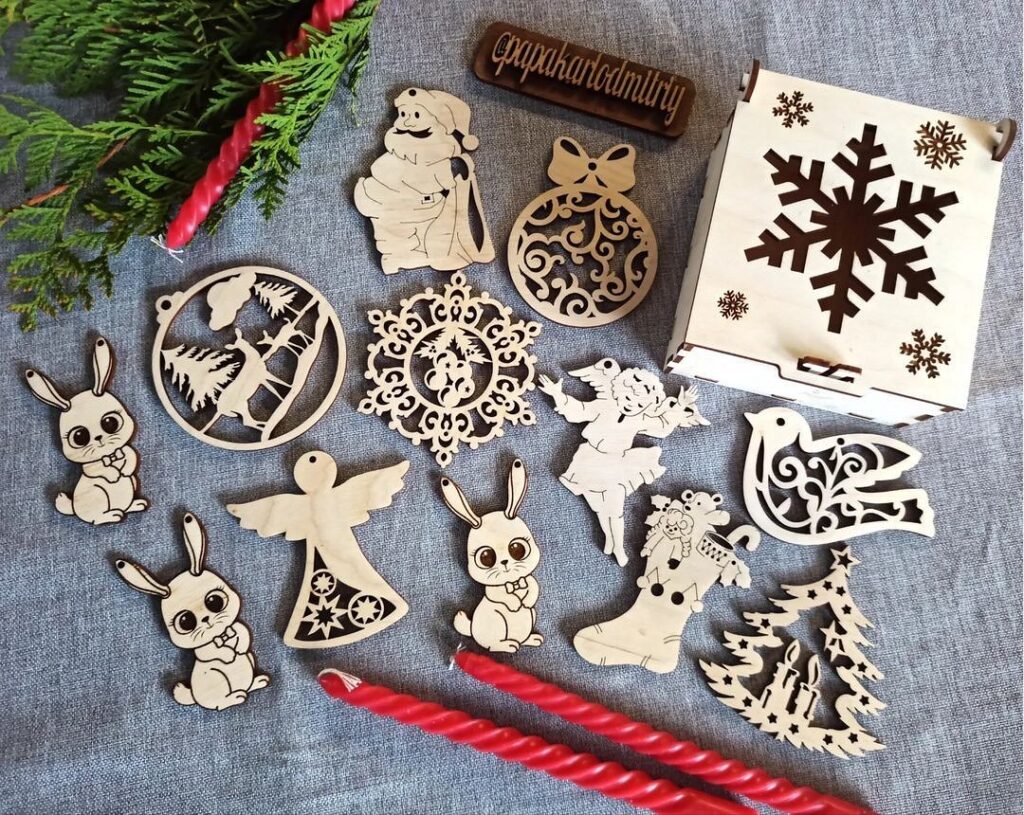
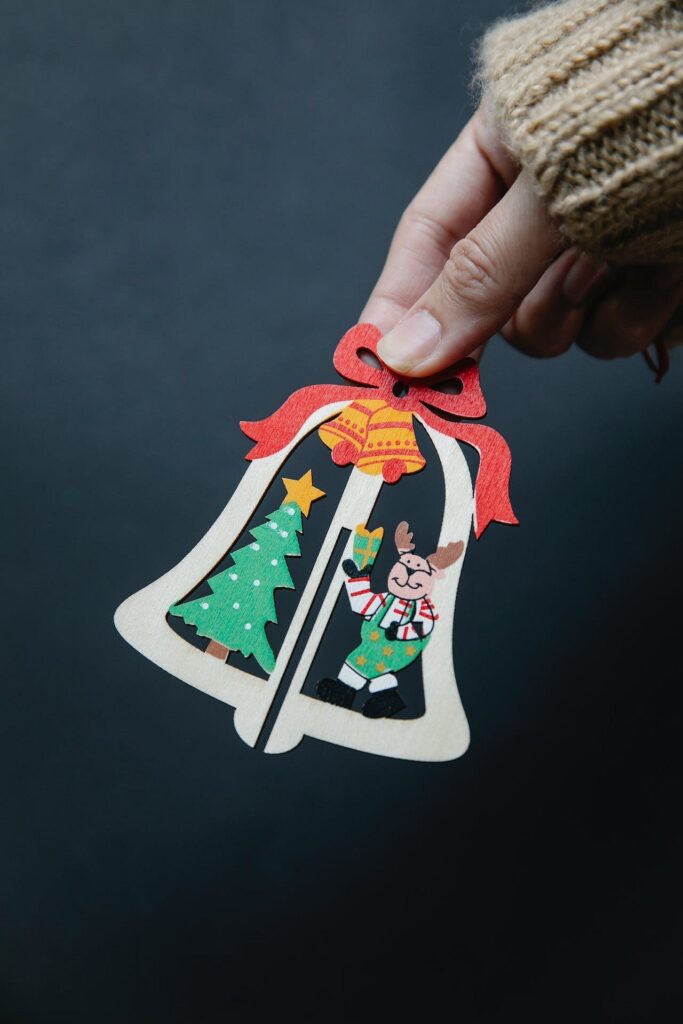
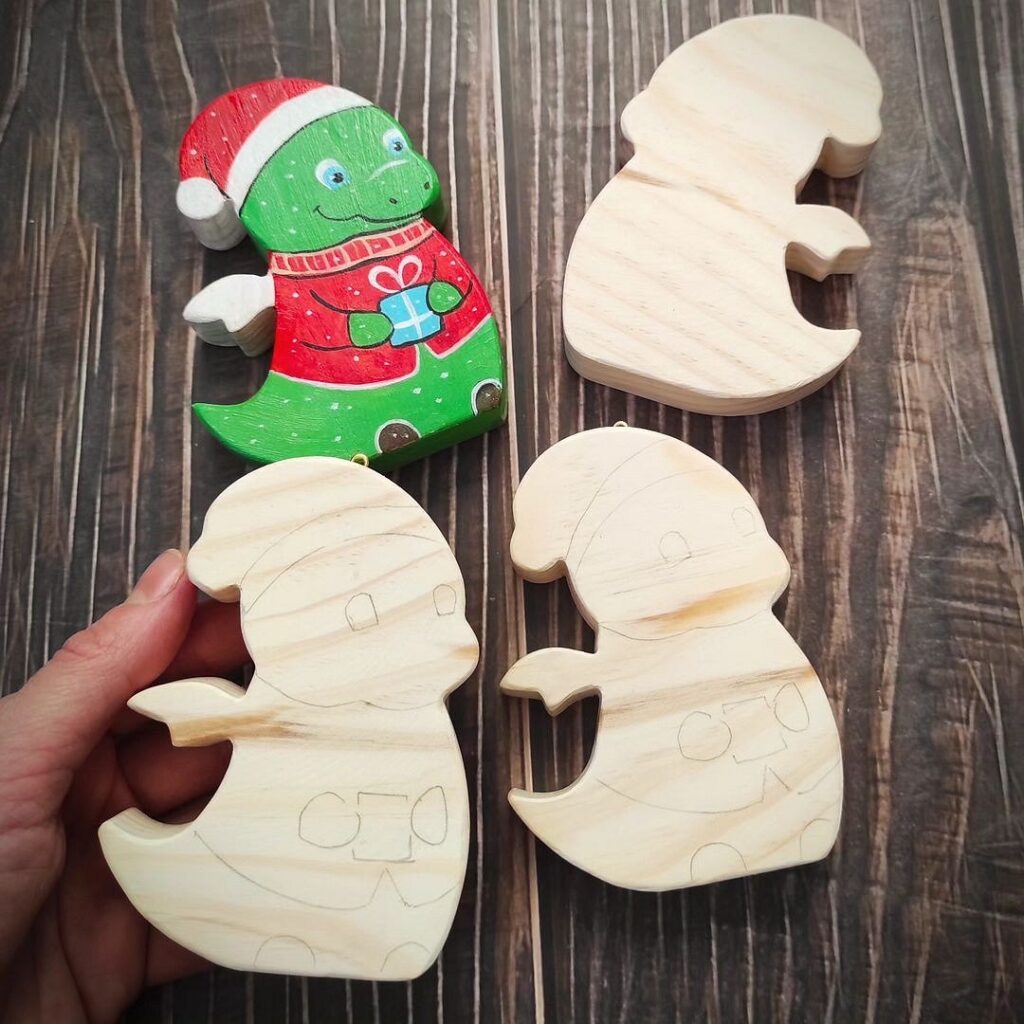
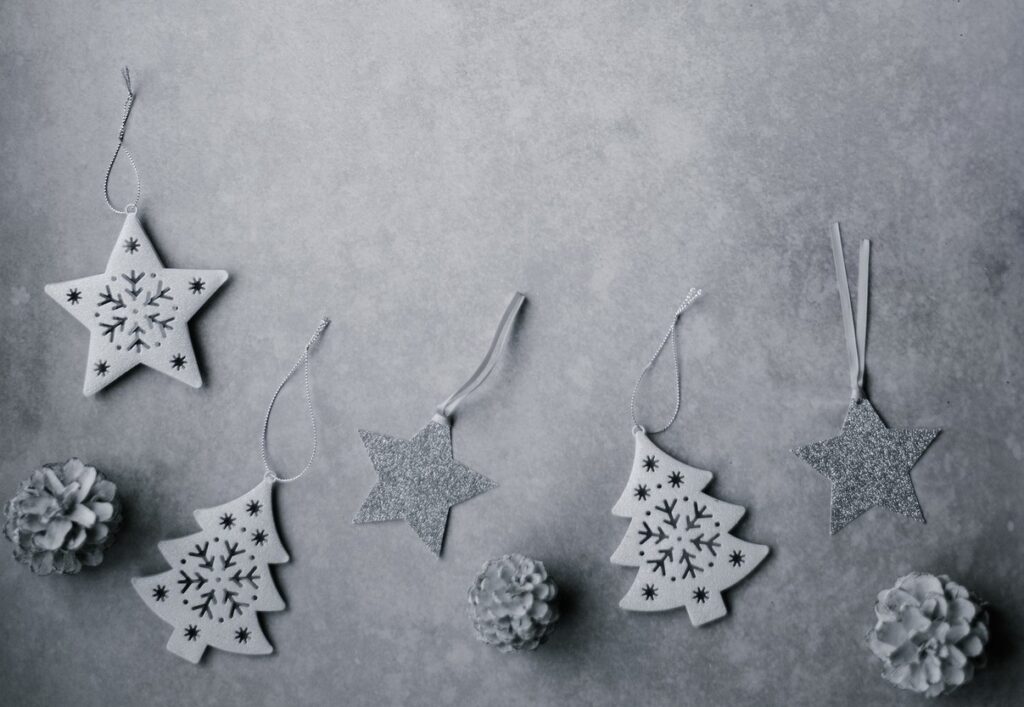
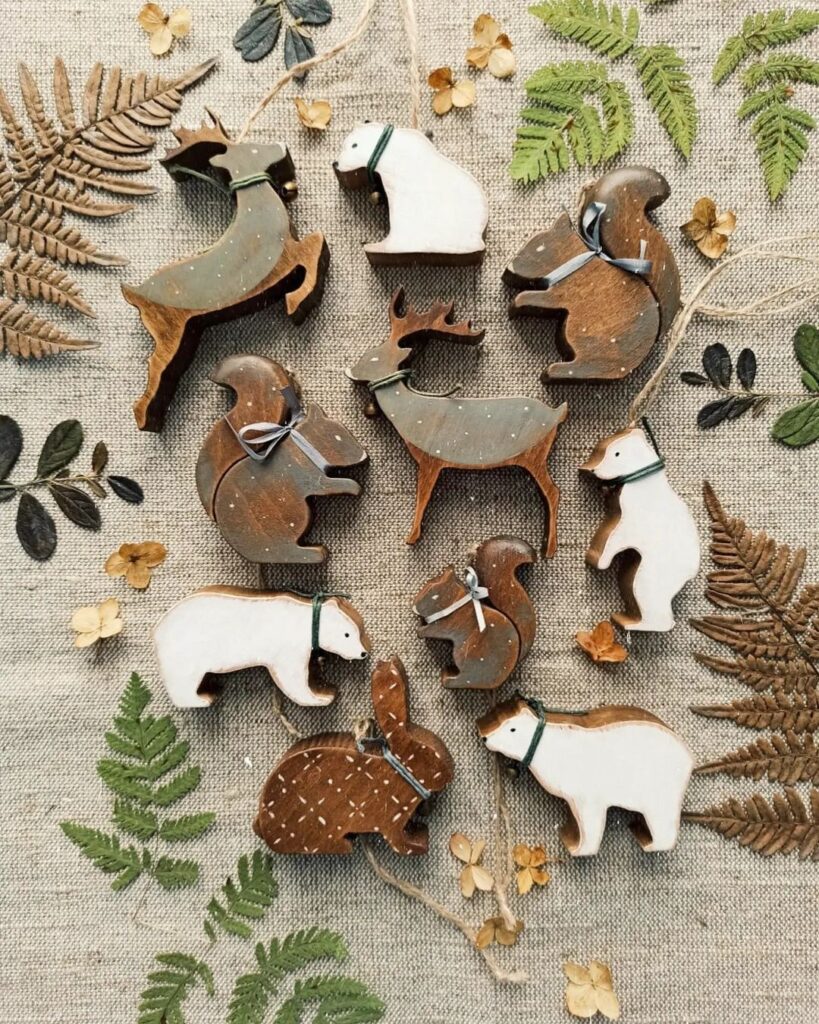
Hobby supply stores sell wooden blanks that can be used to create excellent crafts – handmade Christmas ornaments that look like store-bought ones and last a long time. Unlike paper or cardboard figures, they won’t crumple, and unlike textile decorations, they won’t tear. Plus, if the paint chips off in some places, it’s easy to fix.
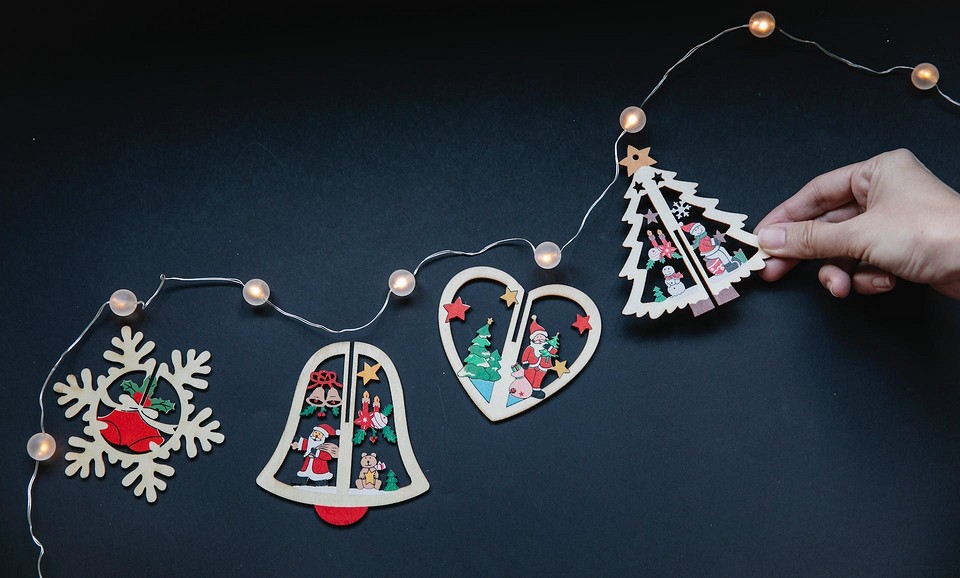
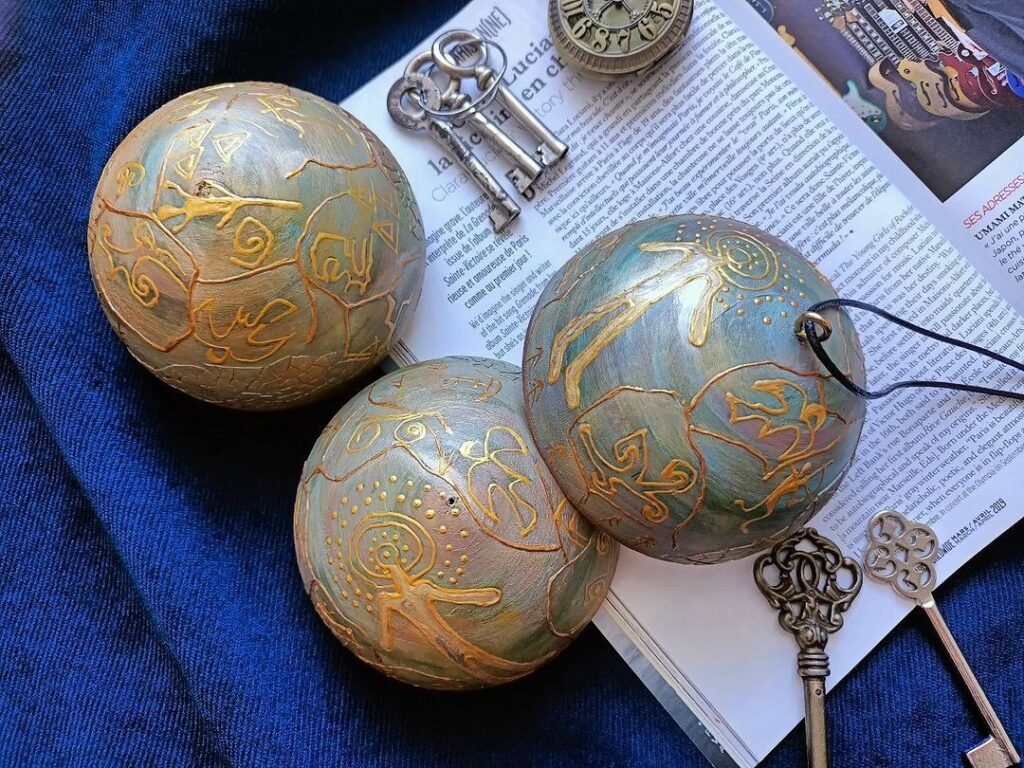
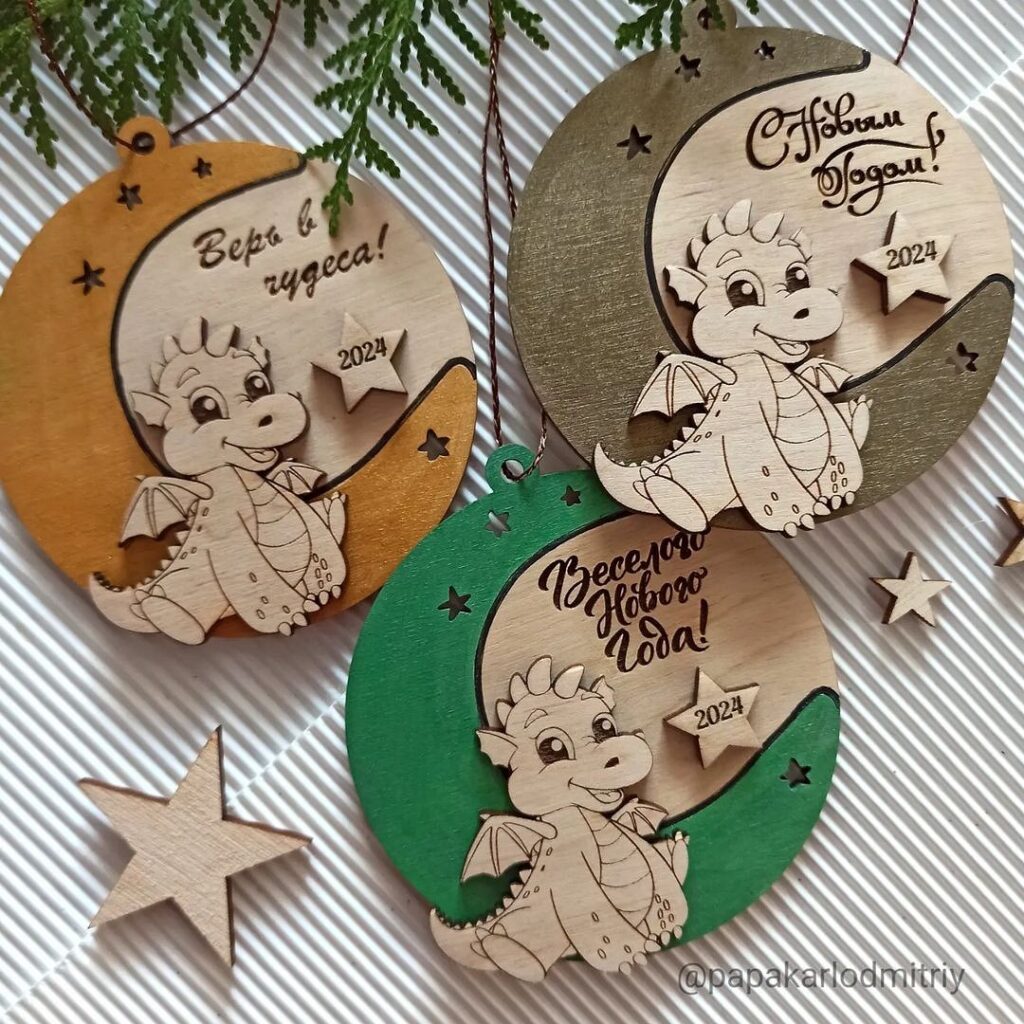
There are many options to choose from for decorating your tree: classic balls for painting, thematic figures (angels, staffs, snowflakes, etc.), blanks with names, and items featuring the symbol of the year – you can find practically everything.
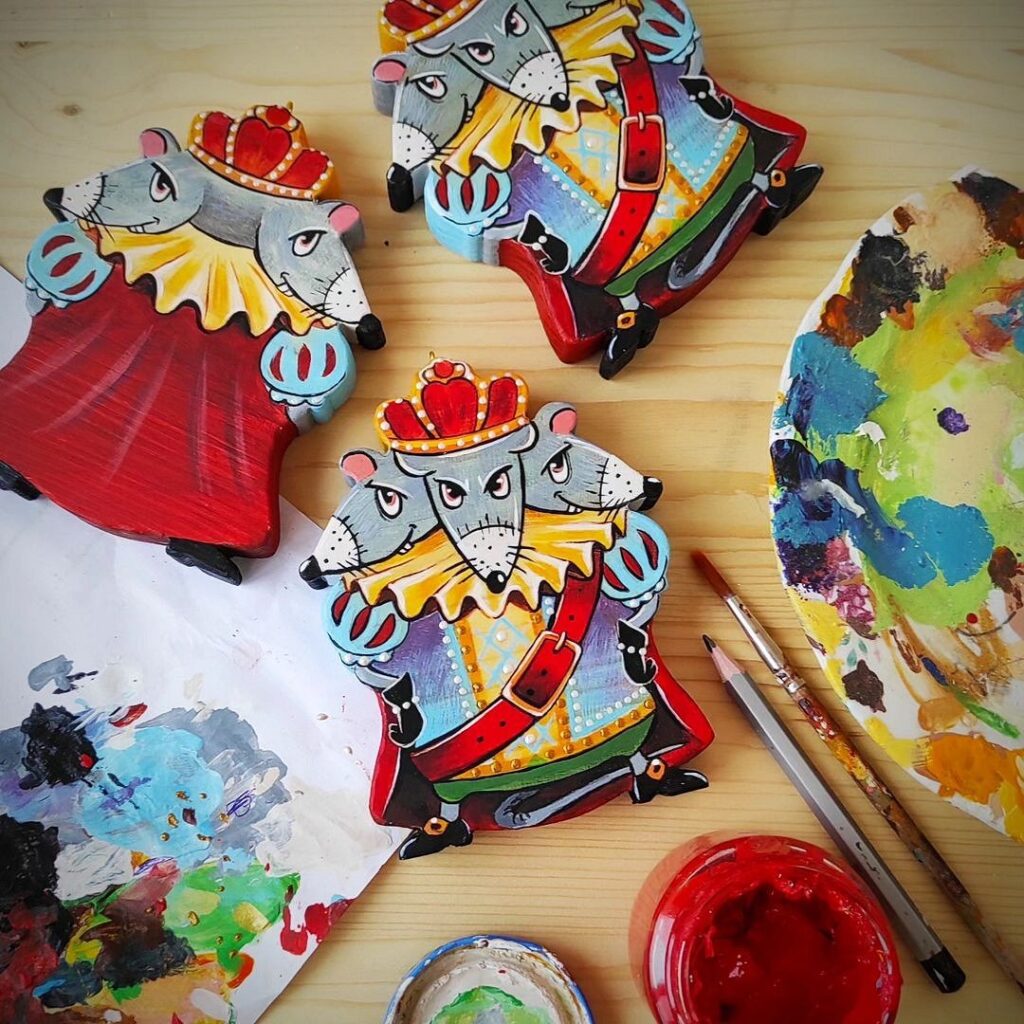
You can paint the wood with acrylic paints; there’s no need to prime it beforehand (primer is used to reduce the consumption of paint, and for a couple of ornaments, it’s not worth buying). For connecting parts or attaching decorations, you can use regular PVA glue or carpenter’s glue. To ensure the finished decoration stays beautiful for a long time, it’s coated with acrylic varnish.


Beads
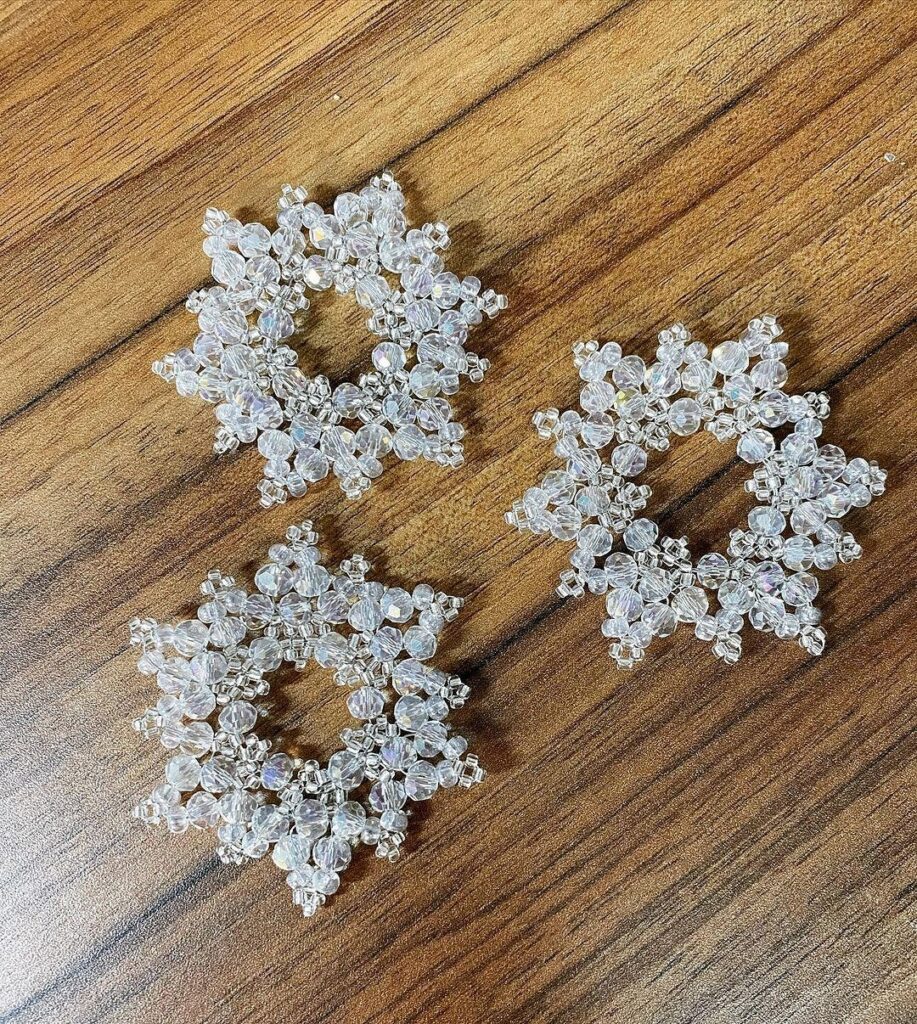
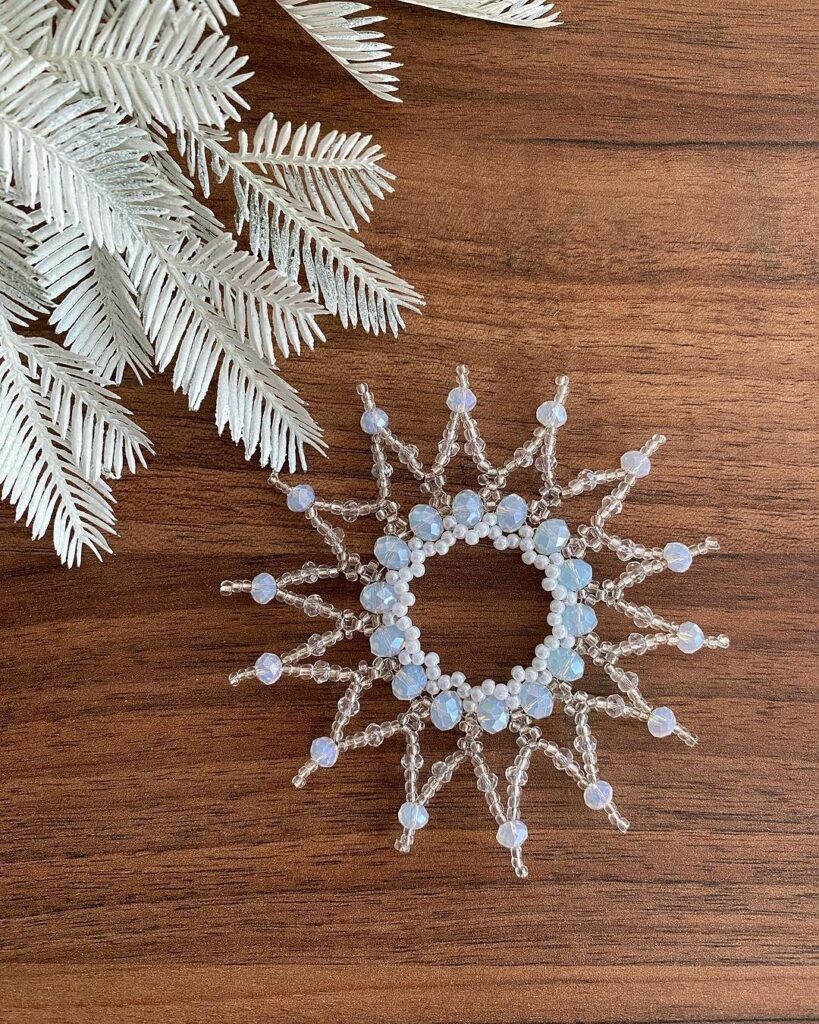
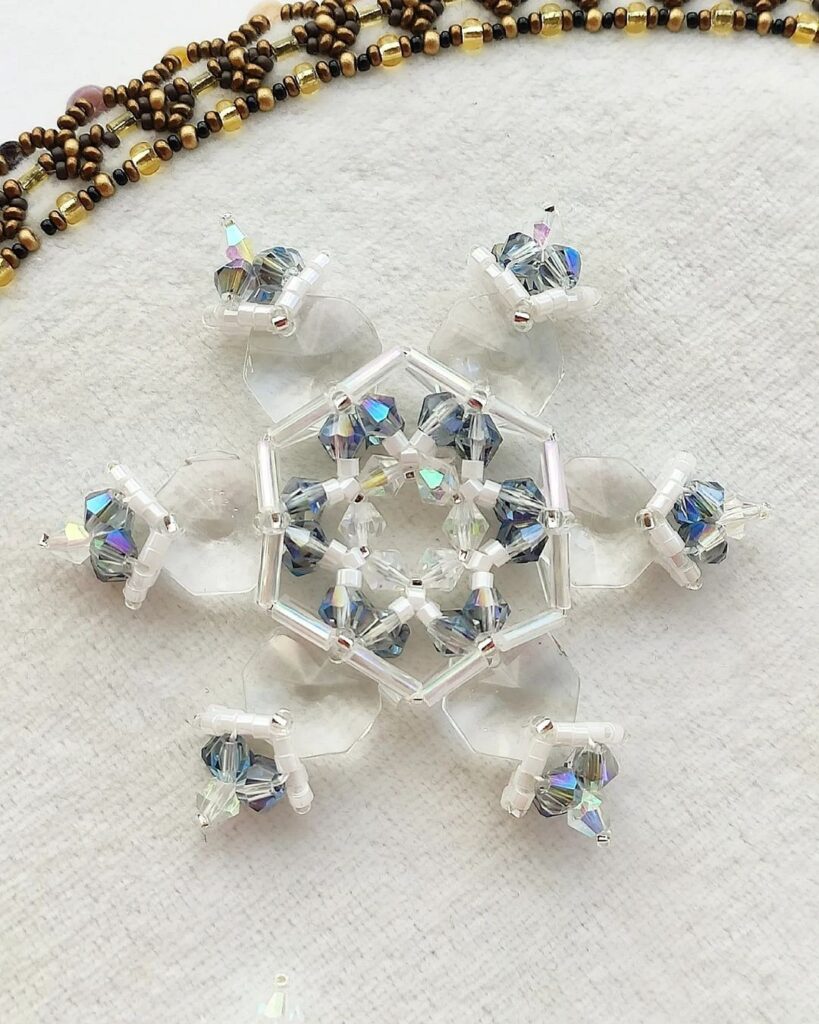
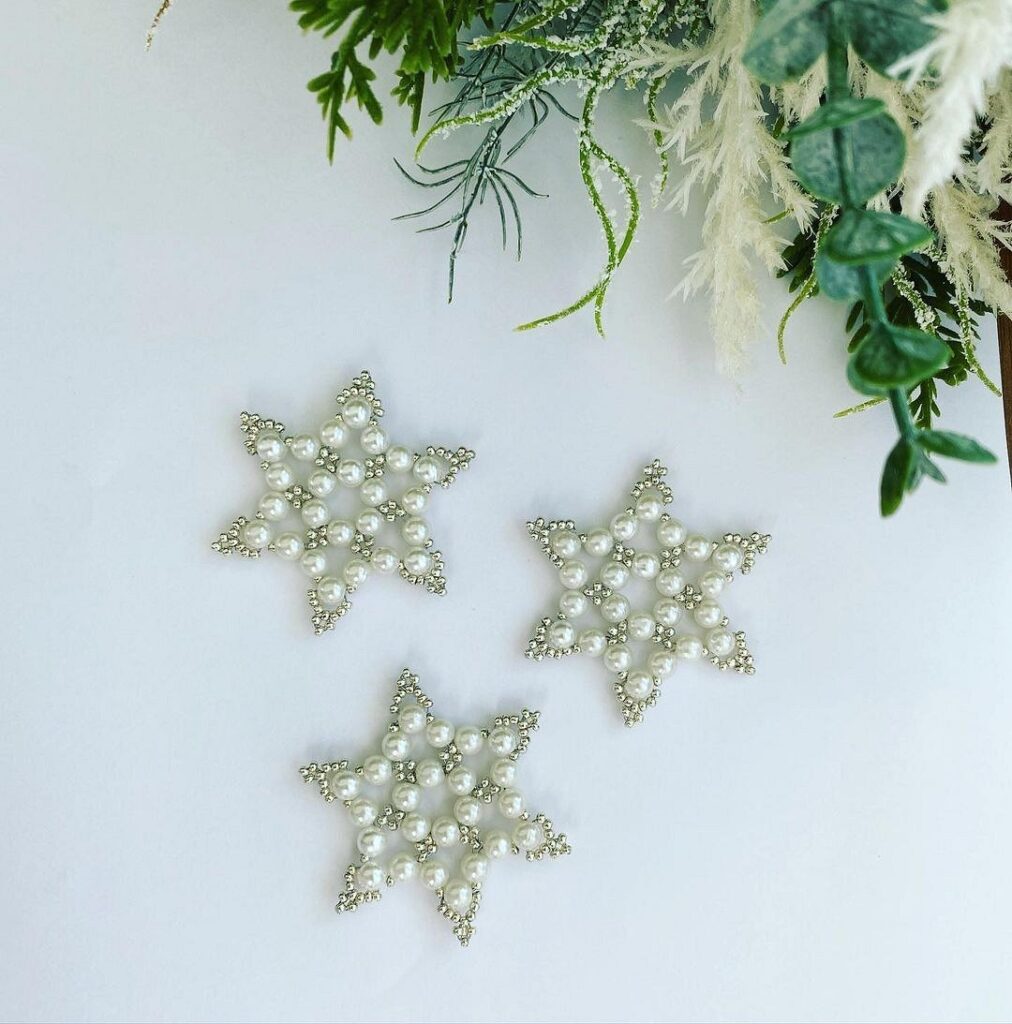
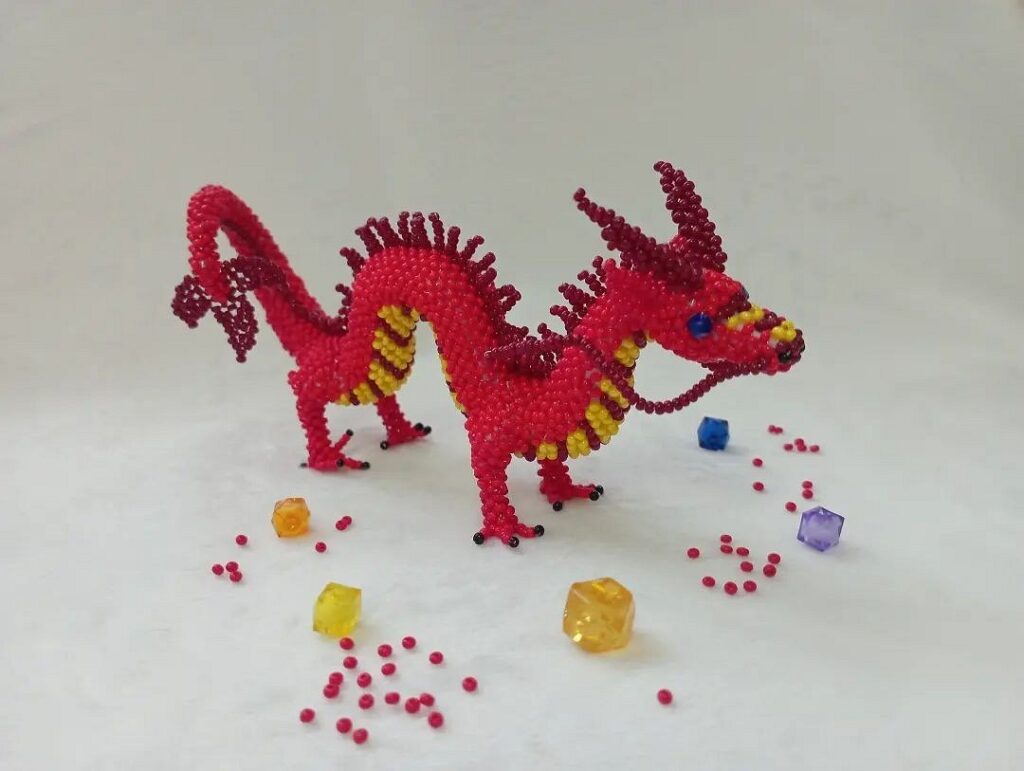
Beadwork offers great creative freedom. You can make almost anything from this material: animal figurines, Christmas decorations, balls, and ornaments.
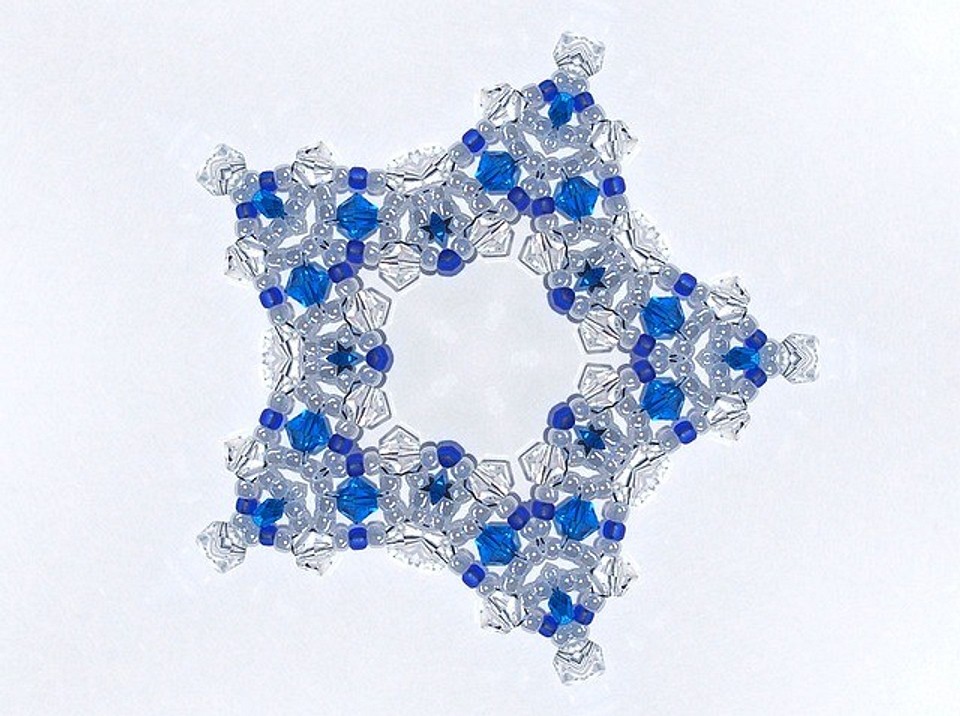
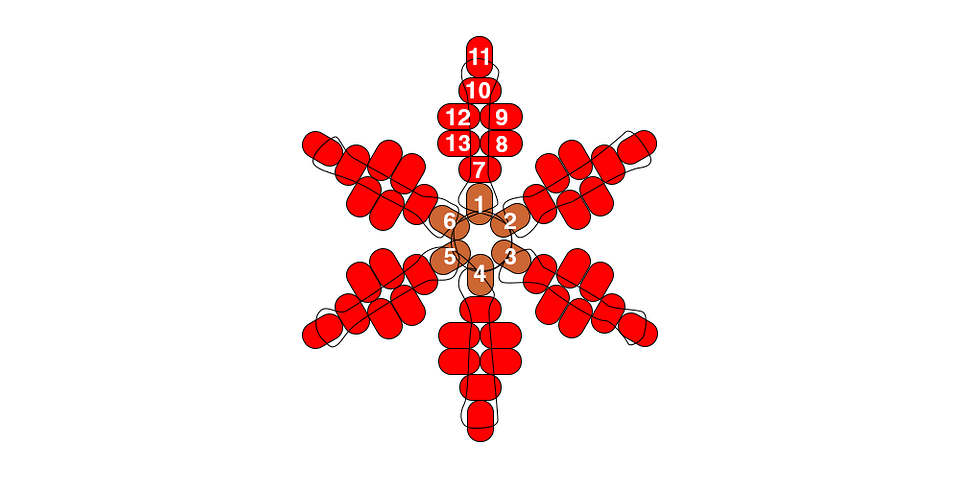
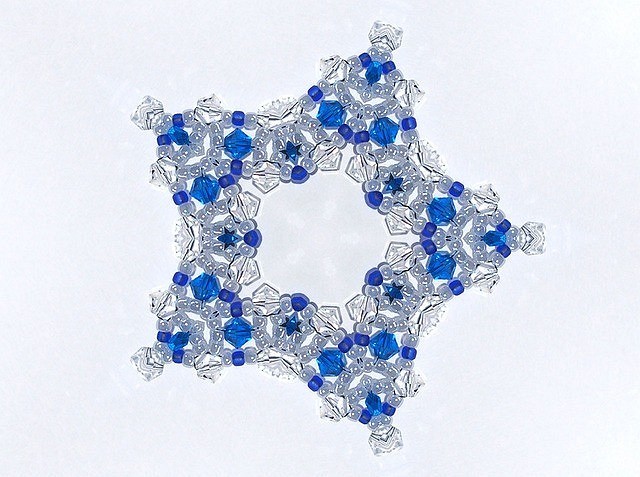
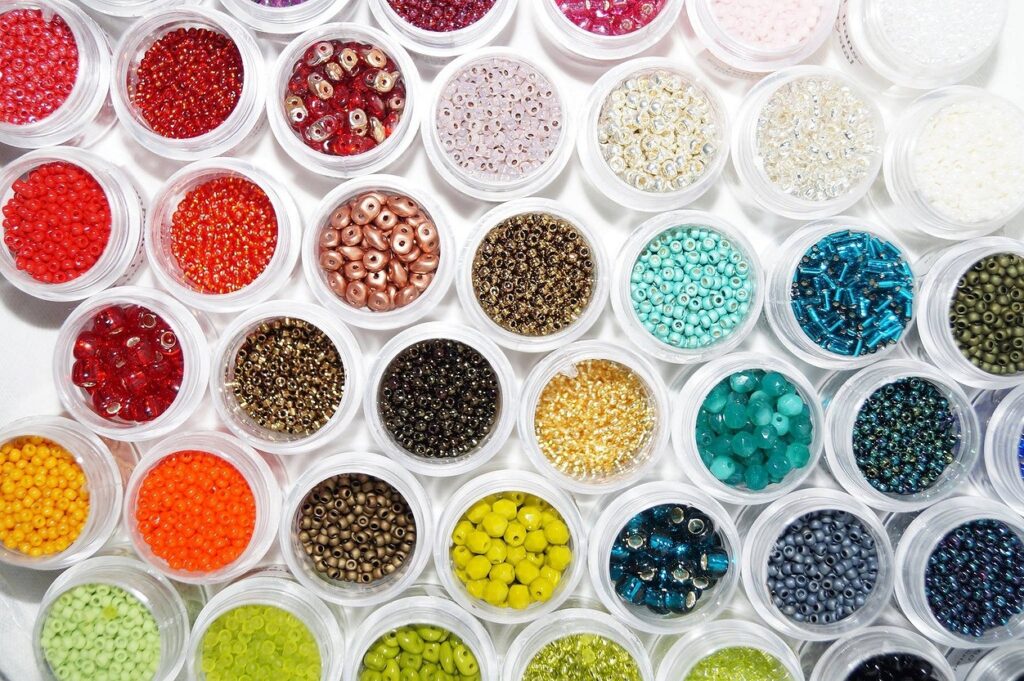
Handmade Christmas tree ornaments made of beads are loved by many. They shimmer in the light, weigh very little, and are not afraid of falls. To make the item truly luxurious and eye-catching, choose Czech and Japanese beads. They are threaded on a suitable thickness of thread (not fishing line, but a special one for crafting), monofilament, or thin wire.
For beginners, the simplest pattern will do – making such an ornament is not difficult, and it looks very cute.
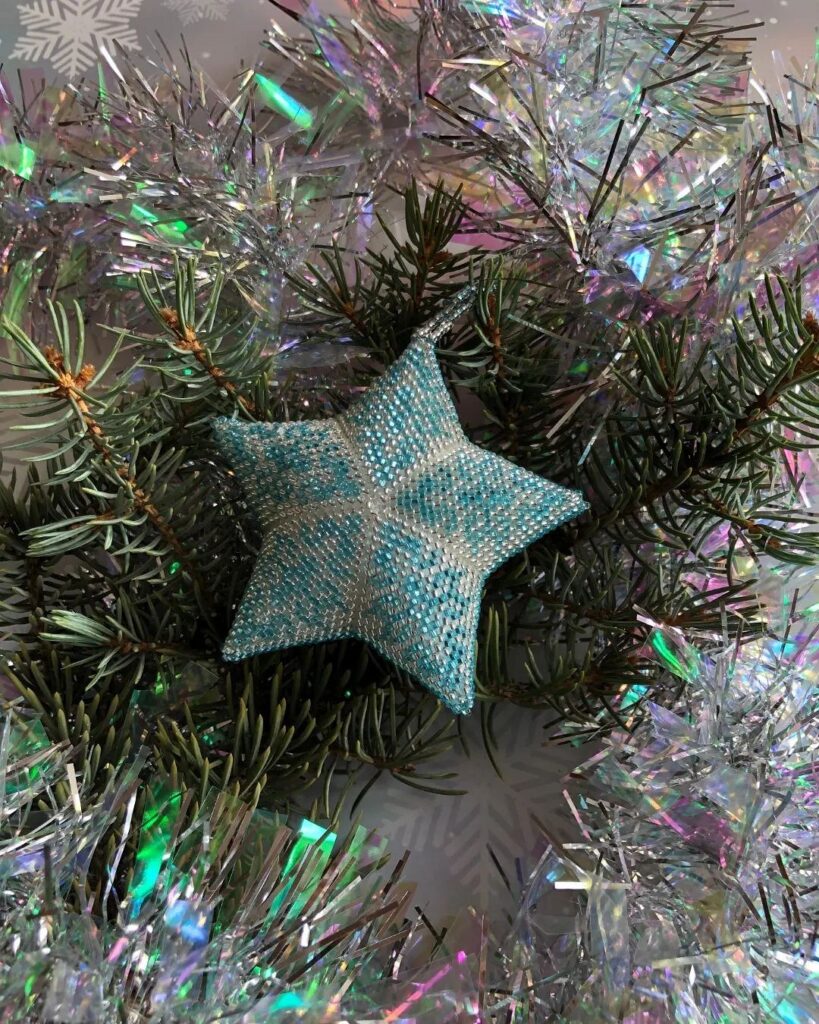
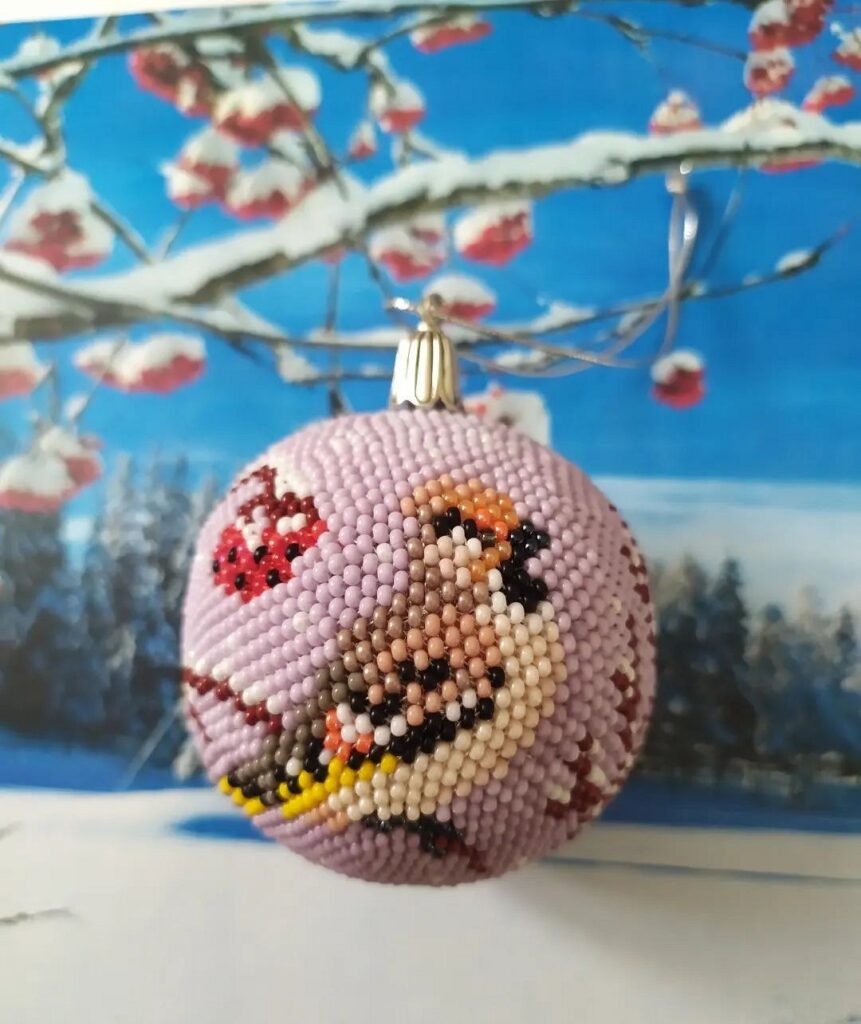
Another option is to bead-wrap a regular ball: with a beaded pattern, it will become even more interesting. When making such a masterpiece, it’s better to use polyester thread (“denim”): it’s softer and will tightly cover the ball.
Cotton
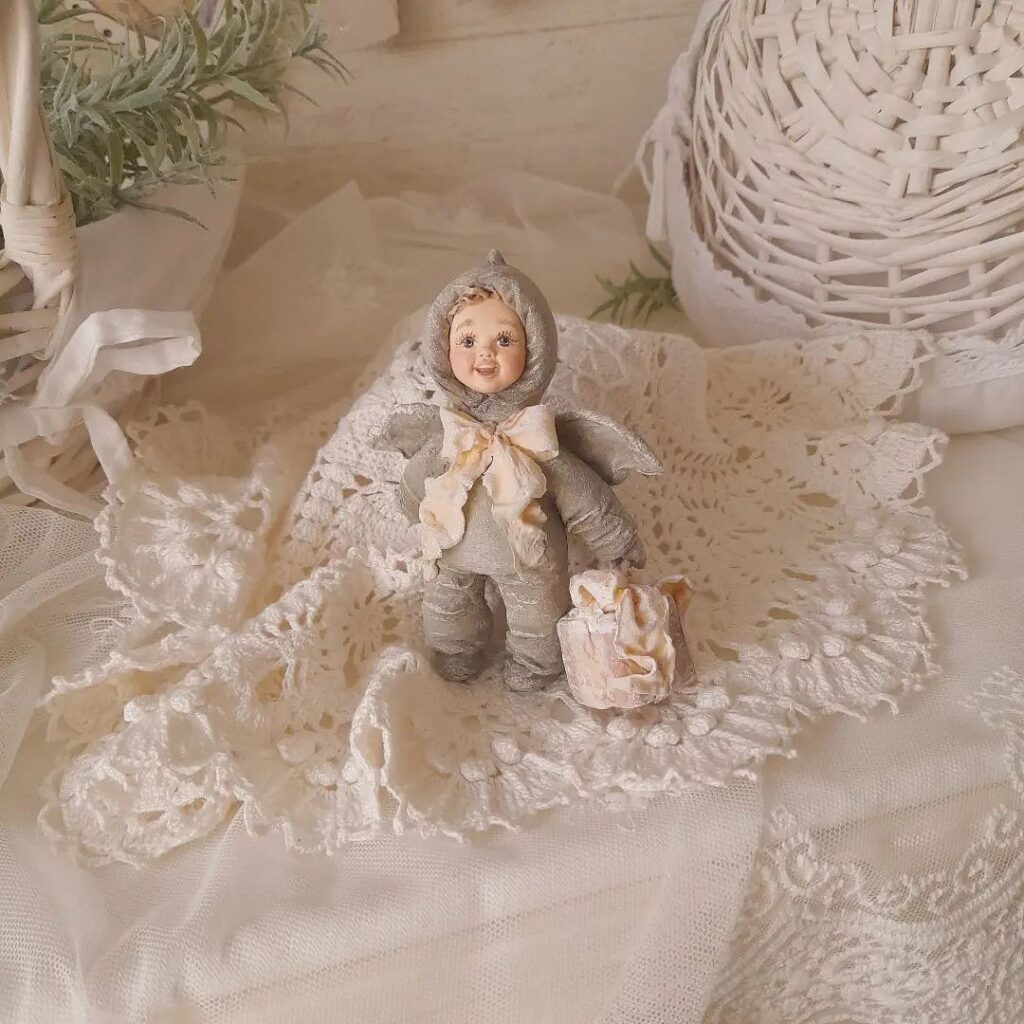
Cotton decorations will require more effort than most other crafts. This material is capricious and quirky, so don’t worry if your first attempts to make something from it are not successful.

Moreover, there is no universal method for creating such items: each master has their own approach. Experiment with different cotton, make the glue thicker or thinner, change the amount of glue for each item, and gradually you will be able to find the exact combination that results in neat and durable decor.
How to make Christmas ornaments from cotton by hand?
- Prepare cotton, wire, potato starch (for glue), scissors, PVA glue, paints, brushes, and decorative elements (beads, feathers, ribbons, etc.).
- Form a wire frame base according to the chosen shape.
- Roll the cotton onto the wire in small pieces, always in one direction, until you get the desired shape.
- Prepare the paste. It is made from water and starch. Dissolve 1 teaspoon of starch in 2 teaspoons of cold water and stir until smooth. Then add 100 ml of boiling water, stirring quickly, and 1.5-2 tablespoons of PVA glue when the paste cools slightly.
- Cover the entire ornament with the obtained paste, while correcting defects: removing cotton where it protrudes and adding it where it’s lacking.
- When the craft is dry (this will take 1-3 days), paint it with paints and decorate it with glitter, beads, and other decor.


Epoxy Resin
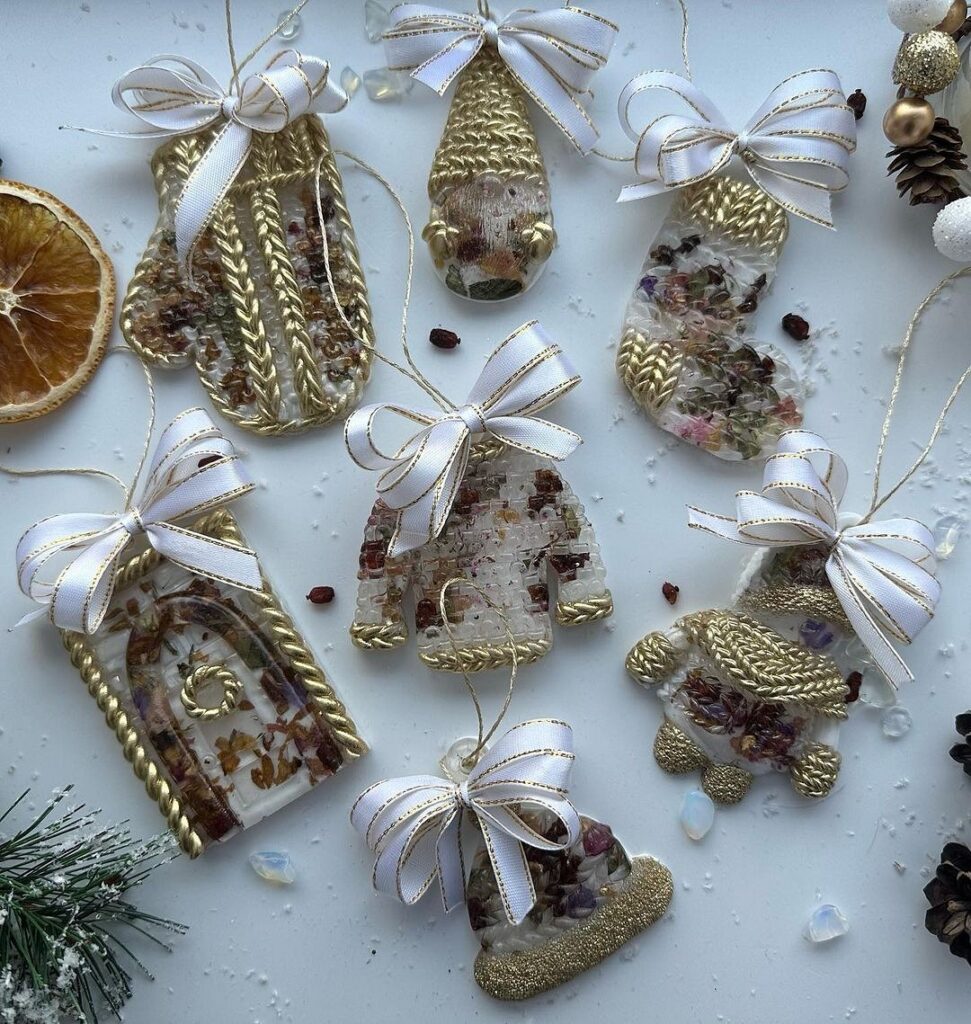
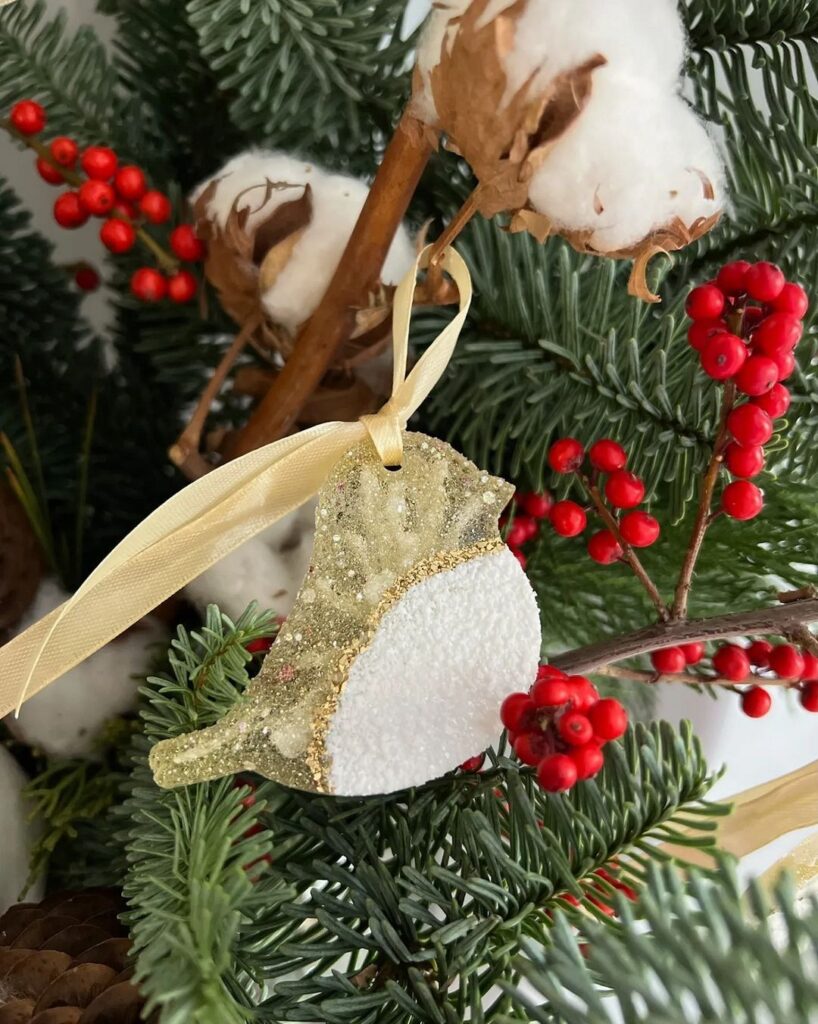
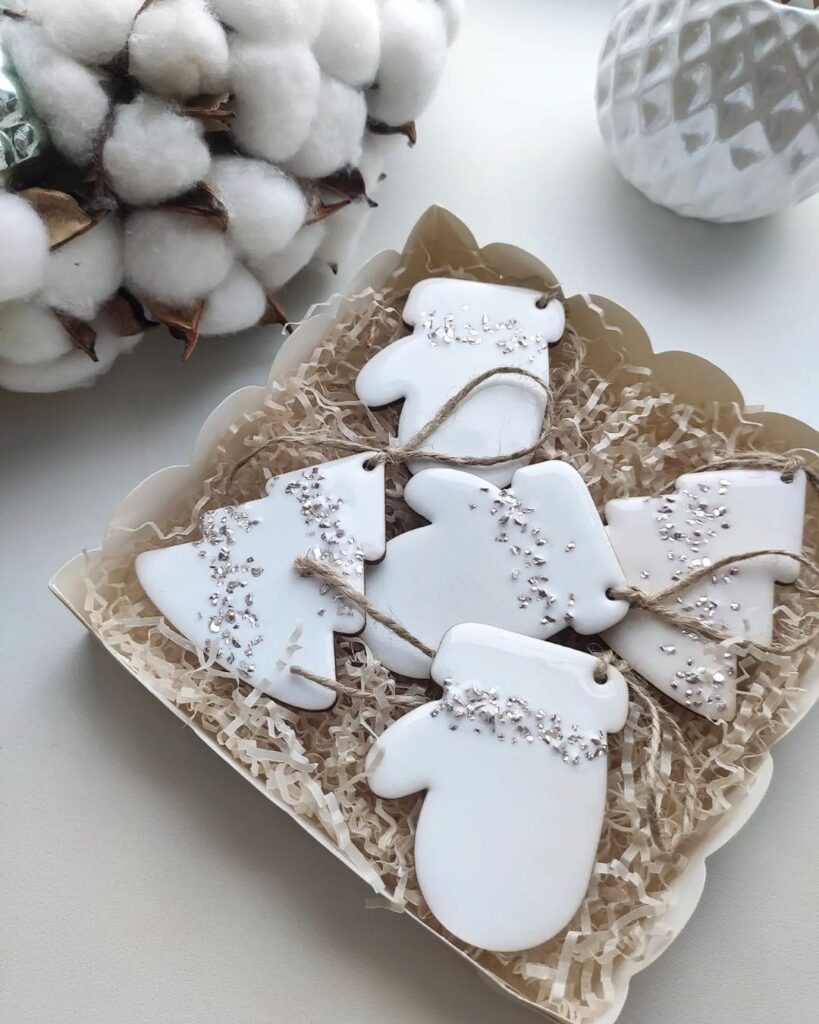
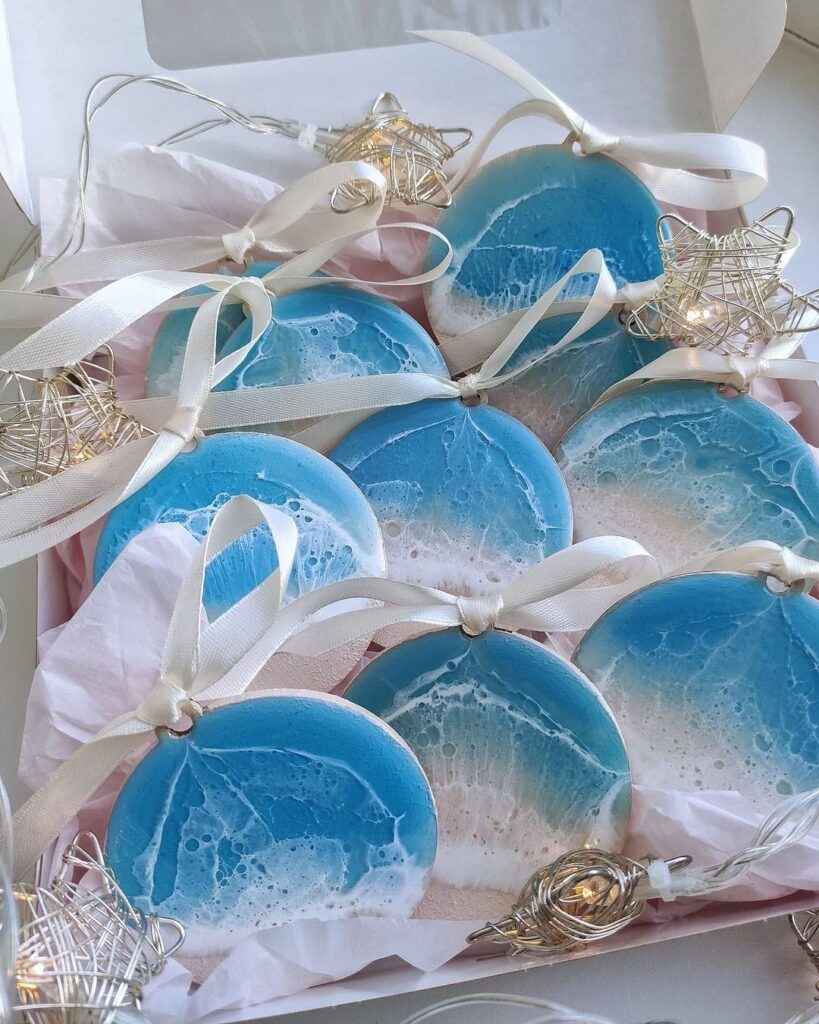
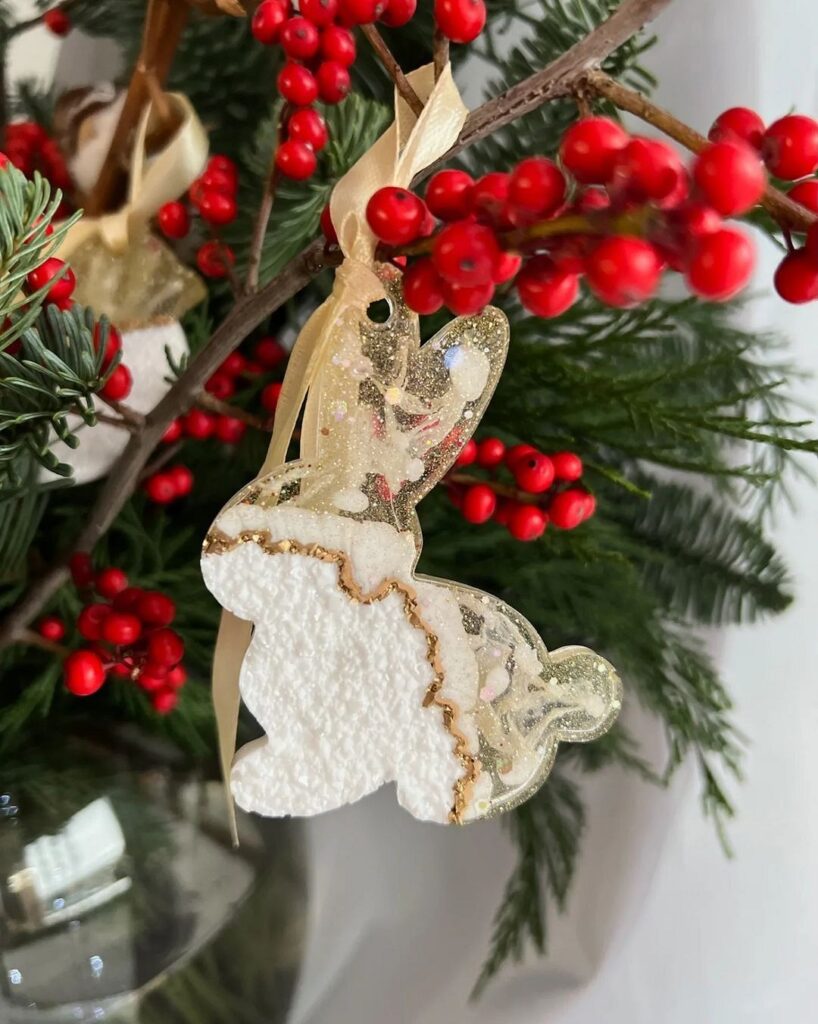
Handmade Christmas ornaments made from epoxy resin are indistinguishable from commercially produced ones. It’s impossible to guess that homemade decorations are hanging on the tree – they look so good.

However, the requirements for creating such items are very high. Working with epoxy resin is dangerous: its fumes should not be inhaled, and skin contact can cause irritation and even burns. It goes without saying that this refers only to the melted material, and once it solidifies, it becomes completely safe.
Another feature of resin (this time a pleasant one) is the variety of methods for working with it. You can create three-dimensional items, transparent coatings, contour figures, and more. You can add dyes and any decoration to it.
How to work with epoxy resin?
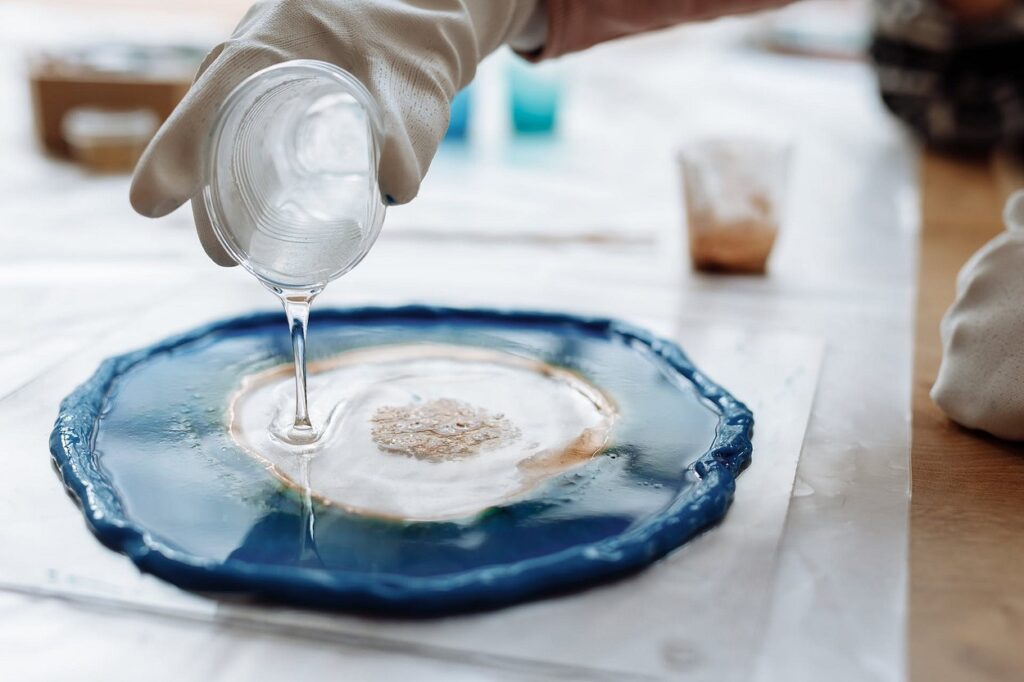
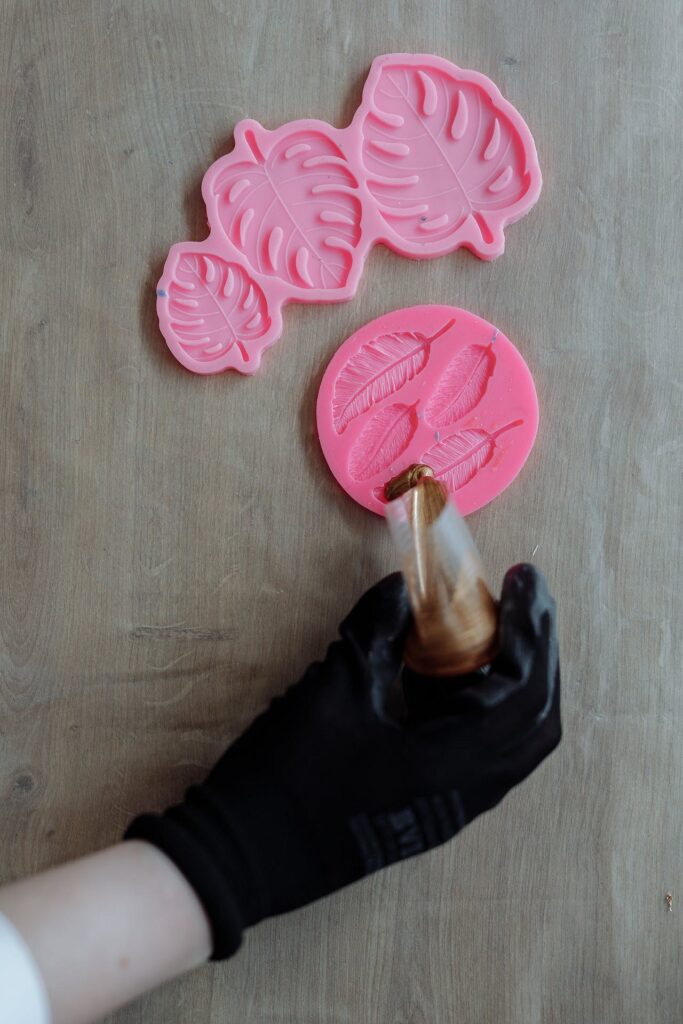
- Prepare everything you need: a set of resin and hardener (it’s better to buy a ready-made kit, as it will come with detailed instructions on how to mix the components), decorations, disposable plastic cups (or other polymer containers that can be discarded later), wooden sticks for stirring the mixture, molds for pouring, sandpaper, linseed oil.
- For safety, you will need rubber gloves, a thick apron, protective goggles, and a respirator. You should work in a well-ventilated room.
- Combine the resin and hardener in the proportions indicated in the instructions. Stir carefully, and if there are bubbles on the surface, puncture them with a toothpick or gently heat the mixture in a water bath over low heat.
- Add glitter, glitter, and coloring pigments.
- Pour the mixture into the mold. If you plan to add large elements (stones, rhinestones, leaves), fill the mold halfway, place the decor on it, and wait for complete solidification (24 hours), then top it up with resin to the top of the mold.
- After drying, you can sand the item with sandpaper to level the surface, and also polish it with a flaxseed oil or soapy solution-moistened cotton ball.




Readymade Materials
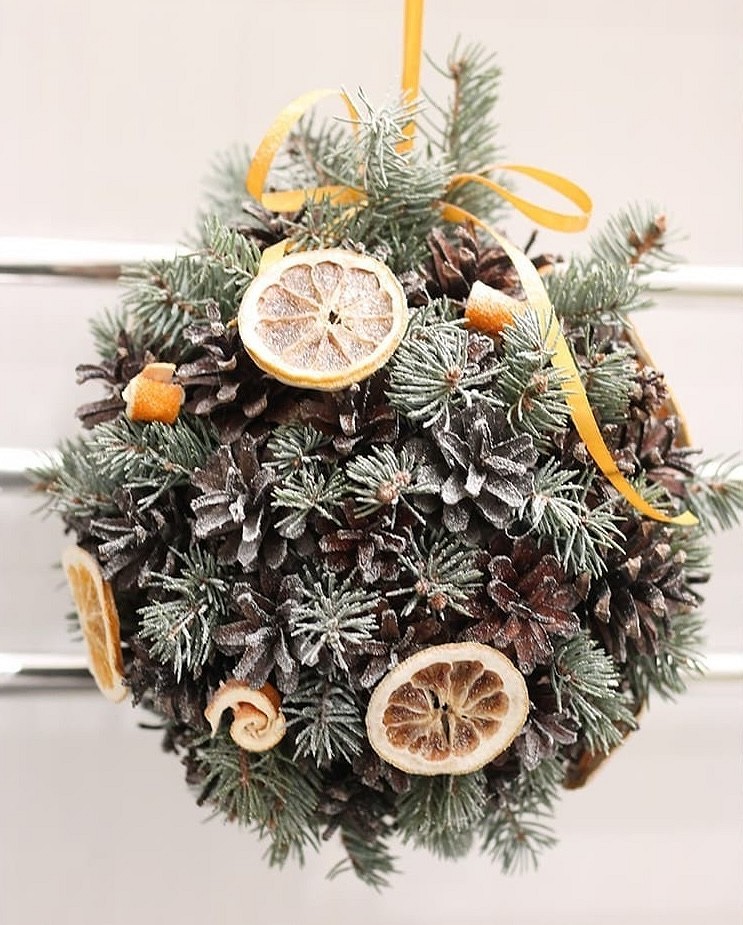
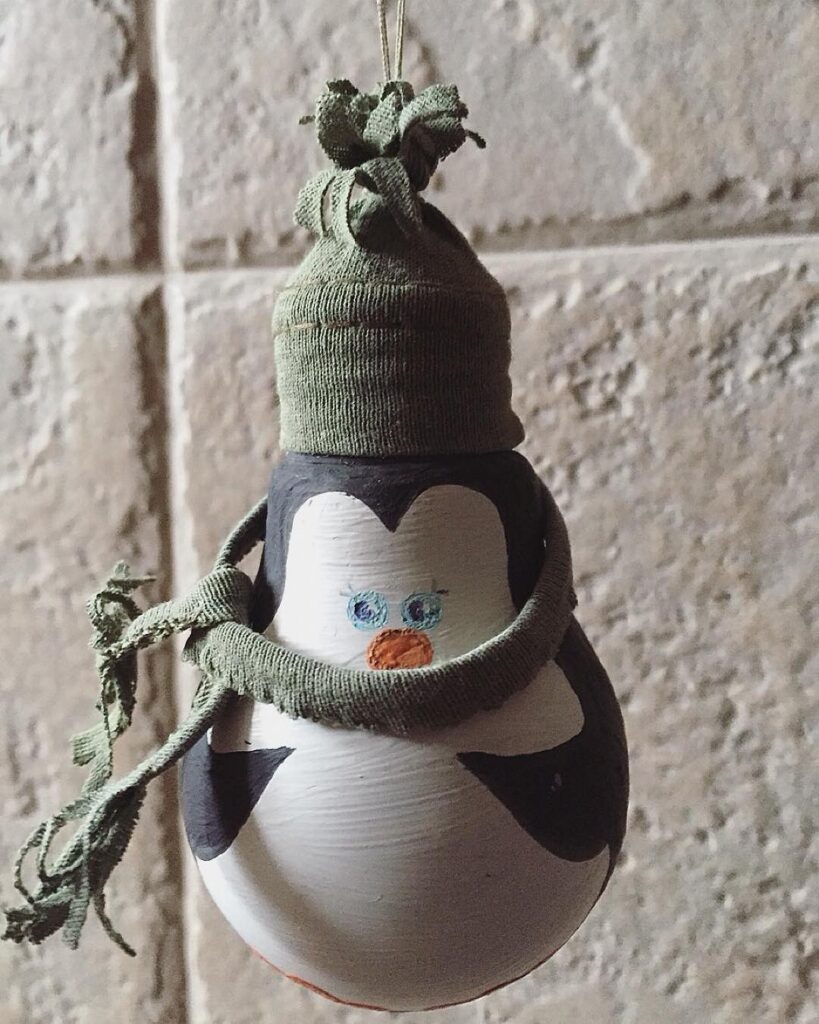
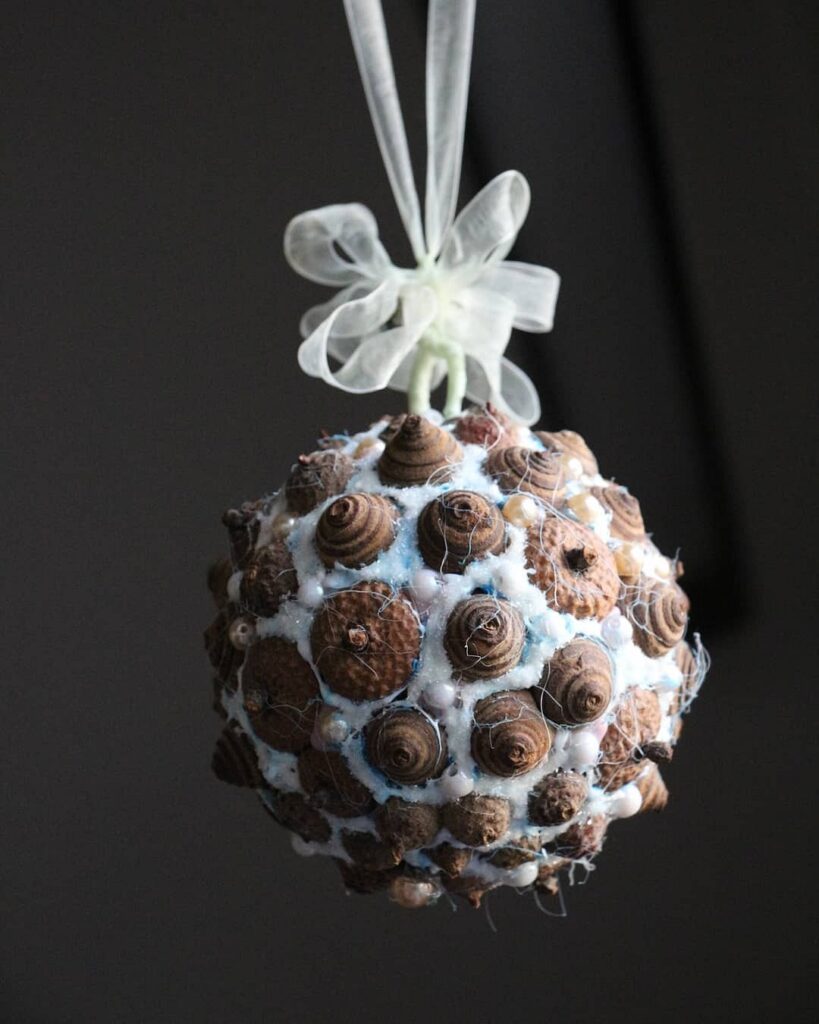
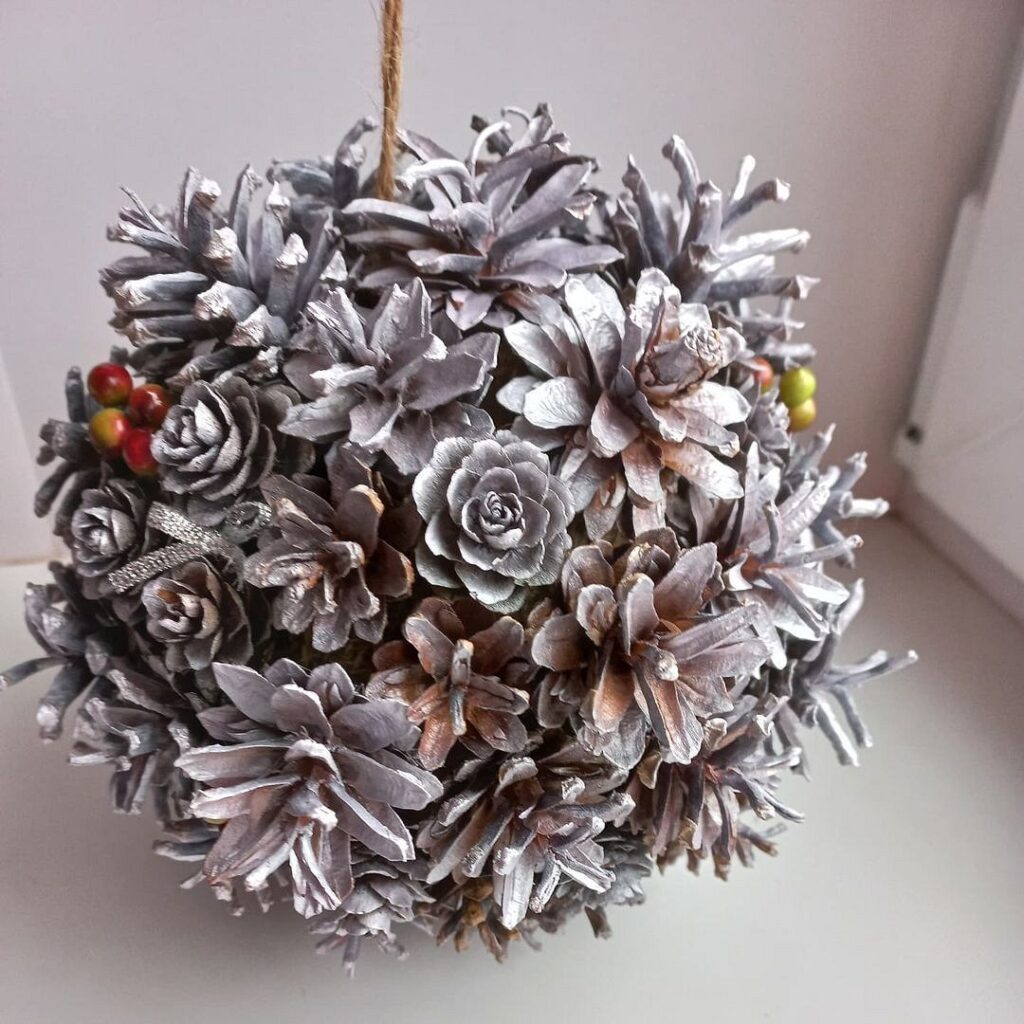
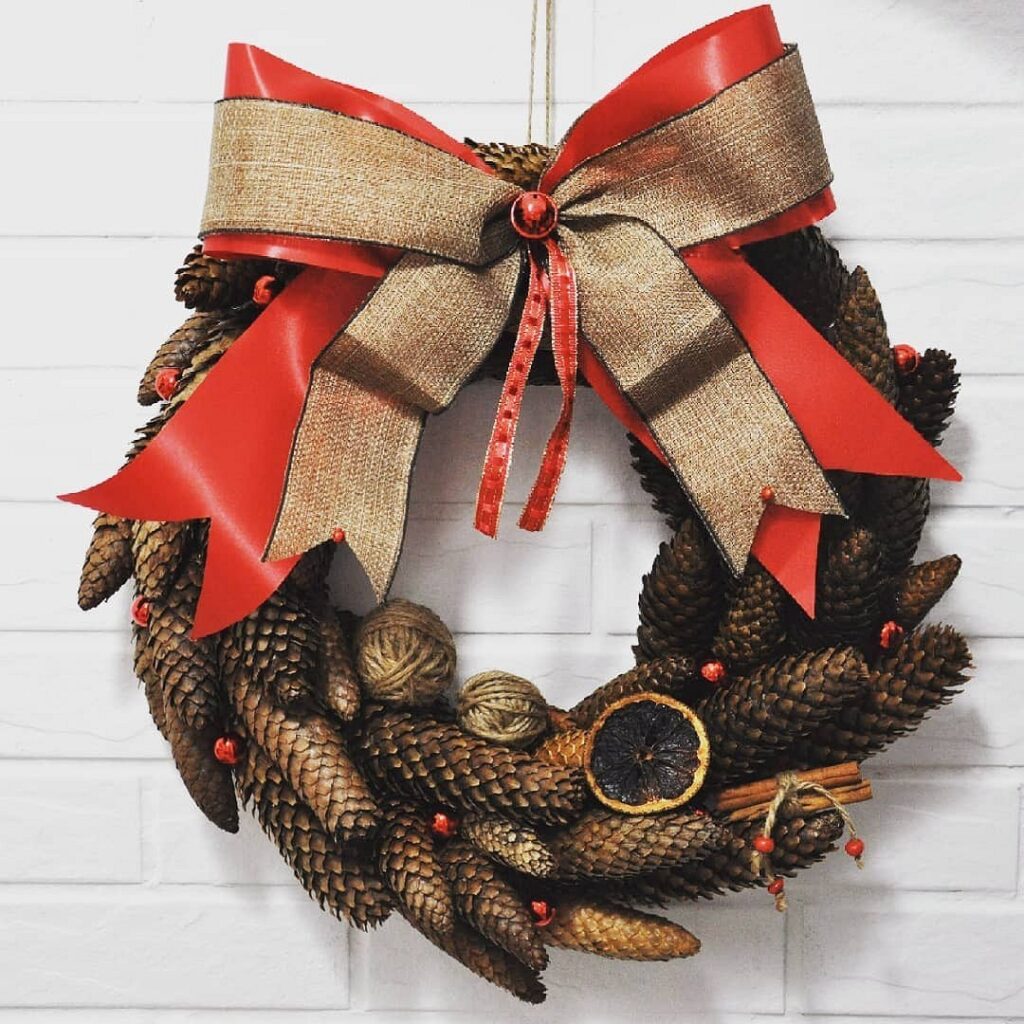
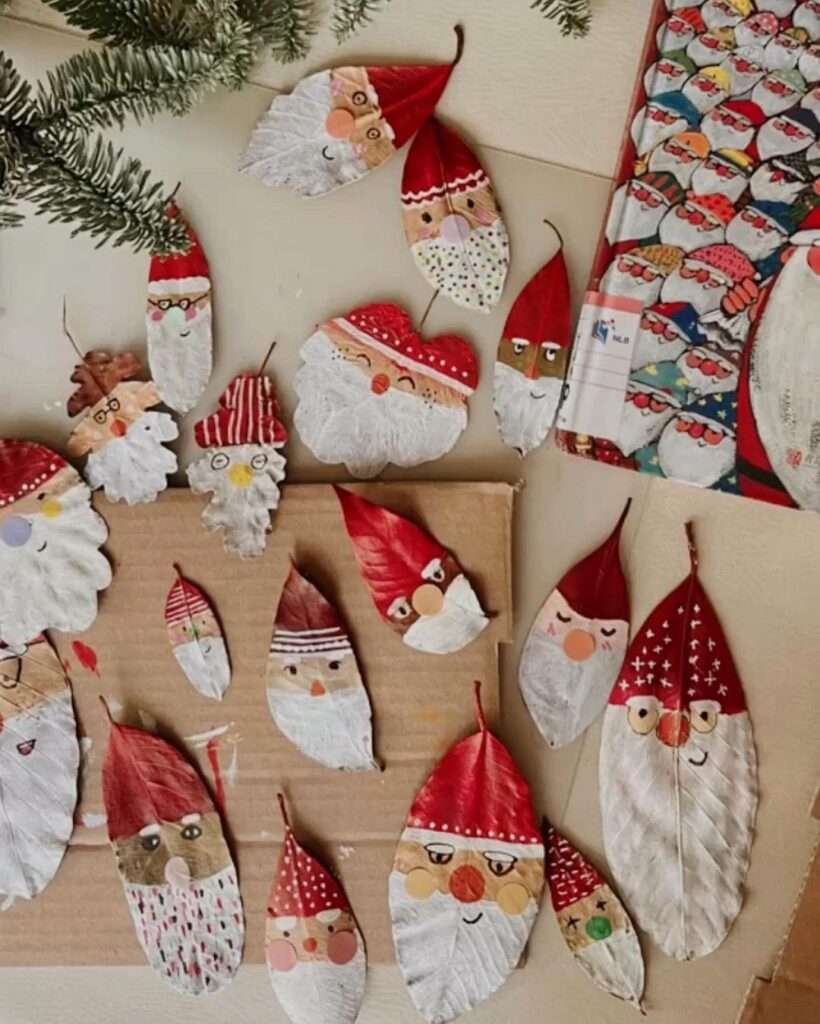
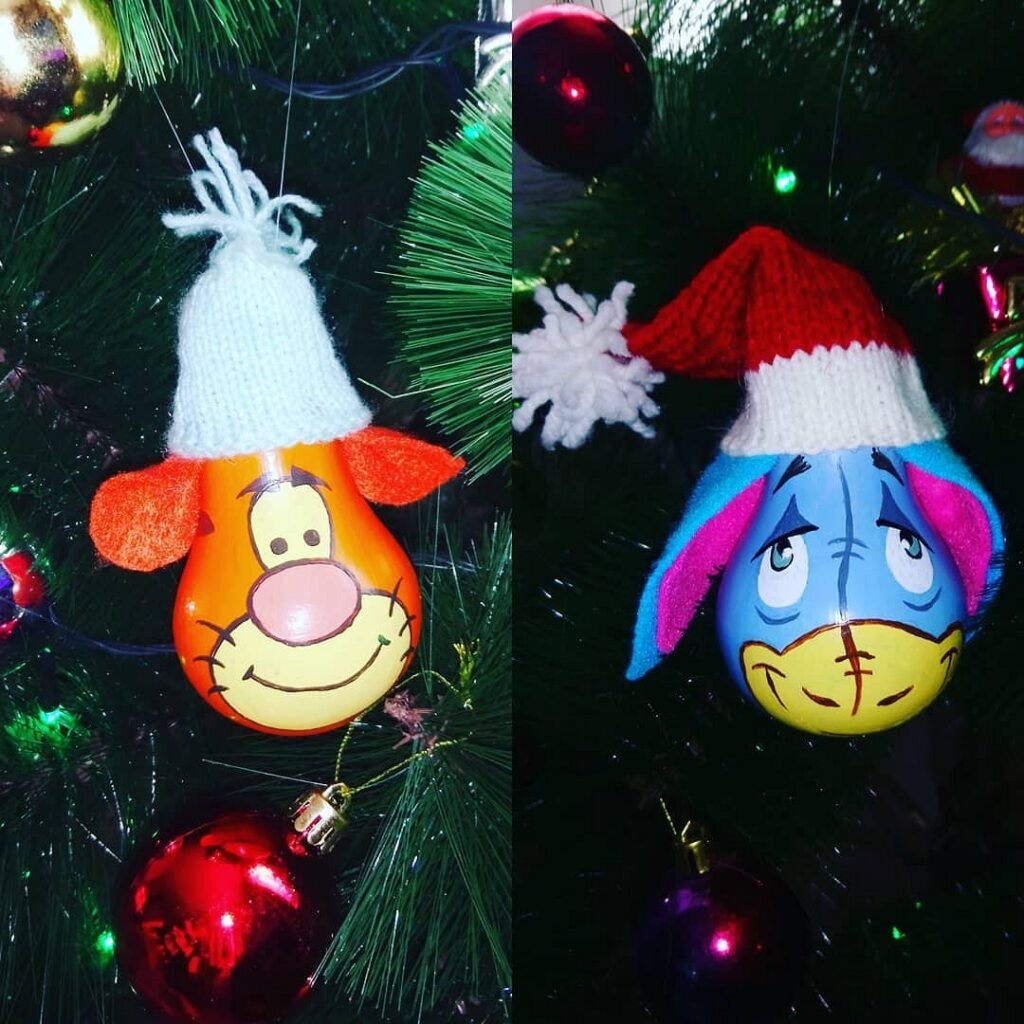
When you need a homemade decoration urgently, you can use whatever is at hand. Usually, these are natural materials (cones, acorns, leaves) or everyday items that everyone has (light bulbs, toothpicks, corks, etc.).
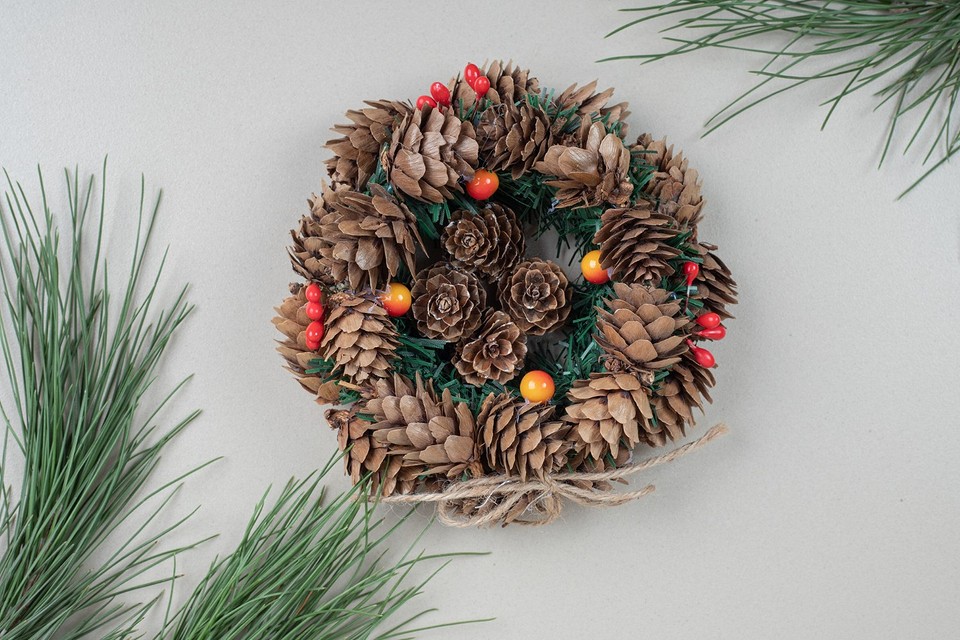
What can you make? Turn autumn leaves into Santa Clauses, glue ice cream sticks together to make a star, tie cones into an original Christmas ball, decorate a styrofoam figure with acorn caps… Almost all such crafts are intuitively understandable and do not require much time, so it’s easy to make enough of them to fully decorate the Christmas tree.
Decoration from Corks
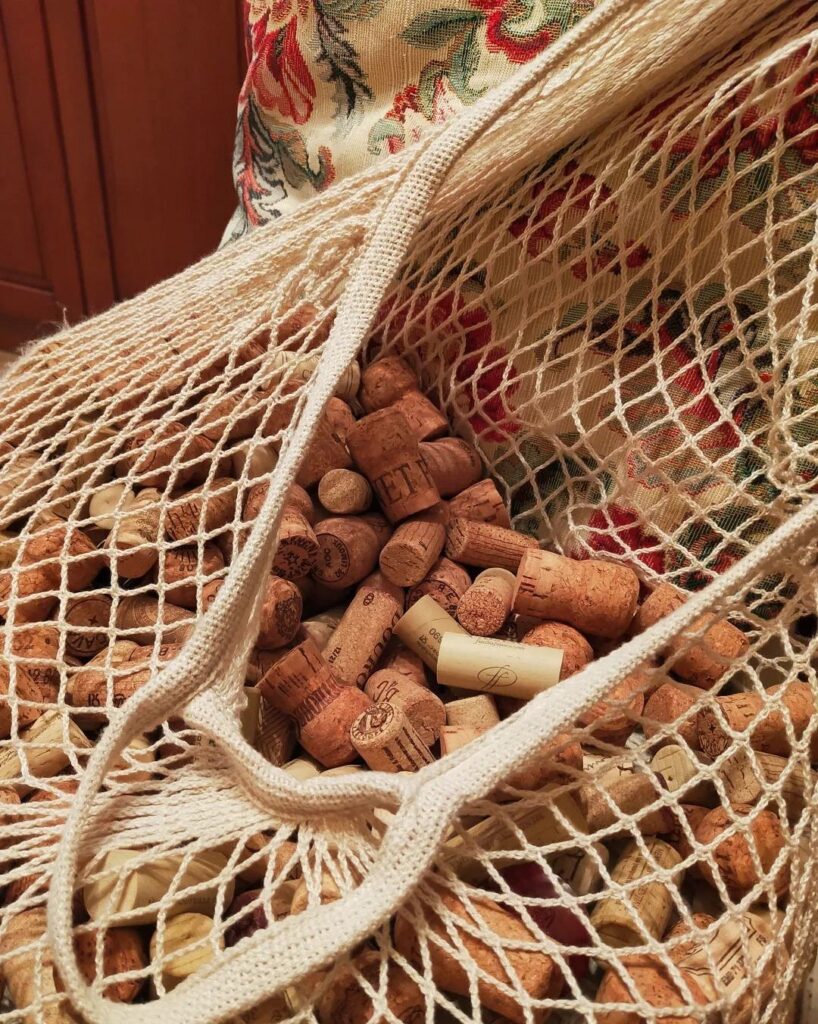
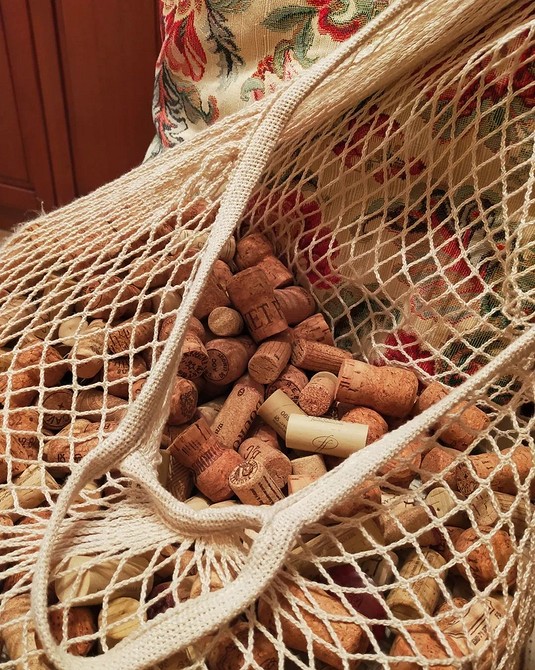
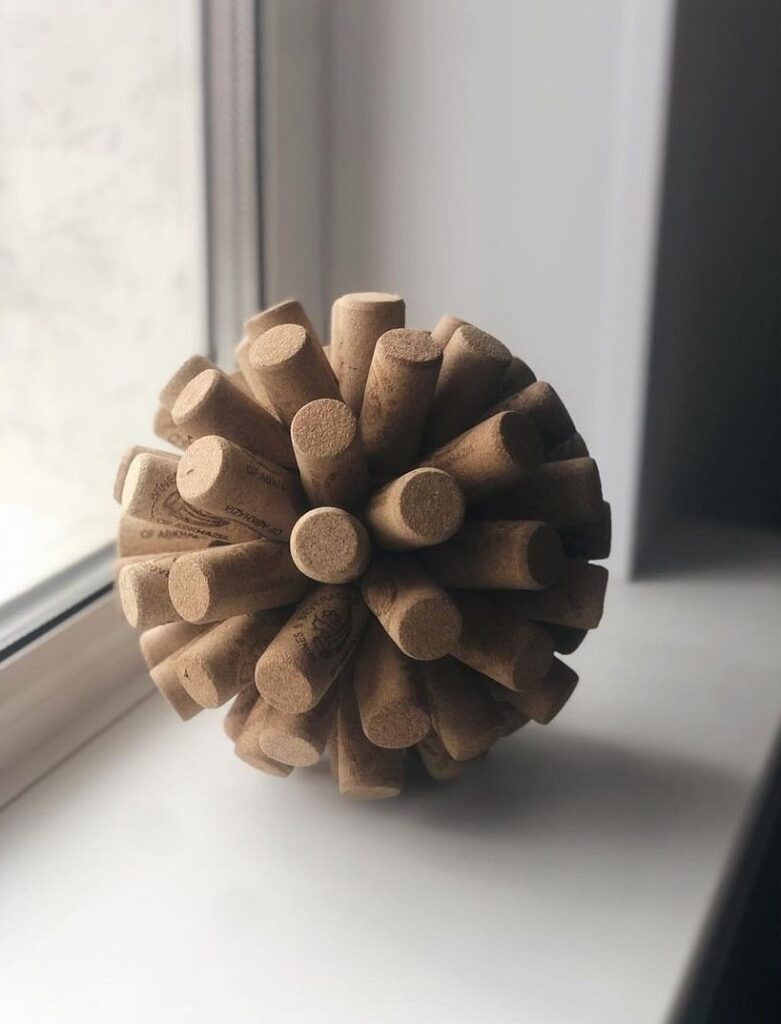
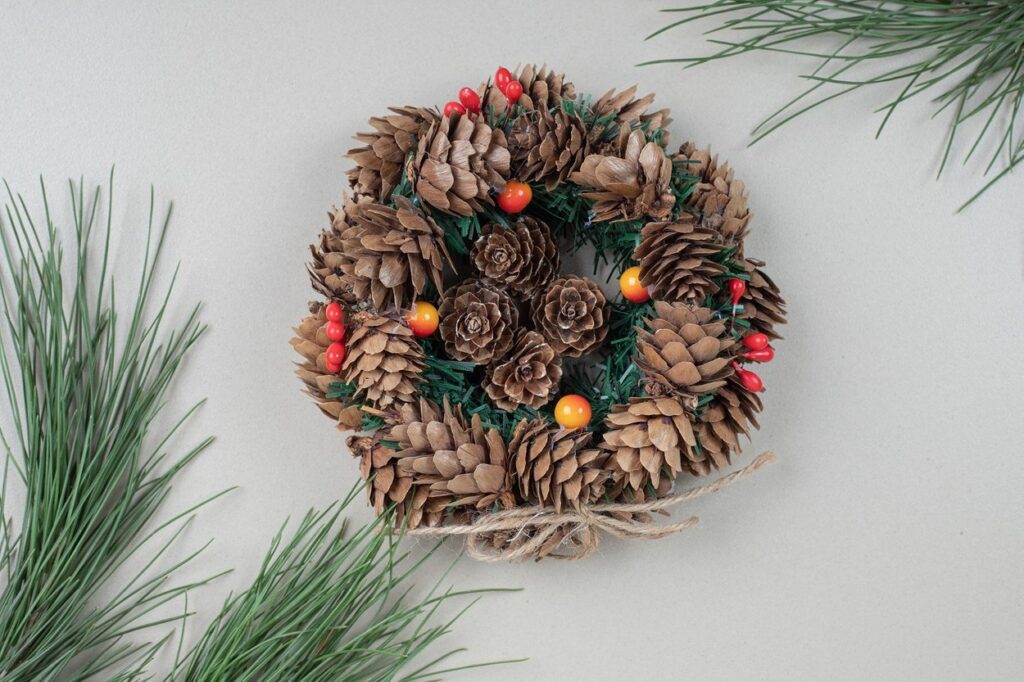
Many people don’t throw away wine corks and keep them for years. If you also have a sufficient amount of this craft material, make an unusual Christmas wreath from it.
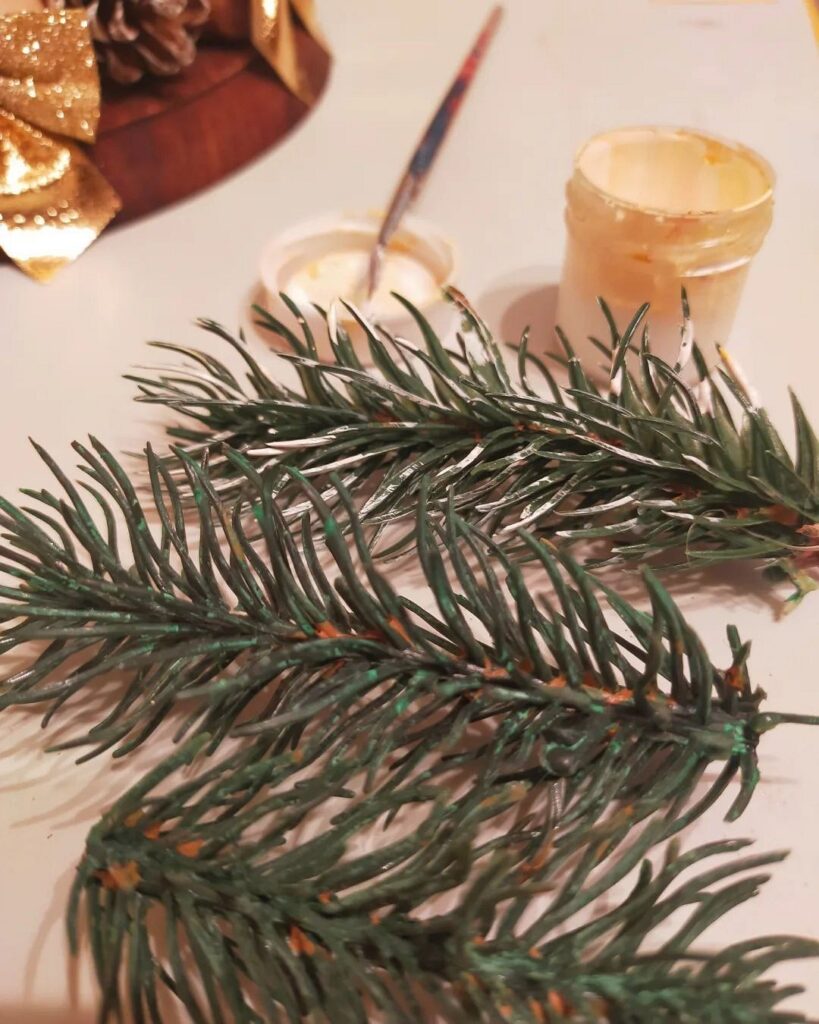
- You will need corks of the same size, cardboard, scissors, PVA glue (or hot glue), fir branches, and decorations (ribbons, beads, bows, etc.).
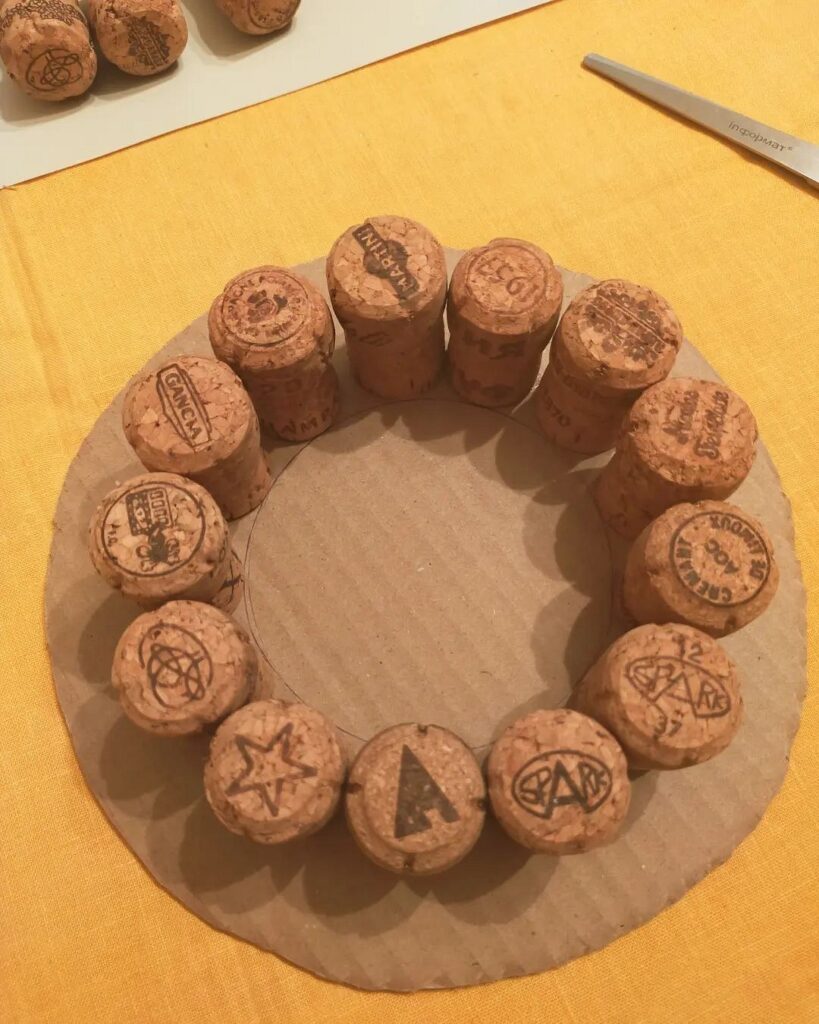
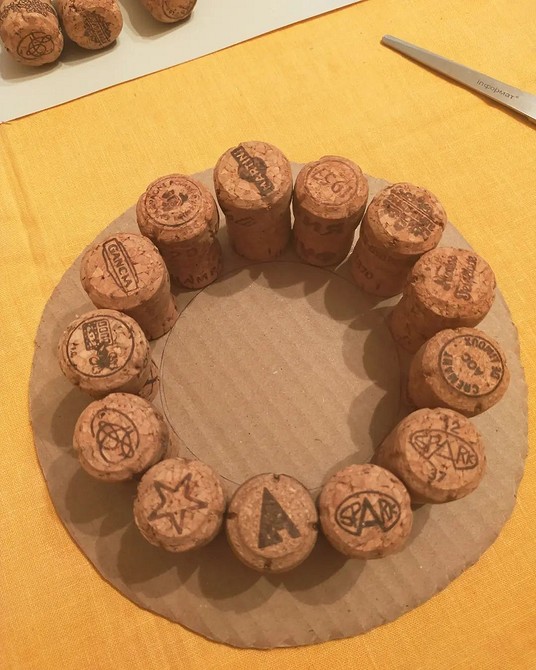
- Cut a wide ring from sturdy cardboard.
- Glue the corks with a glue gun or PVA along the inner circle.
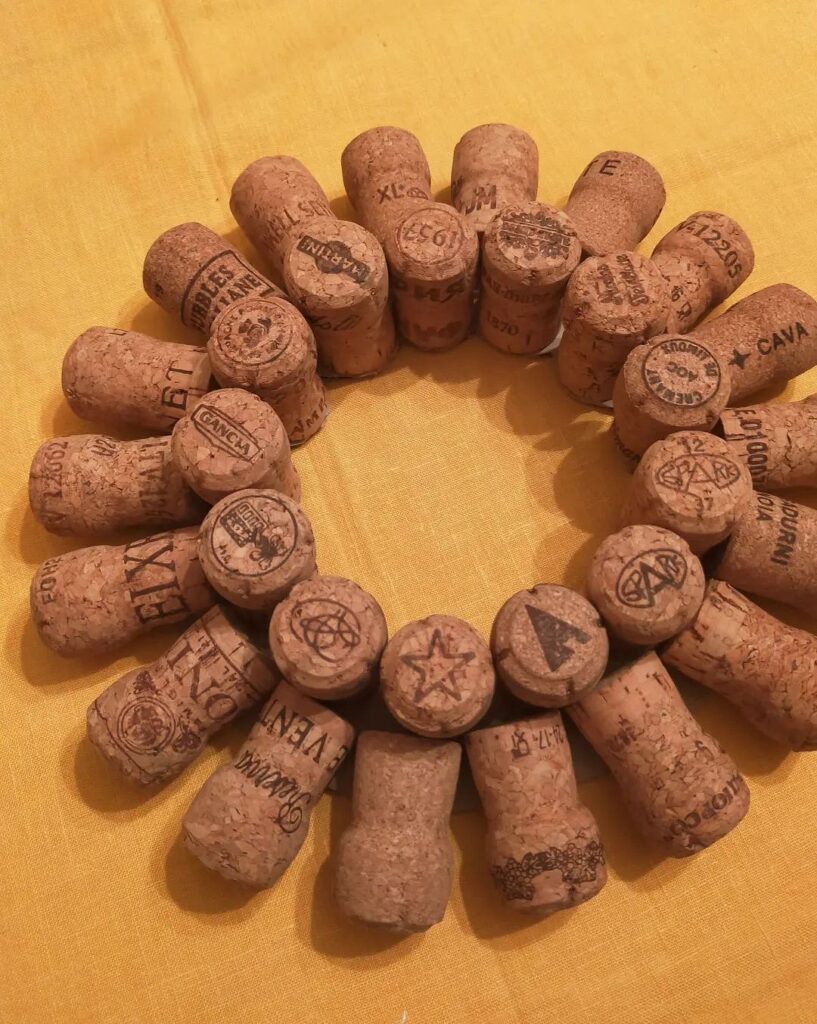
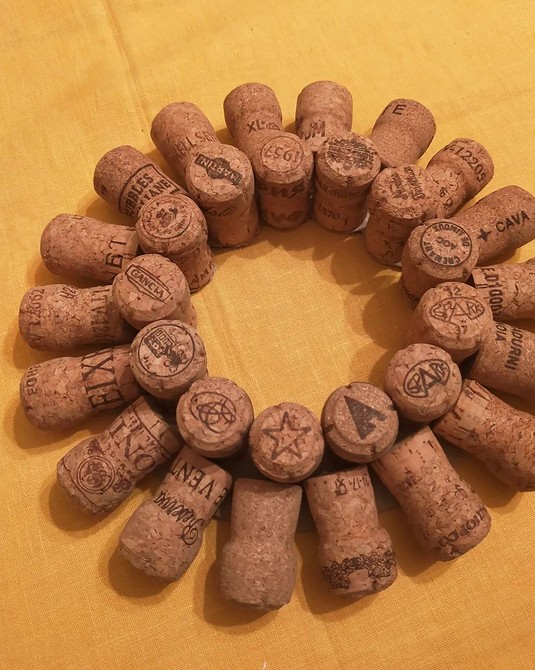
- Glue the second row of corks.
- Decorate the composition with ribbon and fir branches.

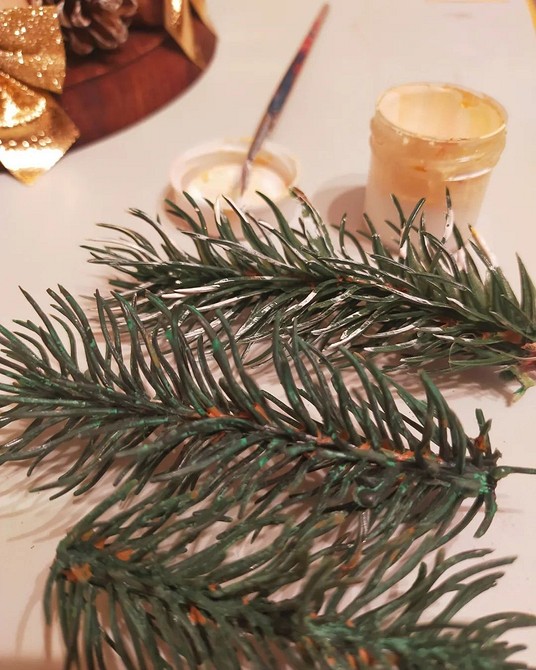

You can prepare delicious gingerbread or any other Christmas-themed cookies. If you have suitable molds, it’s time to use them. If not, make round cookies and decorate them with sugar icing, colored with natural dyes: beet juice, turmeric, carrot, cherry, etc. (You can prepare delicious gingerbread or any other Christmas-themed cookies. If you have suitable molds, it’s time to use them. If not, make round cookies and decorate them with sugar icing, colored with natural dyes: beet juice, turmeric, carrot, cherry, etc.)



Creating a New Year Dragon, the Symbol of 2024
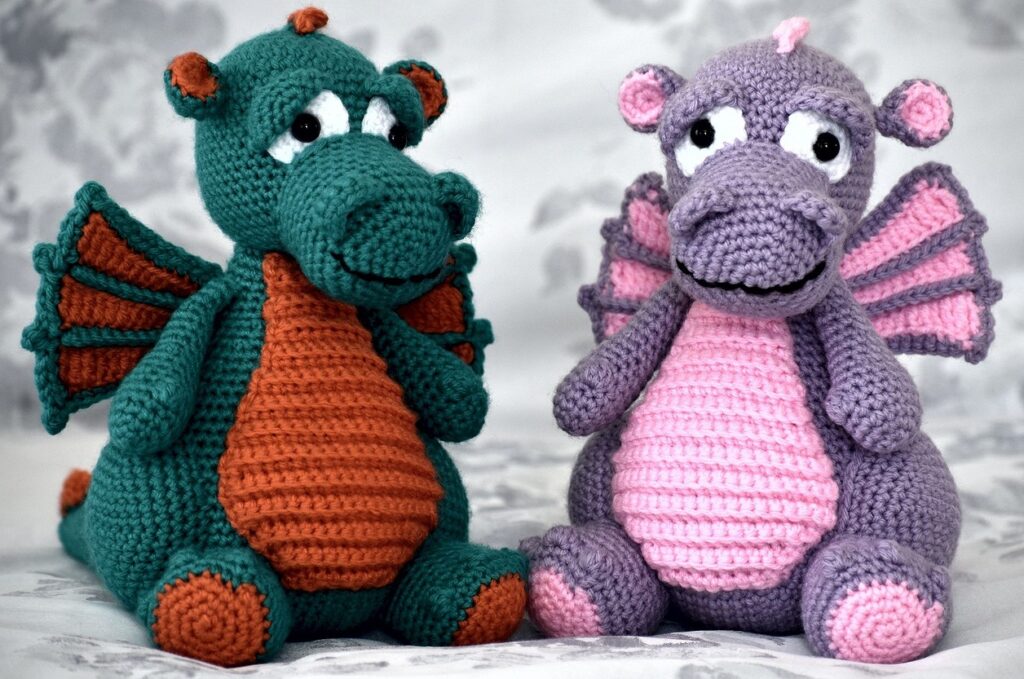
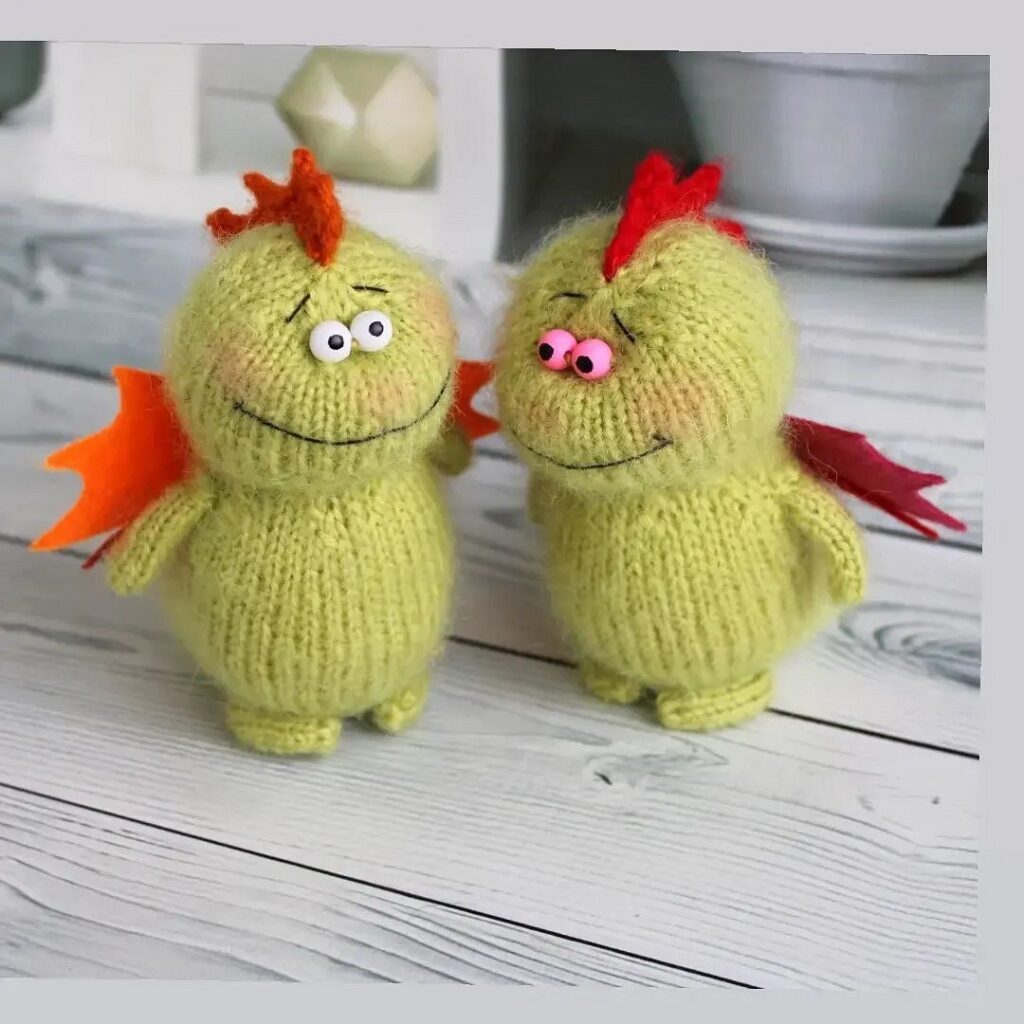
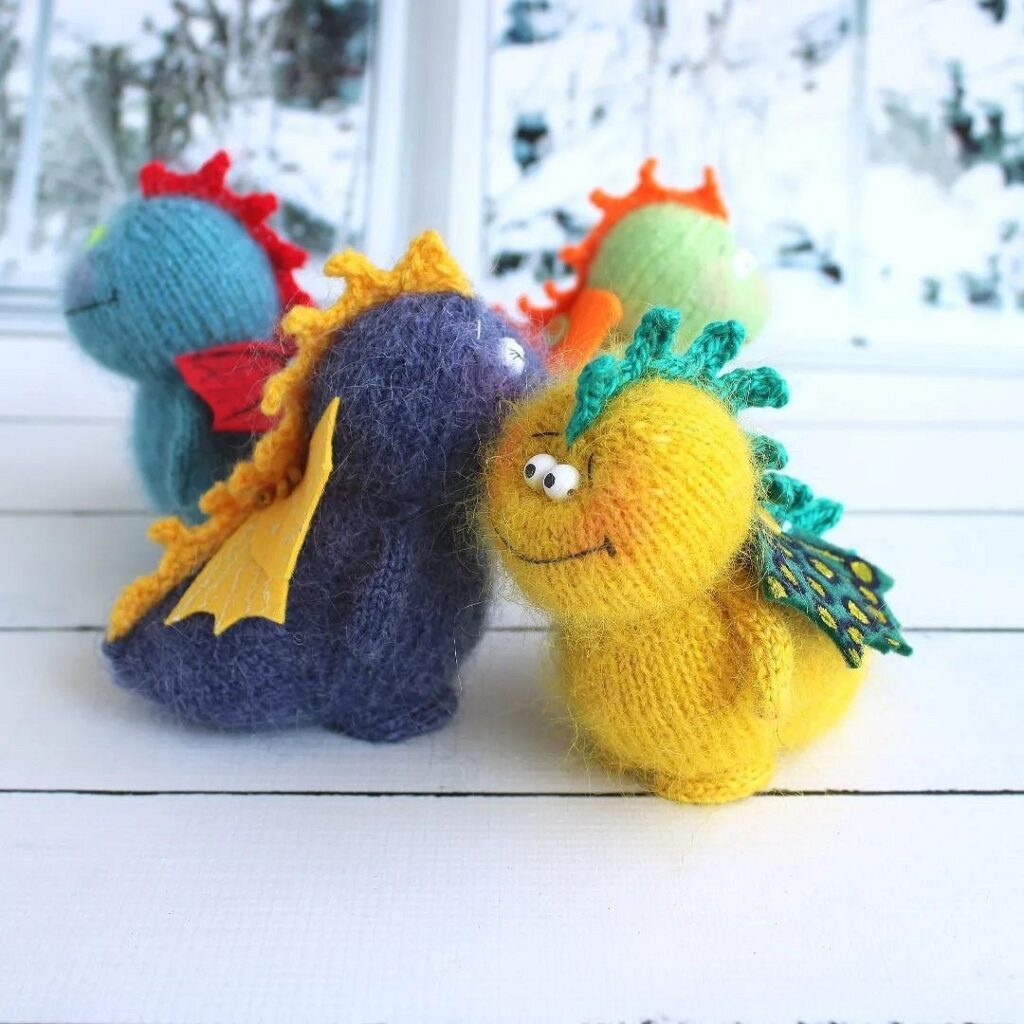
What handmade New Year’s toys will be the most popular in 2024? Besides the classics like balls, snowflakes, and stars, it’s undoubtedly the Dragon.

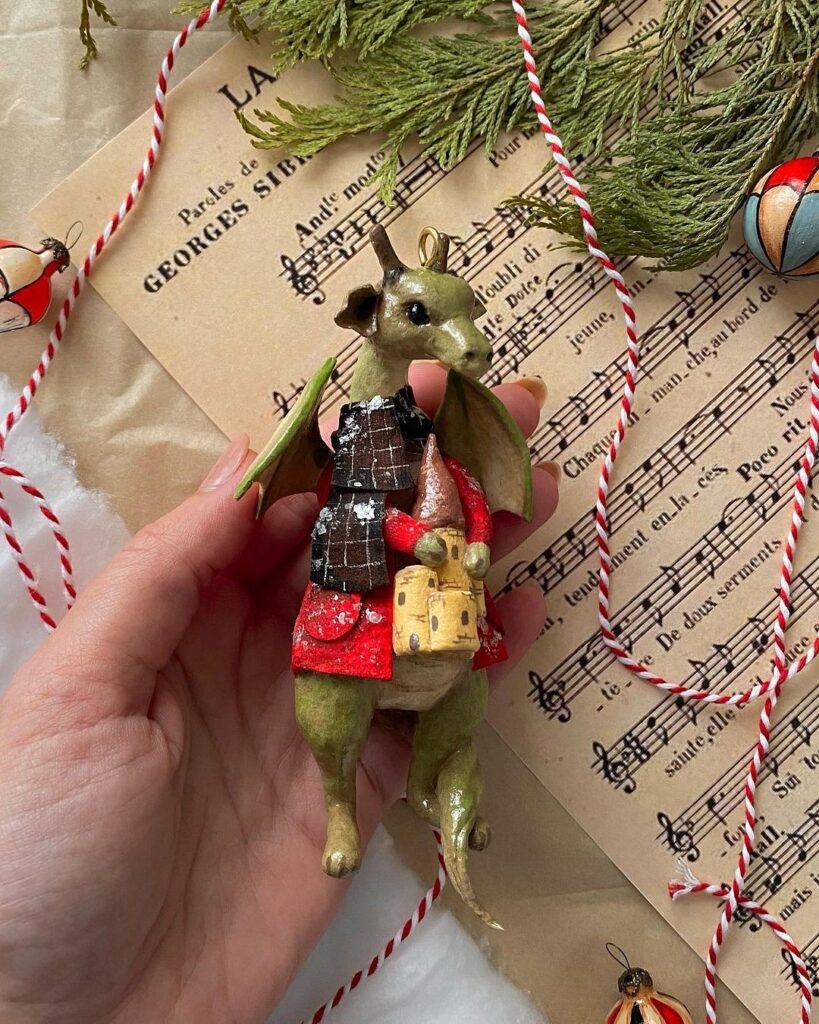
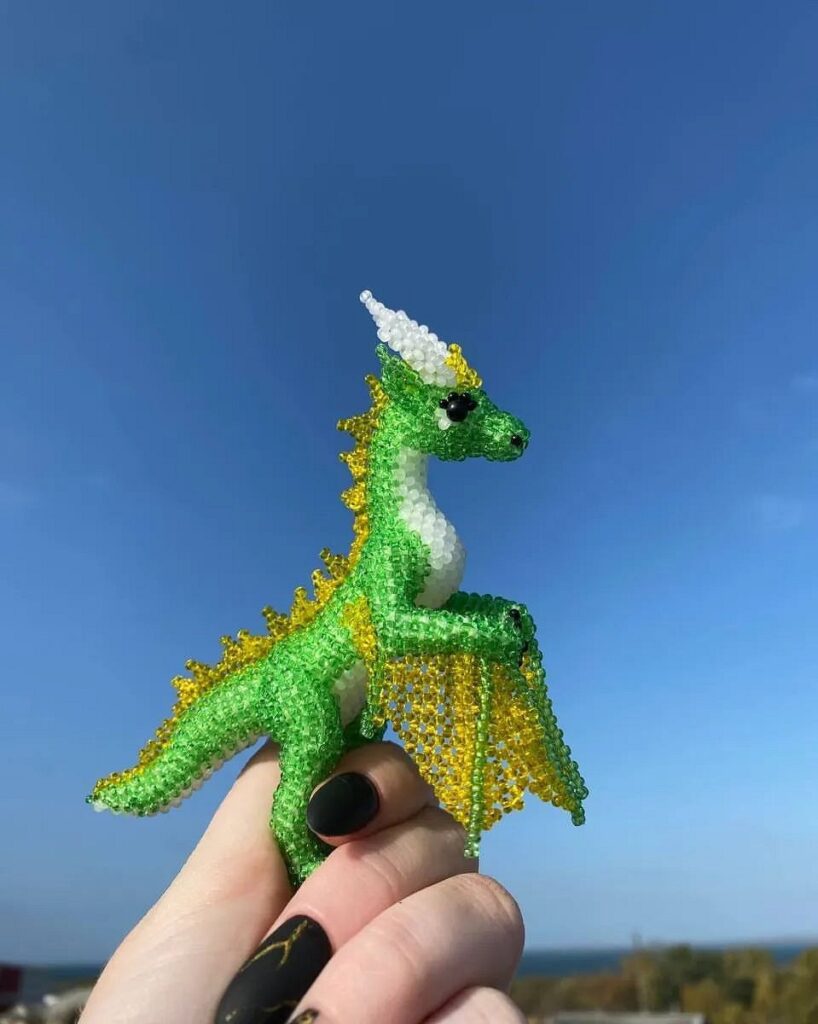
If you really like this mythical creature, it’s worth creating it using one of the more complex but more durable techniques—epoxy resin, cotton, or beads. If you only need the Dragon for the festive night, it will be easier and faster to make origami from paper, cut out a felt figure, or draw it on a styrofoam blank.
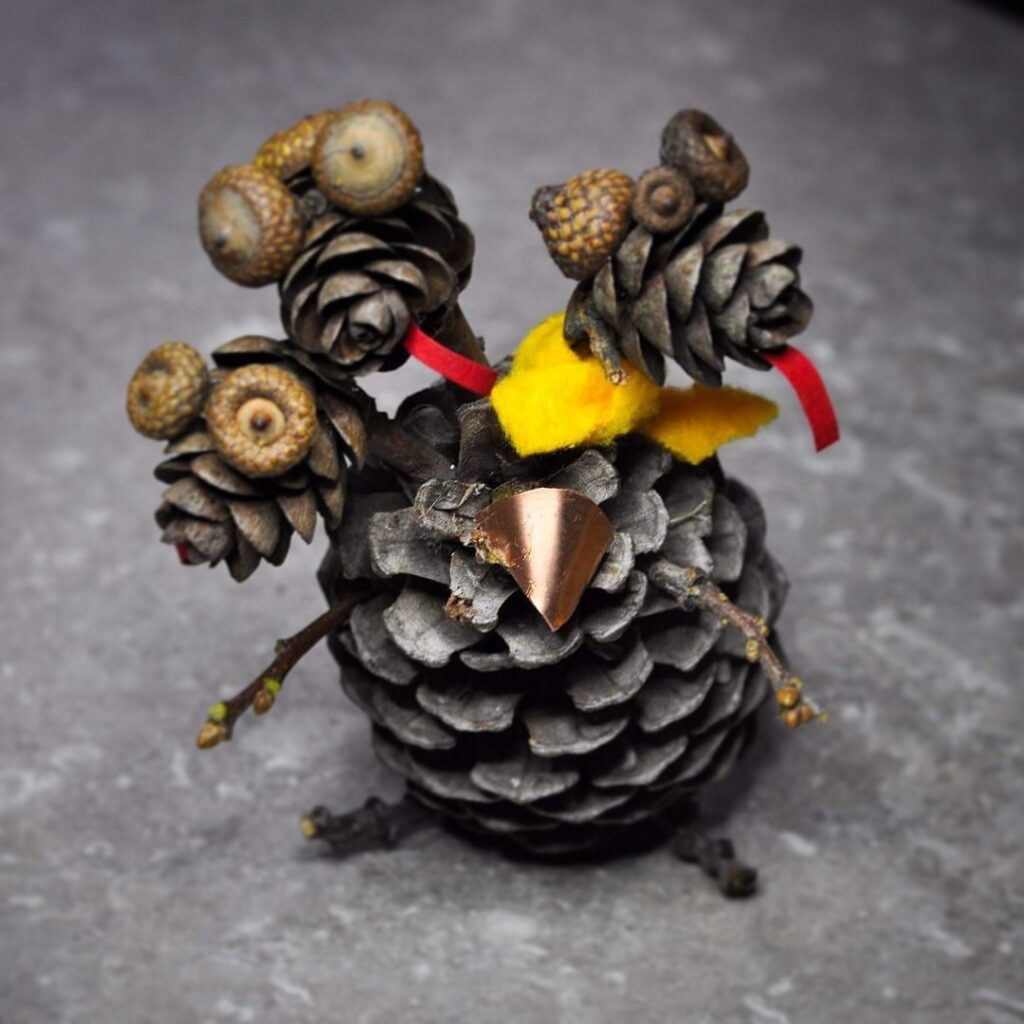
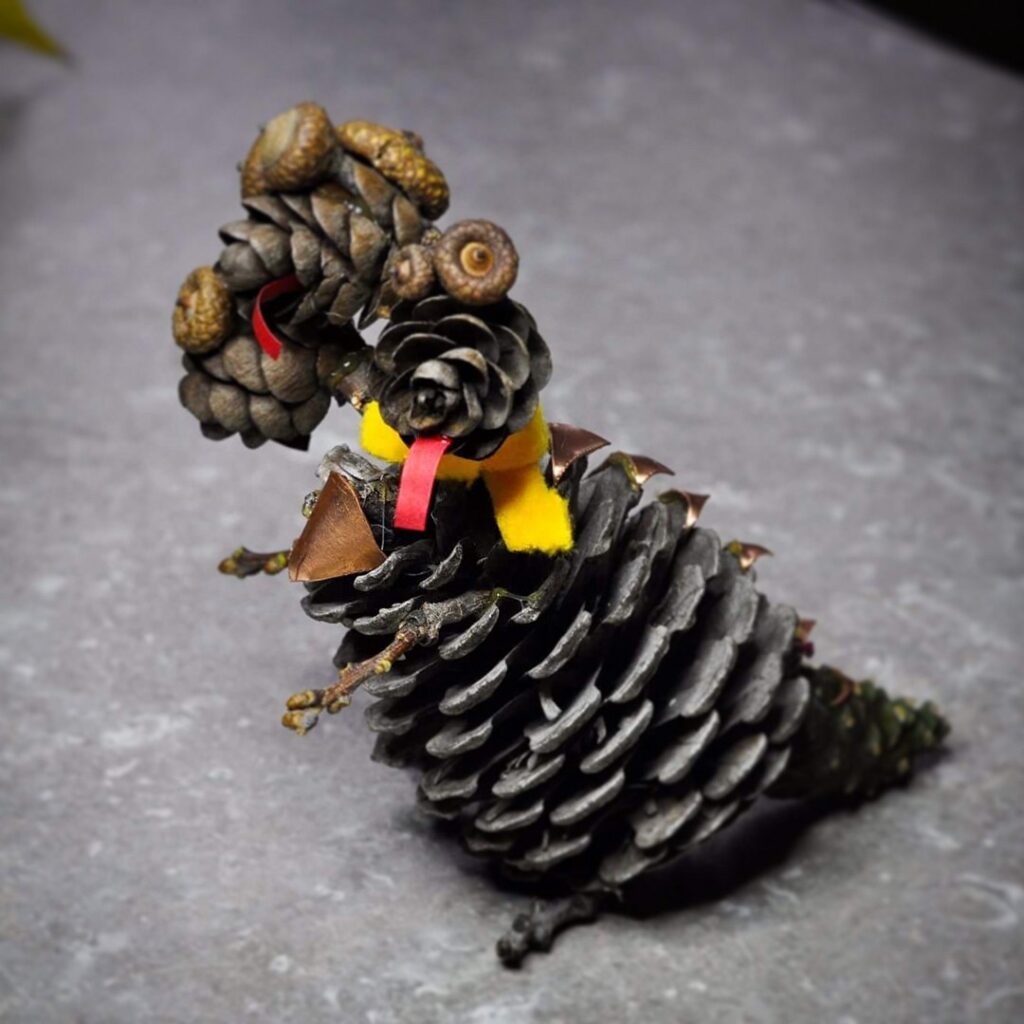
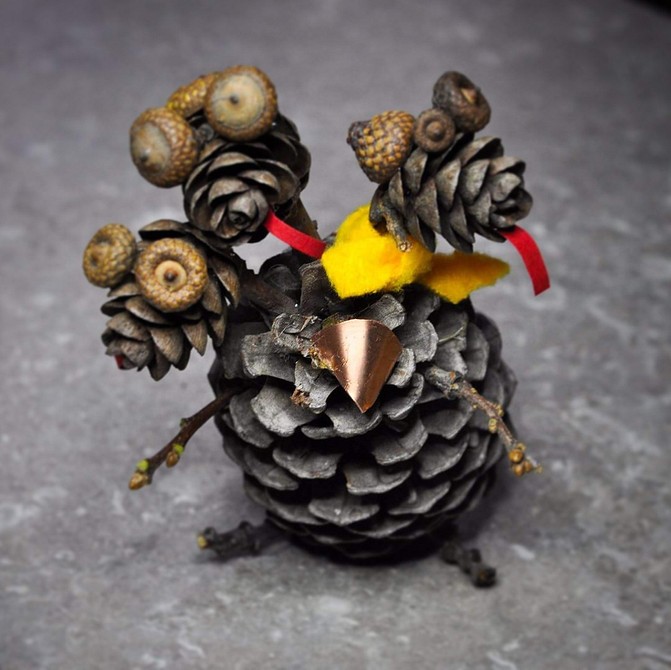
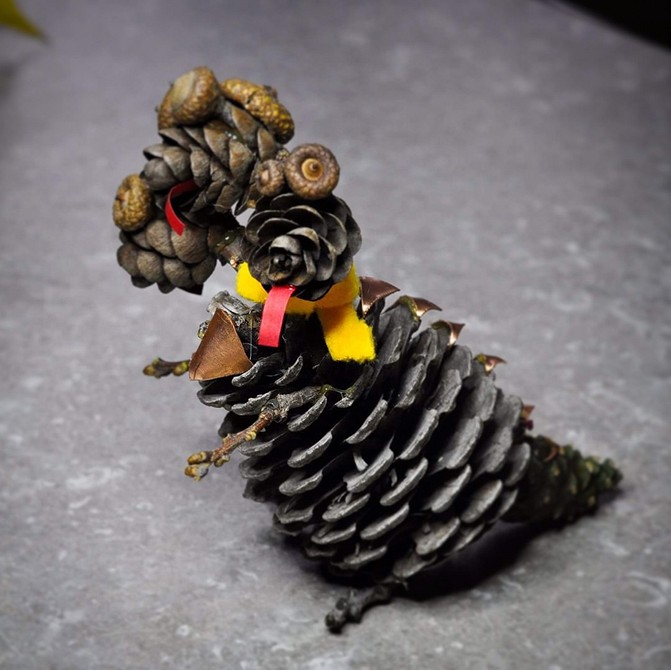
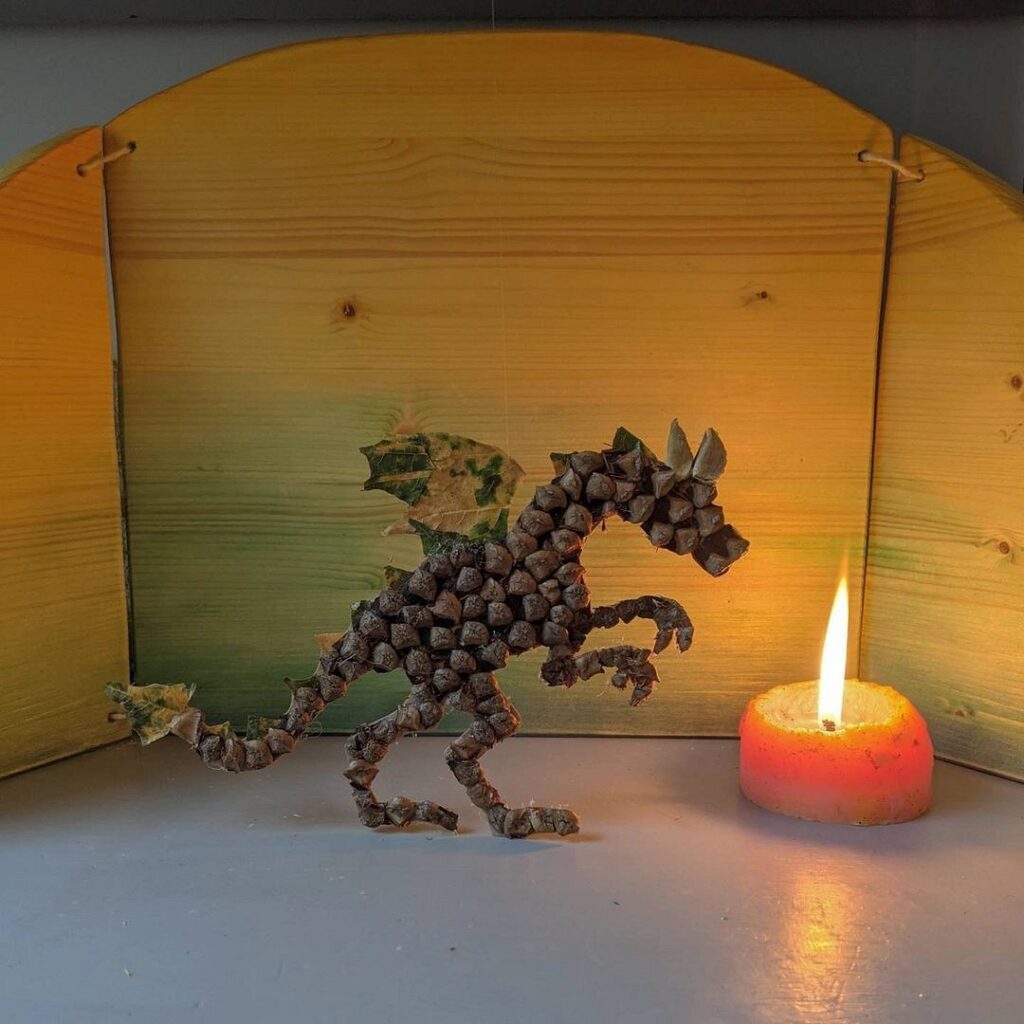
A great idea would be a dragon made from pinecones and twigs. How to make it?
- You’ll need one large pinecone and three small ones, twigs, and clay.
- Create paws from clay and place the large pinecone on them.
- Select three twigs of the same length and secure them into the “body” using clay; these will be the necks.
- Attach eyes made of clay to the small pinecones (you can also make them from acorn caps) – these will be the “heads.”
- Attach all three “heads” to the twigs using clay.
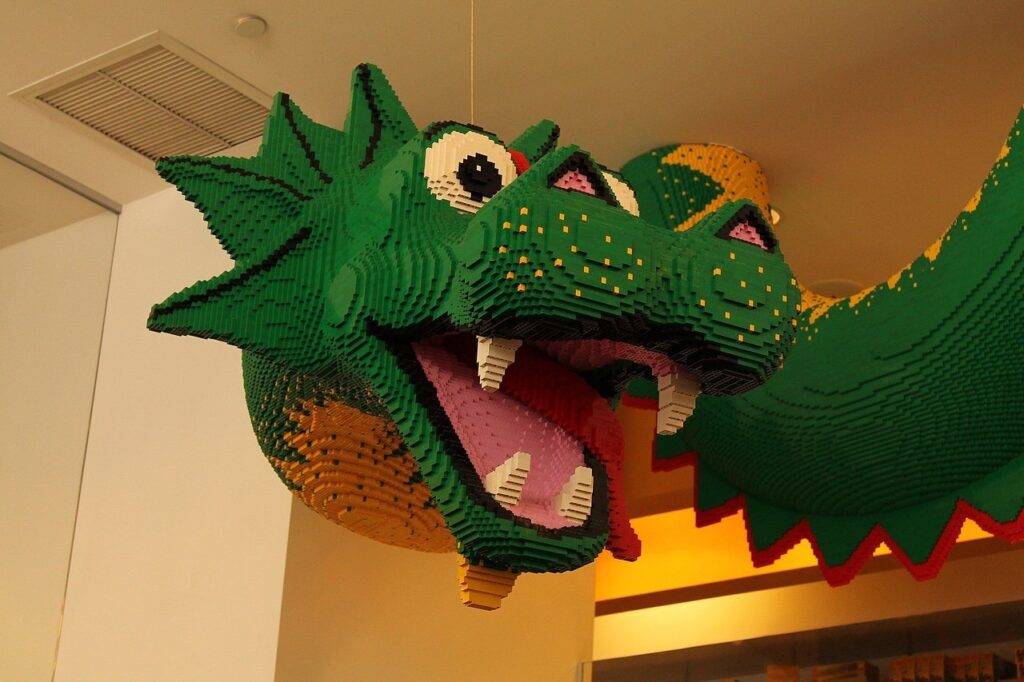
Absolutely, if none of those options work, you can simply draw a mythical creature or assemble one from LEGO and place it under the Christmas tree. The possibilities for creativity are endless!







Leave feedback about this